|
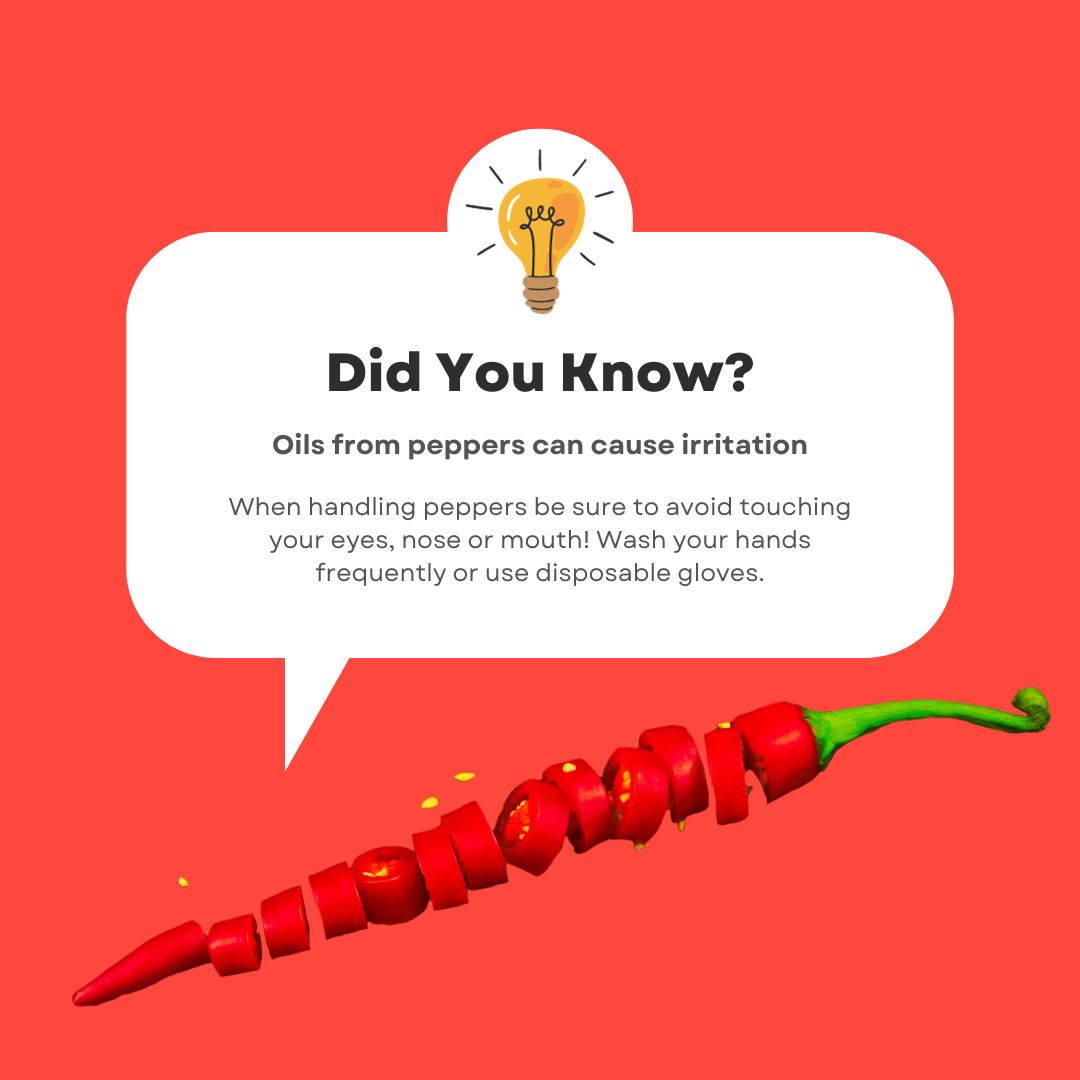
Whether you had a bumper crop of peppers this year, you wanna ditch the junk in conventional store bought sauces or you are looking for a simple and fun DIY gift to give homemade hot sauce is a delicious way to go!
The options are endless with how to create your own tasty hot sauce.
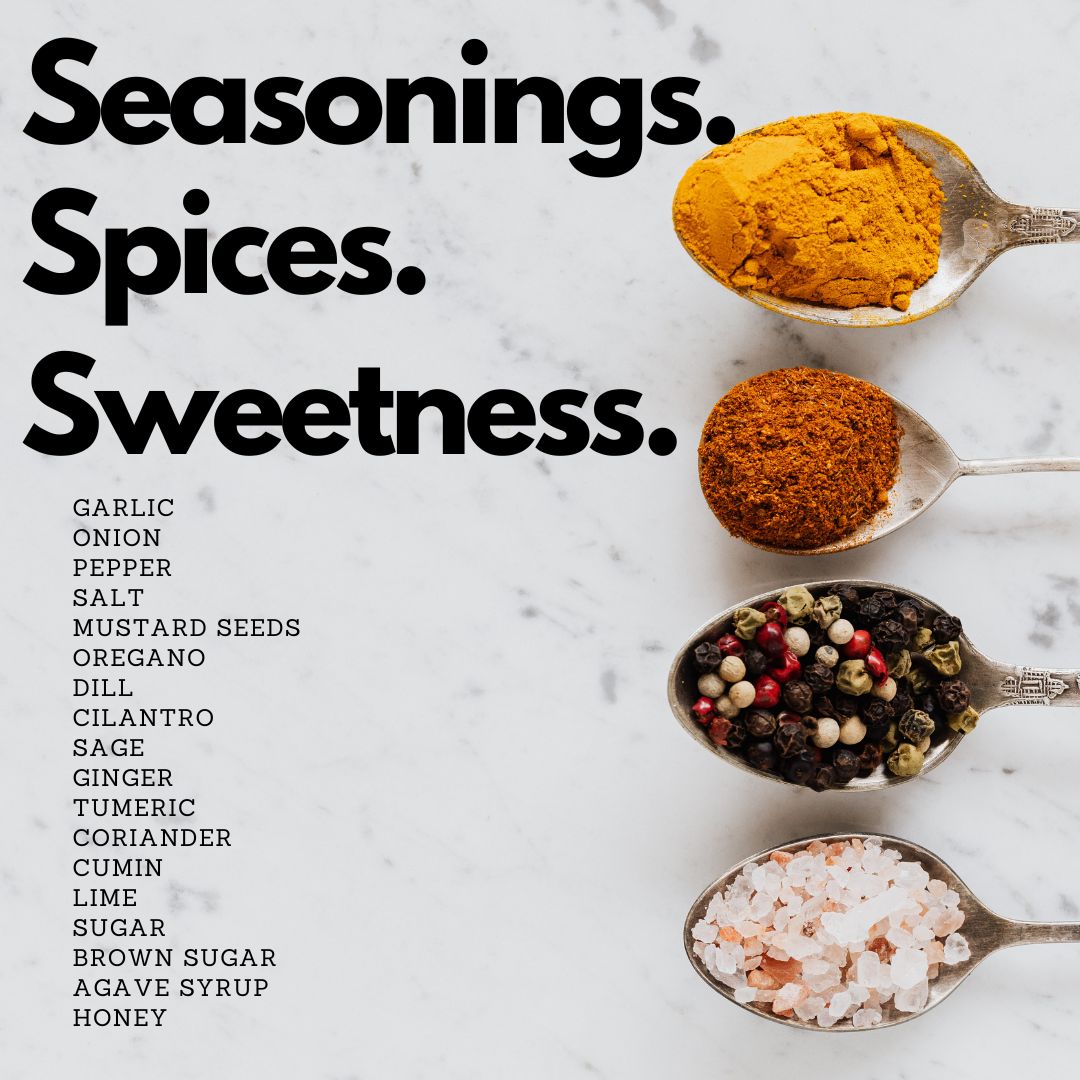
Choose from a variety of chilies and different peppers depending on your heat level preferences. We start with making a base of fermented peppers andvinegar. You can stop there and let the peppers natural flavors shine through or choose to mix it up by adding new flavor profiles with spices and seasonings! Seasonings and spices make your hot sauce uniquely yours. Some common choices are garlic, onion, salt, pepper, cumin and more!

Chili Peppers have different levels of heat and flavor.
Your hot chili peppers may be green, red or orange. You can choose to mix in some of your hotter peppers like habanero and serrano with some of your lighter flavored peppers to help balance out some of the heat! Using all of one type or mixing peppers from the same "heat" type will help you to gauge your heat intensity. Mild/Medium: Banana Pepper, Jalapeno, Cherry Bomb and Serrano Pepper. Medium/Hot: Thai Chilies, Cayenne Peppers, Tabasco Peppers. Hot/Fire: Ghost Peppers or Habanero Peppers. You can also choose to add a spicier pepper or two into a batch of less spicy peppers to give it a little kick! Or use some less spicy peppers to help cut a fire batch of peppers. There are tons other types and varieties! These are some of the types I have grown and worked with before.
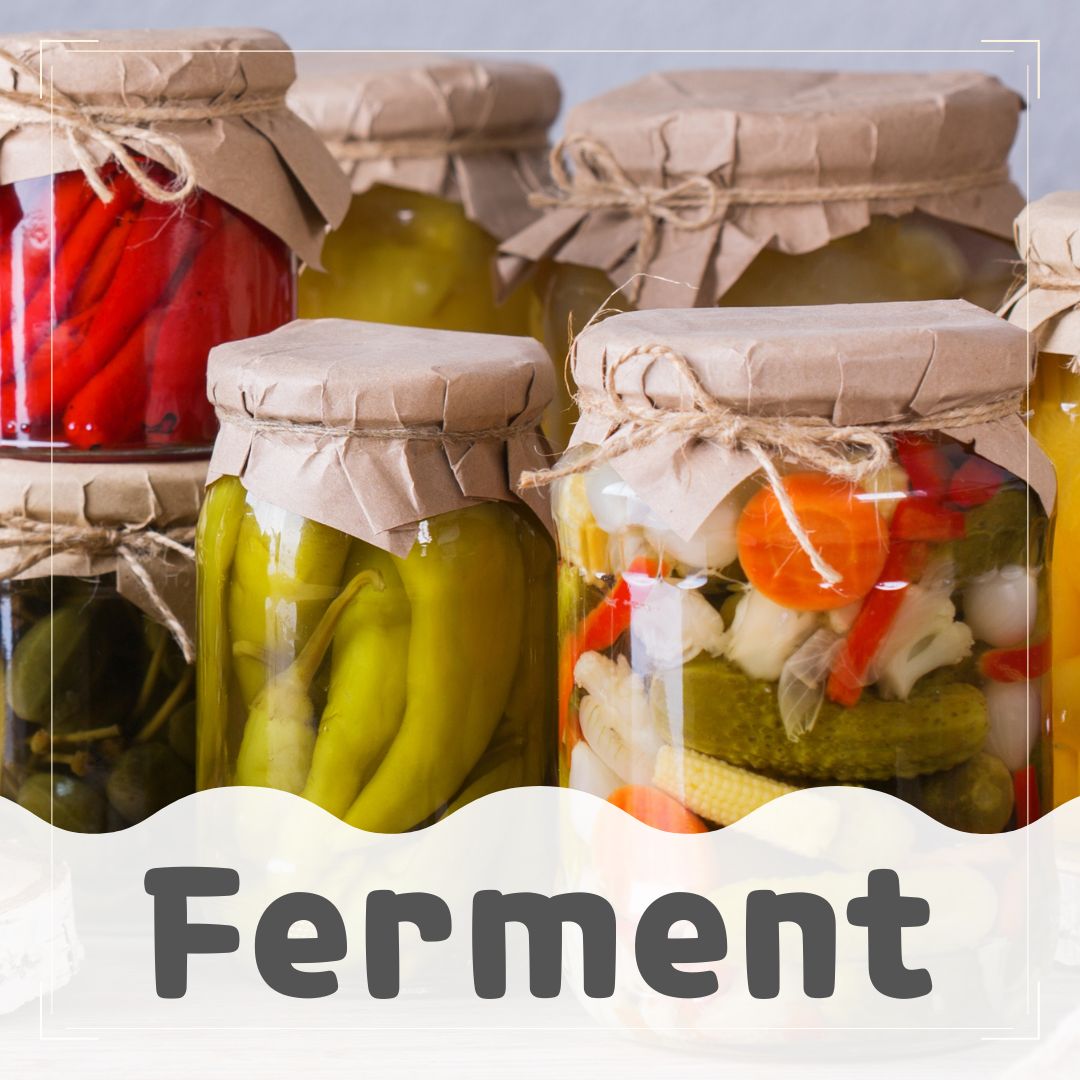
The first step in creating your homemade hot sauce will be to ferment your peppers!
The fermentation of foods helps to deepen the flavors and creates an environment for the foods that helps preserve it without additives. You can choose to do a long ferment, which will change the flavor profiles a bit more, however I do a "quick ferment" when making my hot sauce. Add your hot peppers (and other vegetables like carrots, garlic and onion if you are using them), along with your salt to a blender or food processor and create a chunky blend. Pour your mixture into a clean glass jar and cover the top (not air tight) you can use a tea towel, coffee filter or cheesecloth for this. Use a rubber band to secure your cover to the jar. If you choose to cut it by hand chop it coarsely. Place your items into your clean glass jar and use a wooden spoon to press the mixture together a bit and release some natural juices. You are going to set your mixture in a warm spot (not hot, but not to cold). This warm environment is where our fermentation is going to get started! After the mixture has sat for about a day (24 hours give or take), go ahead and add in the vinegar. Give it a good stir to make sure it is incorporated well into the pepper mixture. Now we are going to let the fermentation process do it's thing. Cover it back up and leave it in that warm spot for about a week.
After the fermentation step is finished we will move on to step 2.
Pour your mixture into a blender and create a smooth consistency. You can customize this to be whatever texture you choose. A pourable hot sauce would be ideal, but if you prefer a chunkier version go for it! I prefer to blend it up in my Vitamix to a smoothy consistency. Then pour the sauce through my fine-mesh sieve. You could go a step further and line your sieve with a cheesecloth to remove all pulp. If you use a cheesecloth you'll want to allow it to sit for some extra time to allow all of the liquid to flow through, then twist the top of the cheesecloth closed and give it a gentle squeeze to release as much liquid as you can. If you prefer a thicker sauce you can skip the straining step. Instead just gradually add water or vinegar to begin thinning it out. I recommend adding the liquid in small increments stirring in between additions to ensure that you keep your desired consistency.
Remember that different varieties of peppers will have different characteristics. Some will have more seeds in them than others will, some will have more liquid. If you want your consistency to be more smooth, you can use your vinegar base or even water to help thin it out to your desired consistency.
Check out these ingredient recommendations but remember, make it your own! Play around with flavors and find combinations you like. Leave a comment below of your favorite blends :)
Ingredients
Some great flavor pairing ideas:
Jalapeno & Honey (for extra health benefits find a bee keeper near you for local raw honey!) Habanero & Mango (try using dried mango blended in during the puree part or mango juice to use as a thinner after you finish your blending) 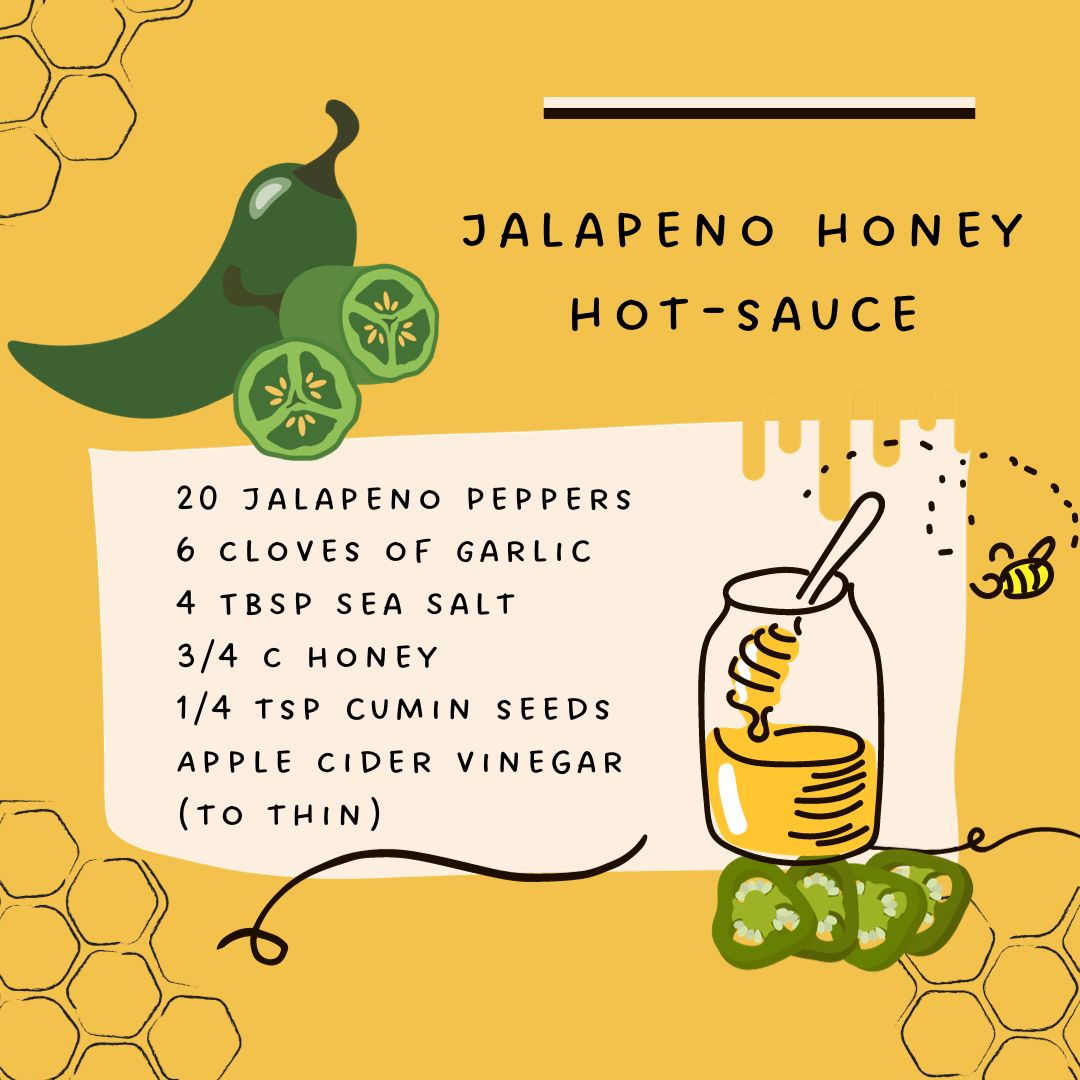
0 Comments
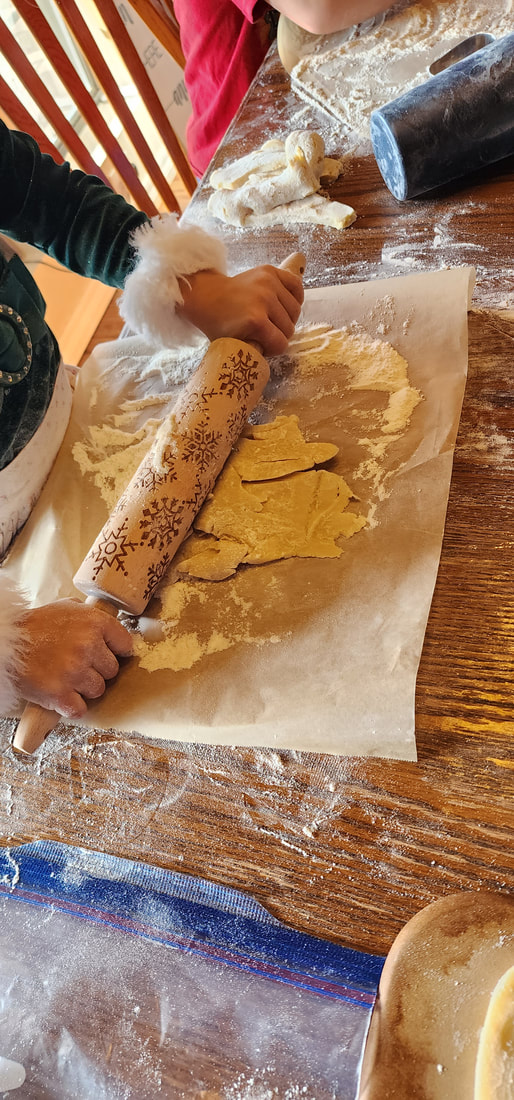
We are in the full holiday swing over here in our neck of the woods! This past weekend was our annual Christmas Cookie baking day(s). Our tradition is to bake goodies for our closest friends and family and deliver them boxes of homemade goodies. Each year we bake nearly 1,000 cookies, sometimes more... no that is not a typo! I believe 83 dozen is our current record.
This year was the first year we bumped our cookie baking day all the way into November. We have struggled in the past getting all of the cookies delivered in December because people are so busy and in many cases out of town. We've already delivered most of the cookies this year and everyone was happy to get them! 
Obviously we break it into two days because of the sheer amount of time we spend working on the baking. This year we did half of our normal count and we spent just over 13 hours in the kitchen with three adult bakers and a jr. baker! But we also break it into two days because #kids.
My husband's great grandma started the annual cookie baking tradition years ago and I love that it has continued on down the generations. One year as a Christmas Gift she copied all of their favorite holiday cookie recipes and put them into binders for his mom, him and his sister. These are the recipe books we use every year for our annual baking. Every time we pull them out it's like having a bit of her there with us!
To deliver your cookies you'll need LOTS of containers. We like a variety of sizes so that we can fill them for families, couples, single people and even platters for work and school locations.
Here are some other baking tools we love:
Baking Essentials, all the mixing tools you need! Spatula, it has to metal in order to get a clean pull off those hot stones! No breaking the cookies! Baking Stone, we prefer stones to cooking sheets. They always turn out better, softer cookies! Cooling Rack or foil laid on a flat surface works great too! Scoops, these keep your cookie sizes uniform and keeps your fingers out of the dough. Don't forget to pam them first! Kitchen Aide, with the amount of cookies we make the Kitchen Aide is a must. In fact we all bring ours and typically have 2-3 working the whole time! Here are some fun baking extras too! Kids Sized Tools Cookies to Bake Tees Baking Crew Cookie Crew Baking Spirits Bright Apron Baking Crew Apron
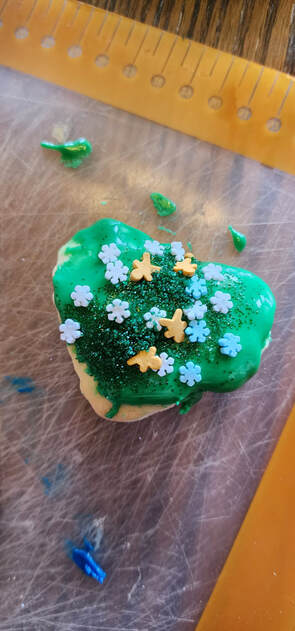
This year we made 11 different varieties to go on the plates! Rice Krispie Treats, Oreo Balls, Chocolate Fudge, Chocolate Chip, Peanut Butter with Chocolate Chip, Chocolate with Peanut Butter Chip, Rocky Road, Oatmeal Raisin, Magic Cookie Bar, Sugar Cookie and Snickerdoodle!
Which is your favorite Christmas Cookie? 
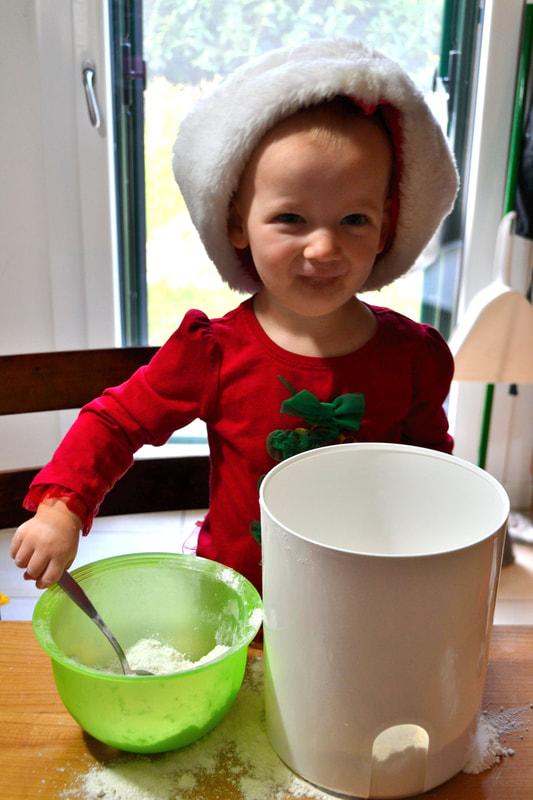
Any guesses on how much sugar we used during our baking this year?!
Yup, it's.....
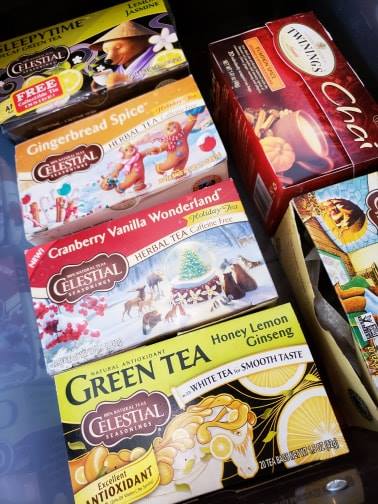
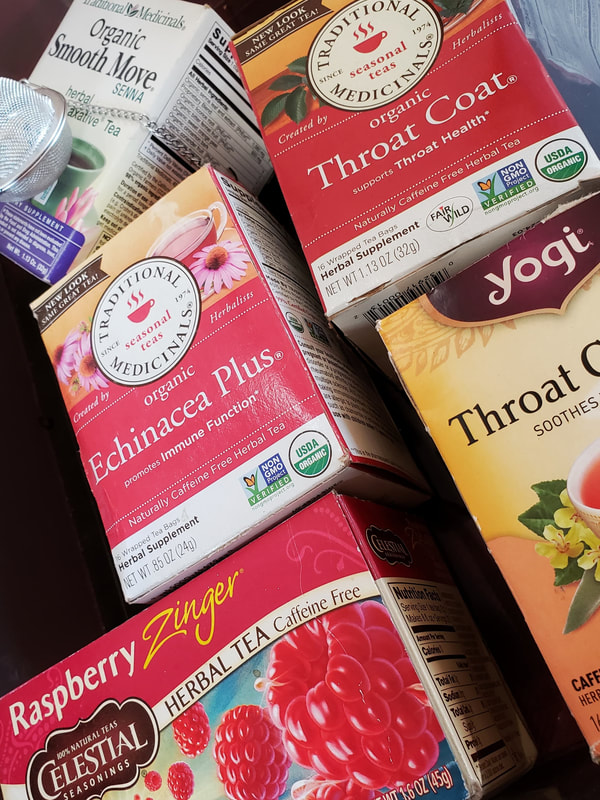
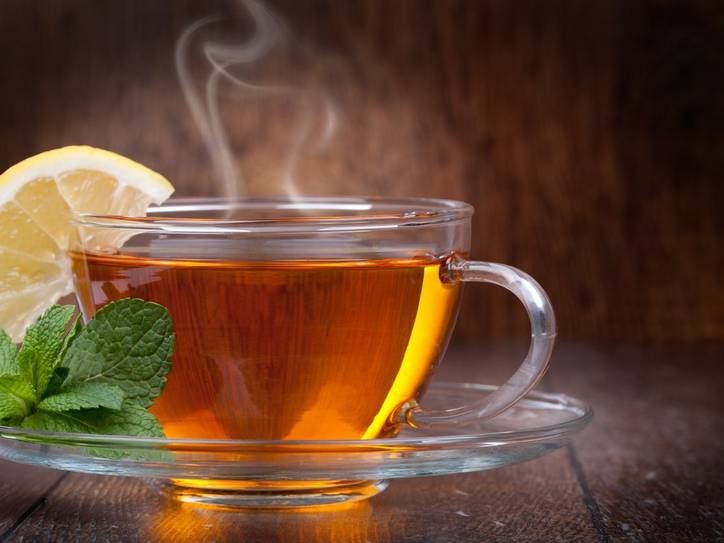
Tea can be enjoyed hot or cold, and that makes it the perfect any time drink. It also has many health benefits that can help you continue on your wellness path.
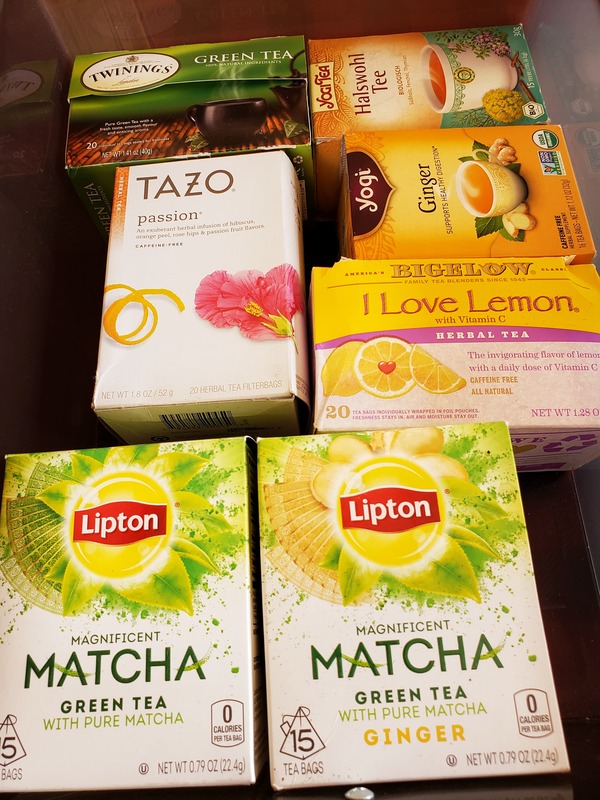
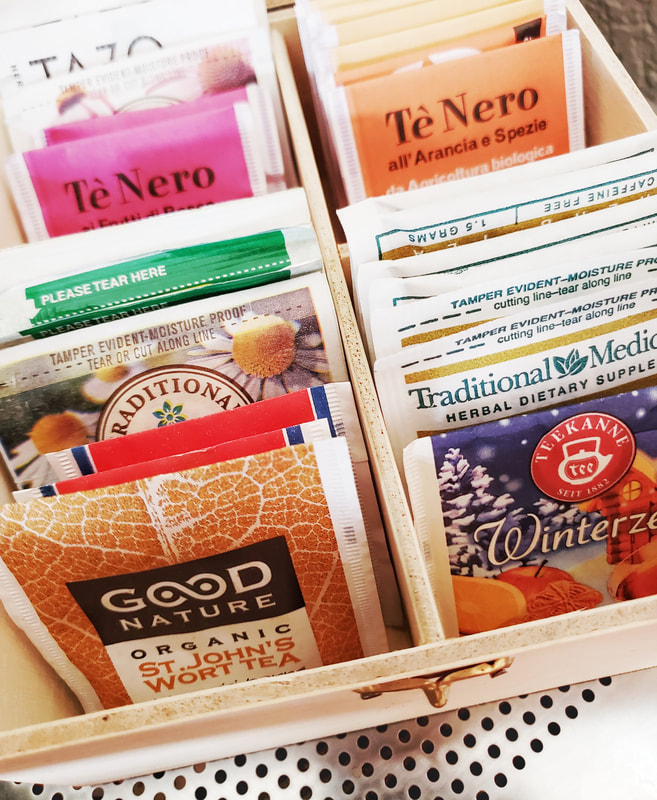
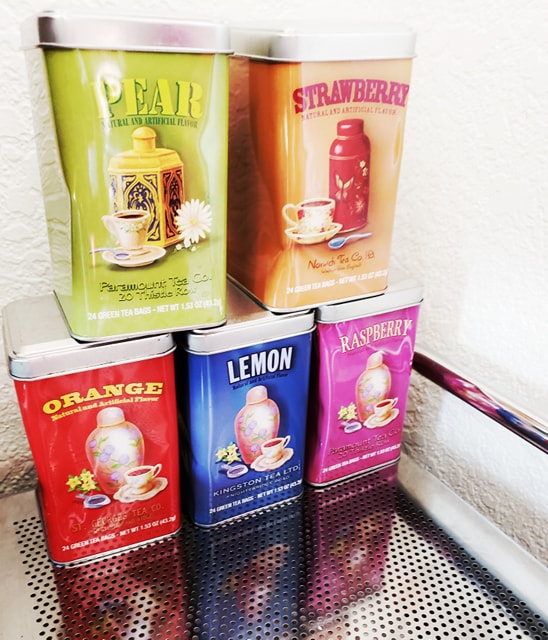
Now I am already a tea lover.... as you can see!
Along with being packed full of antioxidants tea has lots of other great benefits, like helping to keep you hydrated! Yes, most tea does contain caffeine... however like in all things moderation is key. Now I'm not saying drinking a gallon of tea a day would be good for you. I am saying having a glass or two a day is a great alternative to the other "bad-habit" drink we are trying to get rid of!
So put on your thinking cap and do some research about the different types of tea and how they are beneficial to your health. Then make the decision of whether it's worth the switch or not! Next week I'll share some ways to add a little sweetness to your tea, the right way! In the mean time, here is one way I like to add a little extra flavor and health benefits to my tea :) 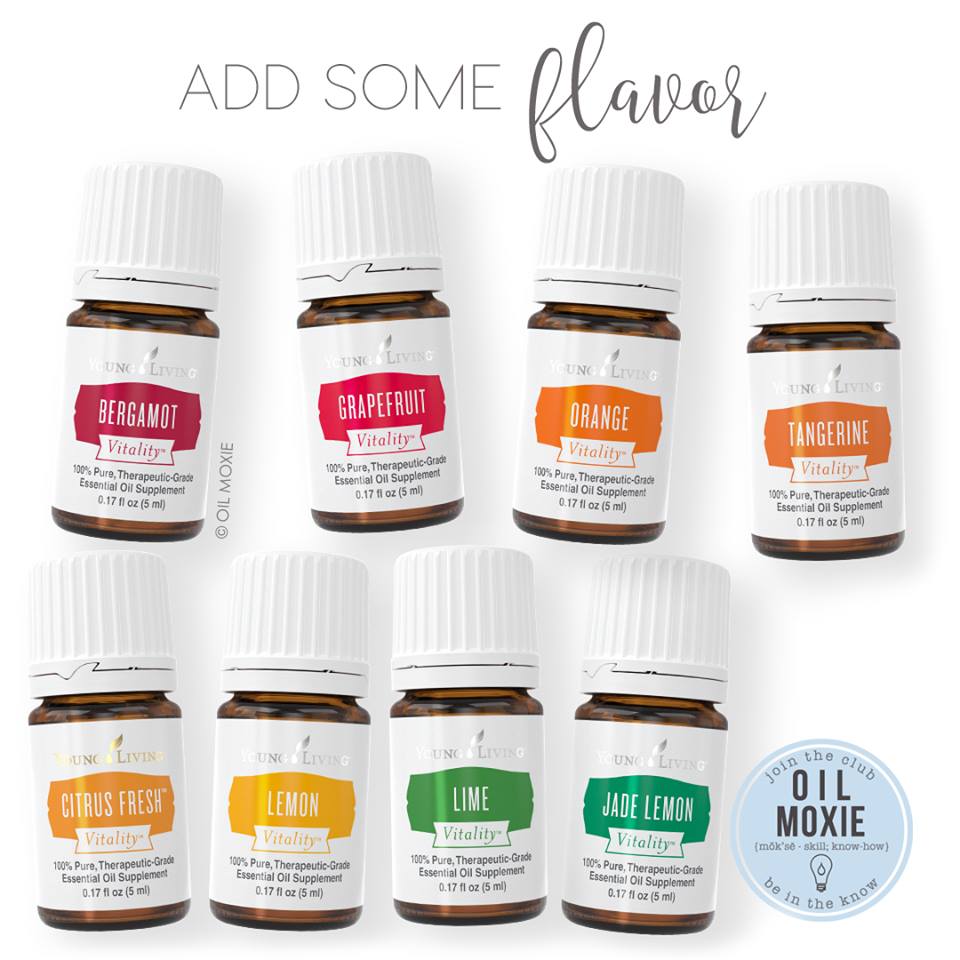
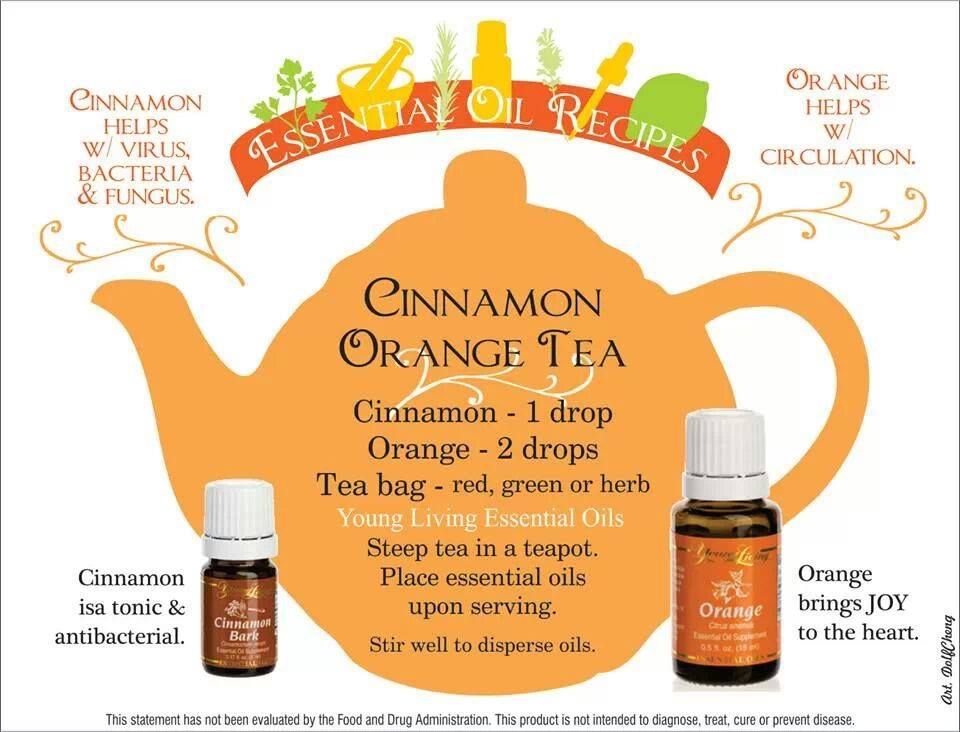
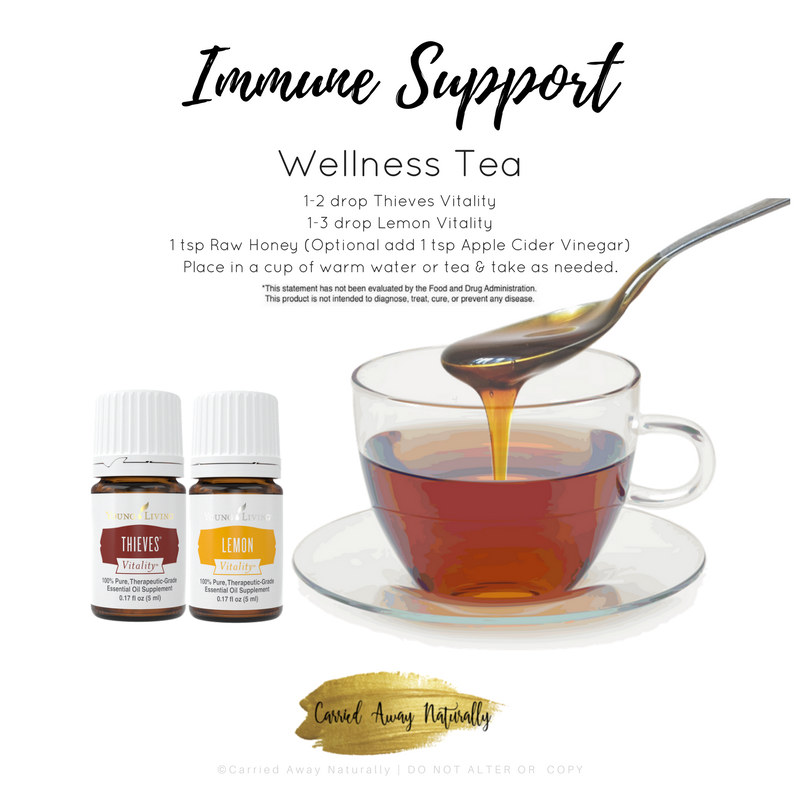
Adding a few drops of essential oils to your tea can boost the health benefits immensely! 100% pure essential oils are packed with all kinds of goodness that help support wellness naturally.
Here are a few great recipes I have come across 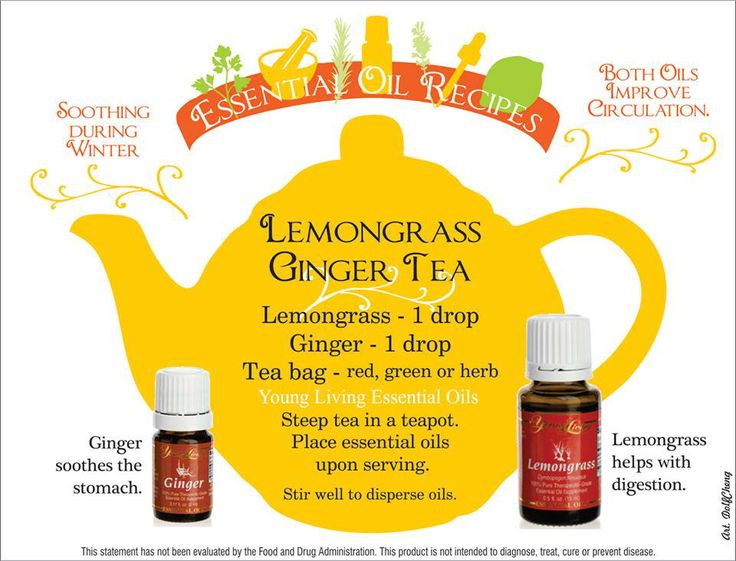
If you are new to using oils I highly suggest that you look into tips on how to use essential oils safely.
If aren't already signed up for an essential oil program I would love to talk to you about getting enrolled today! As a thank you for enrolling with me I will send you a sample of goodies from our vitality line to try in your teas as you wait for your starter kit to arrive :) |
| Everyday 365 Life | Because Homemade Always Tastes Better! |