|
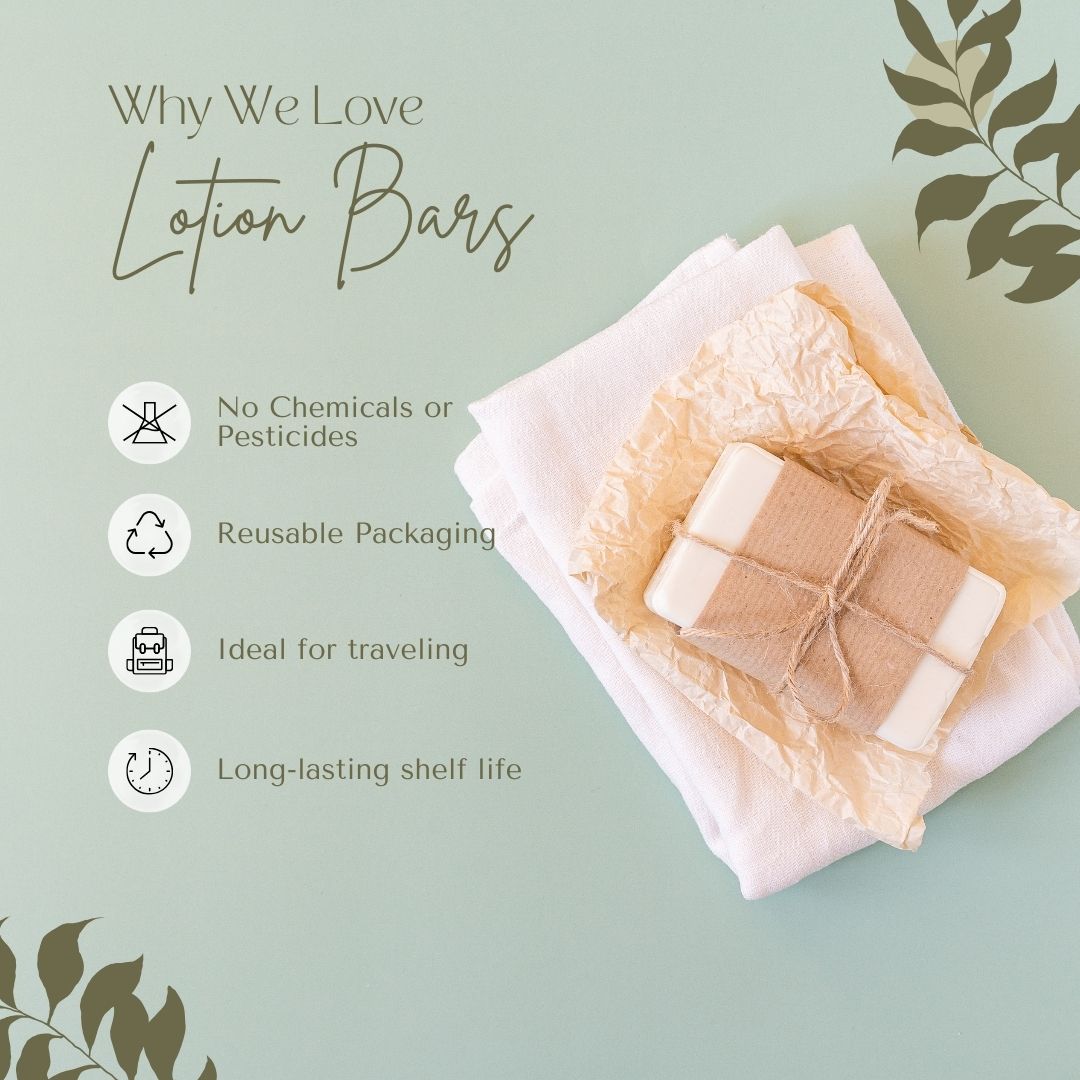
Lotion bars are simple to make and come together quickly with just a few simple ingredients.
Whether you are looking to ditch the junk in traditional lotions or you are looking for a great DIY project, these bars are easy to whip up. Bonus: They make amazing gifts! 
To make lotion bars you’ll need equal amounts of the following (for example, 1/4 cup or 2 ounces of each ingredient):
The tools you need to make lotion bars are things you likely already have in your kitchen!
Now you have your ingredients, and your equipment... let's make the lotion bars!
The lotion bar will stay solid at room temperature, but begin to melt when held against the skin.
Other ideas for storage:
If you are unhappy with the way your bars turned out you can always reheat them and try again!
For a softer bar add more "butter" or oil. For a harder bar add more wax. For more scent add more essential oils! Just beware that excessive heat will damage the beneficial properties of the essential oils. 
0 Comments
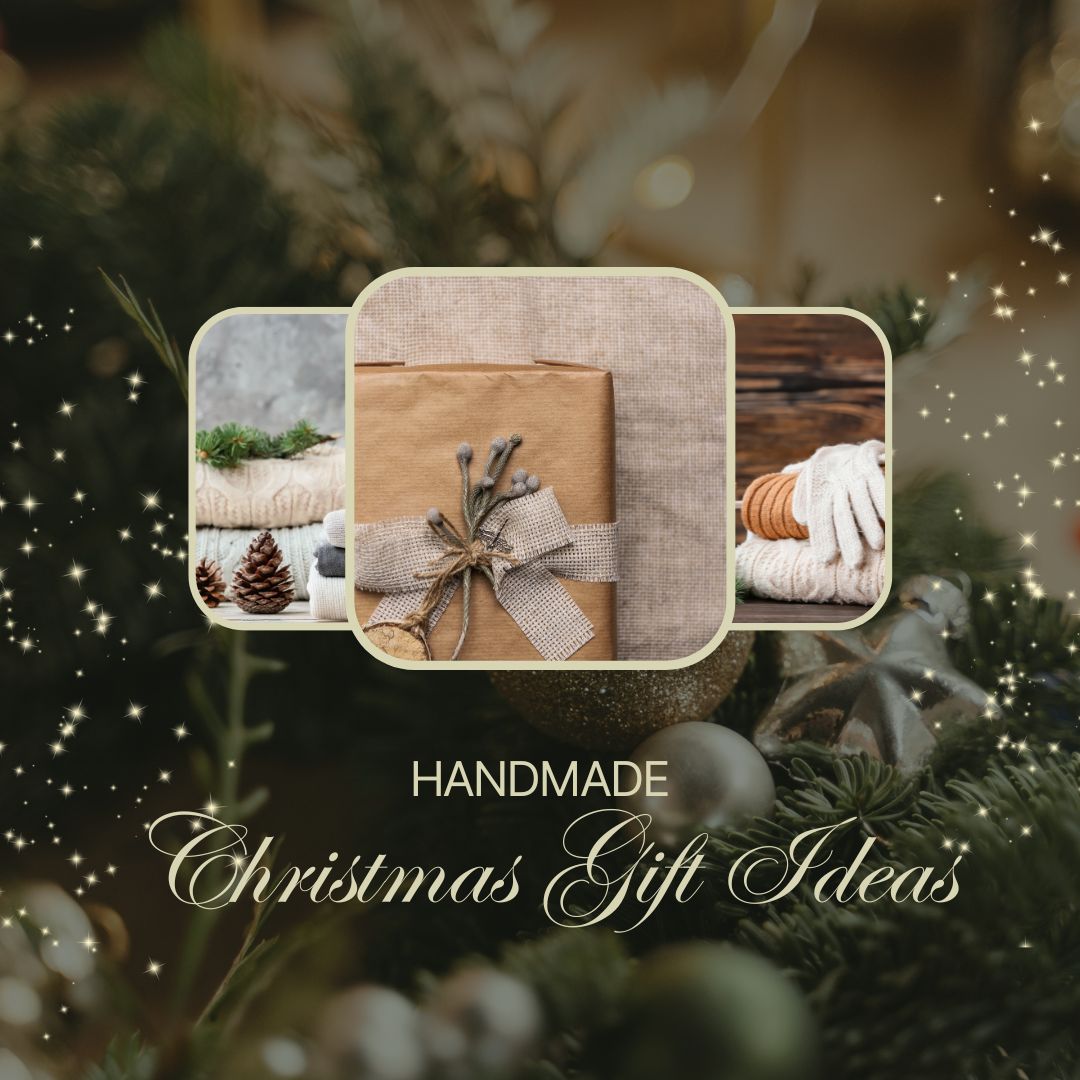
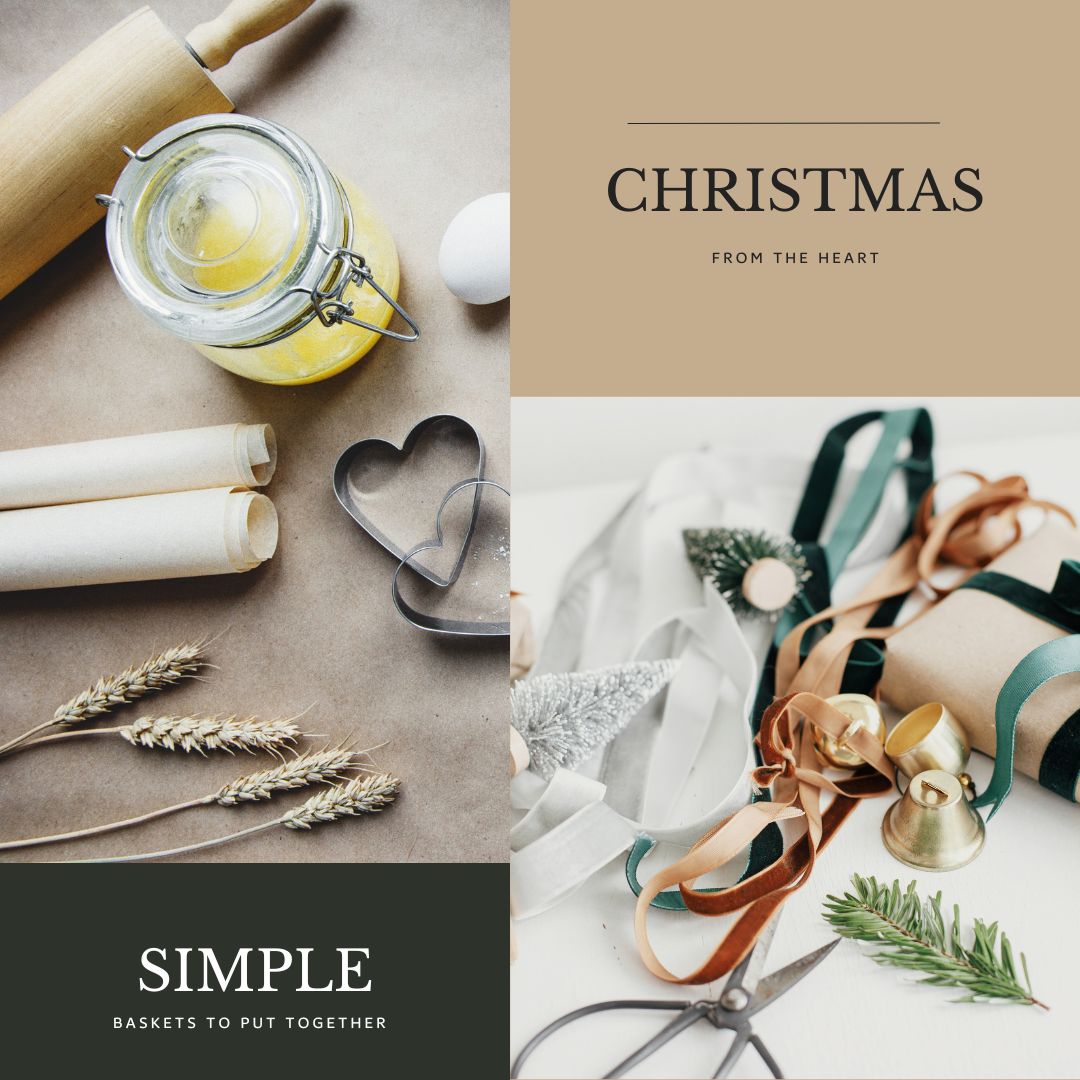
Each year I try to find some simple handmade gifts that I can put together for our close friends and family. In the past I have even enjoyed creating small sets that go together to make a nice gift package.
Kitchen Gift Basket
The kitchen basket that I made as a gift had an assortment of kitchen goodies. You could go with a more specific kitchen theme and keep the items grouped more alike. Example: coffee mug, coffee beans, coffee creamer, a crocheted mug rug, etc. Or you can build yours similar to mine and mix and match a variety of kitchen goodies. One year we had quite a harvest of peppers and I was able to make my own homemade hot sauce. We used these bottles with a shrink wrap top which was a really nice feature! I filled the bottles and then used a blow dryer to shrink the wrappers down. I can't find the exact labels I used but they were similar to these. Pro-Tip: write on the labels prior to applying them to the bottles, that way your hand writing stays neat! I made several mini loaves of homemade sourdough bread to put in each basket. If I had known about the farm local to us with raw milk, I likely would have made a small batch of special seasoned butter to go with these! If you have your own milk source a flavored butter to go with your sourdough would be a lovely touch. If you have friends who are into baking and would appreciate their own sourdough starter you could dehydrate some of yours, place it into a small bag and add it to your basket. In going with the kitchen theme I went ahead and crocheted some towel holders to go on the oven. I have saved several great options for crocheted kitchen towels on My Pinterest Board! If you don't crochet or prefer to knit instead I also have a Pinterest Board with knitting projects for the kitchen. There is a really great dish scrubby on there! I bought these in bulk and added a tea towel to each holder to finish them off. I had intentions of using my Cricut to liven these up a bit, but I ran out of time and honestly, they ended up being perfect this way.
For the Bathroom
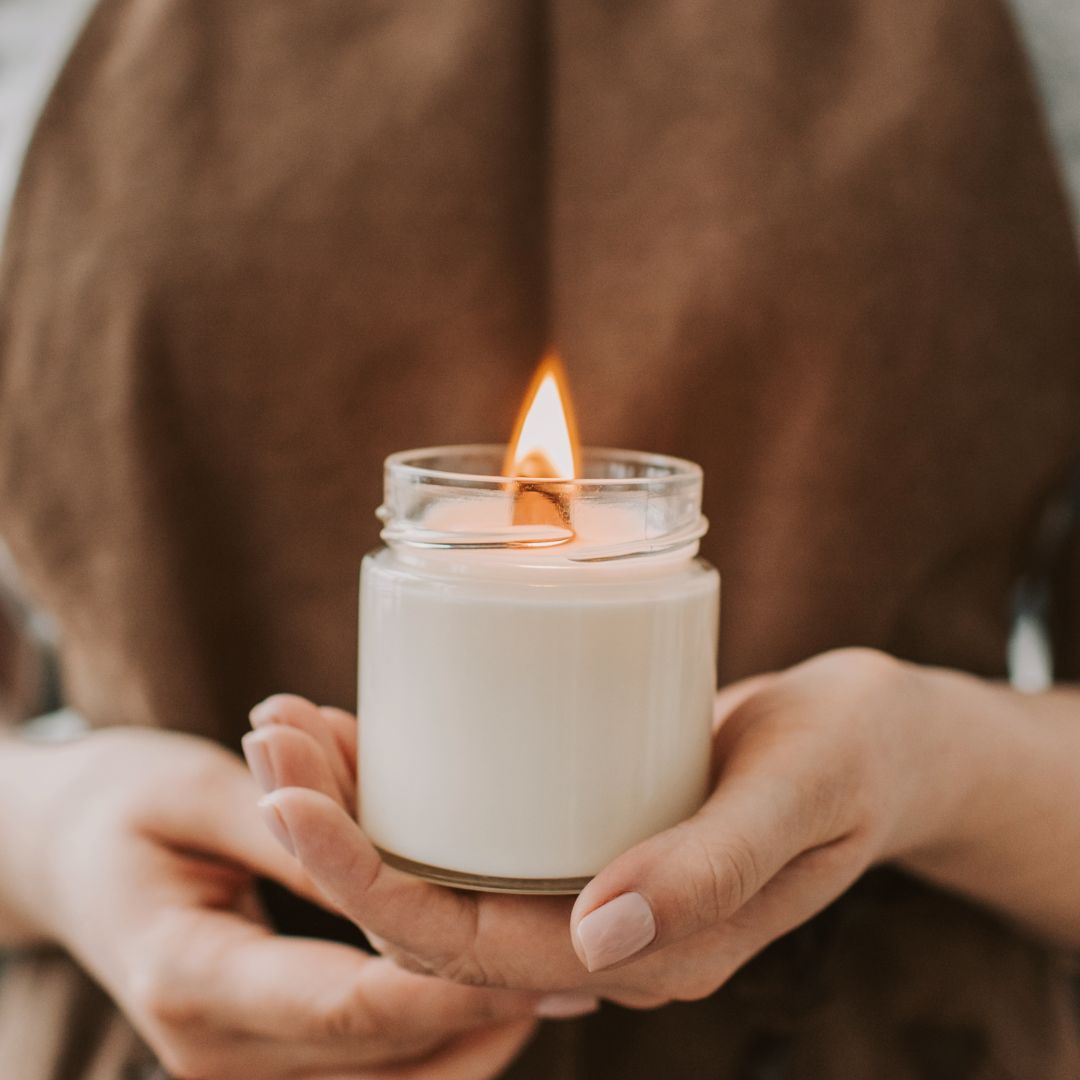
One year the kids and I made a wide array of bathroom items for a full bathroom gift basket. I crocheted hand towels for the bathroom, there are a few pretty patterns I've found here on my Pinterest Board. If you prefer knitting I do have a Pinterest Board with a few knit projects on it! You could go a bit simpler and crochet soap savers, they work up really quickly so it's easy to turn out several in a few hours. I really recommend a nice scrubby yarn. It works great for exfoliating, they dry well and you don't get that mildewy smell that you tend to get using regular yarns in bath items. I had a few of the square Young Living Soaps as well as some of my husbands Dr. Squatch Soaps on hand. They fit perfectly in these soap savers so I included them in the baskets! If you are feeling ambitious make a hand towel and a soap saver as a set for each basket. The kids helped me make an array of bath salts using my Young Living Essential oils and Epsom salts. We made two types of bath salts and put them into small mason jars. - Winter Woes Bath Soak to help during sickness - Calming Bath Soak for before bedtime relaxation I used my favorite sharpies to draw pretty designs on the top of these white lids and labeled them. We grew quite a few luffas in the garden that year so I grew out extras till they turned to sponges and then cut them into small rounds and placed them inside of holiday themed muffin wrappers. I made a peppermint scrub hand soap and poured it over the luffa in the wrappers. Once they set you could peel the muffin wrapper off to use them. The wrappers were decorative and pretty all on their own! Lastly we made lotion bars with bees wax, jojoba oil and essential oils. Here in the Midwest our cold winters means lots of dry skin and hands. We used these silicone tree molds to make them Christmas Tree shaped! I put the lotion bars in these decorative bags so they didn't get any of the other gifts.
Essential Oil blends are also great on their own or in your gift baskets! If you know friends that own diffusers you could gift them your own blends indropper bottles for unique scents! You could also create personal rollers for them to use.

Give the Gift of Gardening
This is a little less on the handmade side, but it is still a thoughtful gift! I have only done these baskets for a few close friends and family members that I know love to garden. But honestly you could do them fairly simple for anyone on your gifting list this year! For the base of this basket I would choose something they could either use to harvest with or more of a planting pot that they can use to plant something in. That way it is dual purpose specifically for gardening! You could either purchase seeds or use seeds that you saved from your own garden. Using small bags or envelopes to package the seed varieties is useful in many ways. You can clearly label each envelope to write the seed name, variety, year, etc. If you purchased your seeds you can use the envelopes to separate out seeds into smaller packs for gifting. A small set of seed starting pots for would be a great option to include in the basket. These Gardening Gloves come in a wide variety of styles to choose from and would be a nice touch to your gift basket. A set of hand tools would also be a wonderful addition! Depending on how in depth you wanted to make each basket you could also add a gardening book! I love The Family Garden Planner by Melissa K Norris, The Tiny But Mighty Farm by Jill Ragan and The Backyard Homestead Seasonal Planner by Ann Hansen!
I really like finding baskets while antiquing, I fell like it's giving that basket a new life! But, in the past when I couldn't find the right baskets at an antique store, I have found several great options online and in stores.
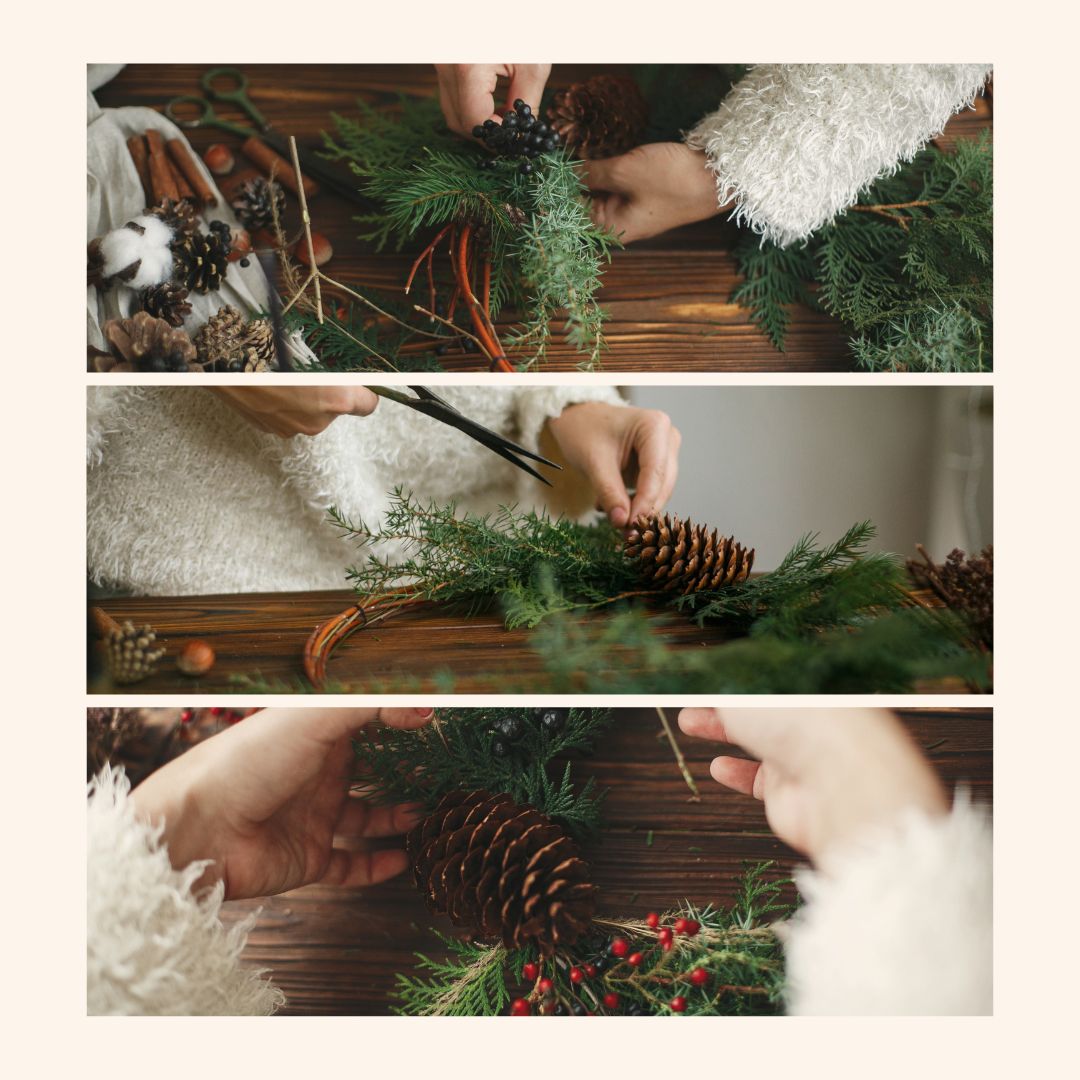
I love finishing my gift baskets off with a little bit of natural holiday items to make them look festive. Find pinecones, acorns, greenery, etc from outside and use jute twine or Christmas twine with hot glue to secure it to your gift baskets or the items inside.
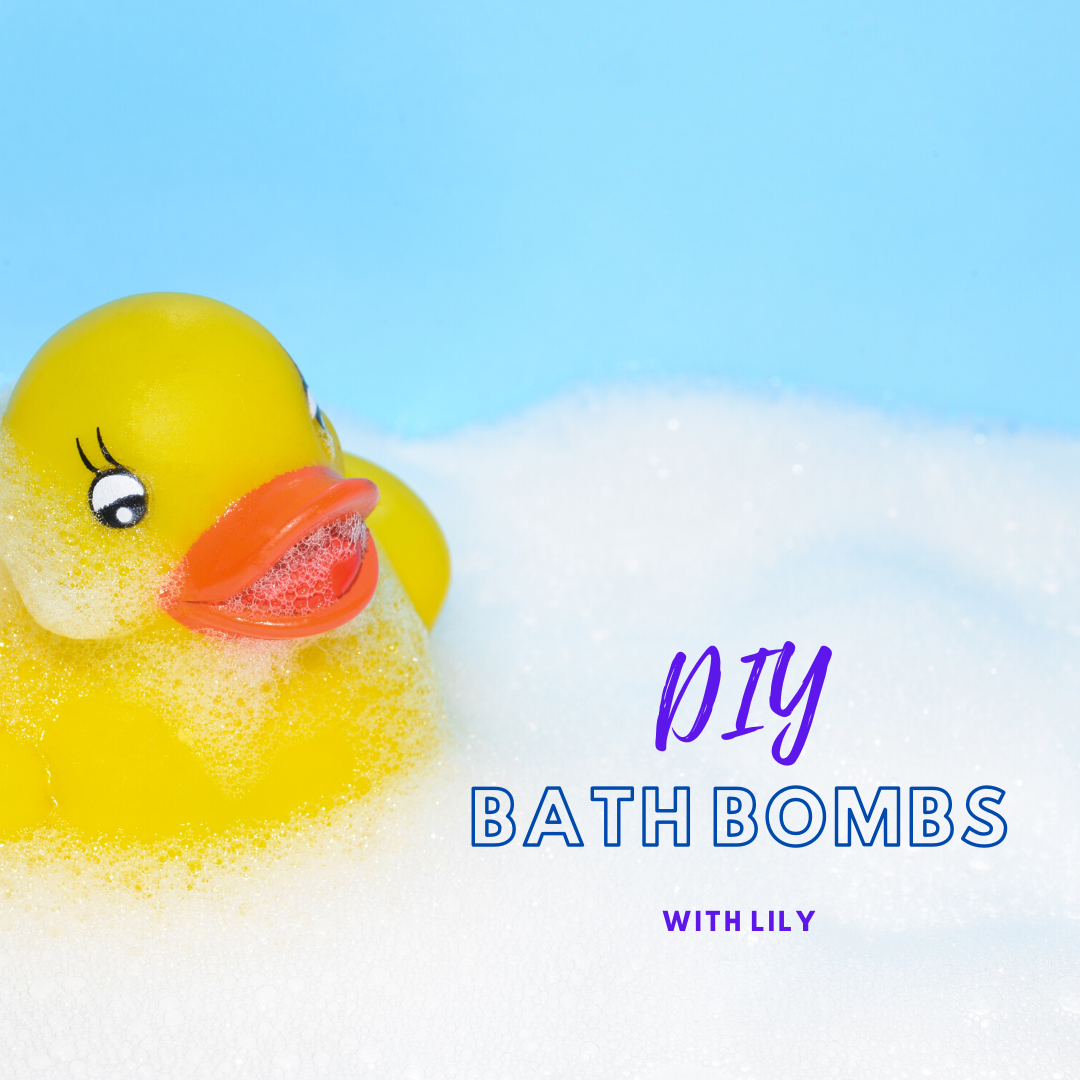
Lily has really enjoyed making bath bombs lately! We've finally perfected our recipe and she's ready to share it with you. These DIY bath bombs are so simple she can do them herself now. I've included links to all of the items we used for this activity below.
Ingredients: ♡ 1 Cup baking soda ♡ 1/2 Cup citric acid ♡ 3/4 Cup corn starch ♡ 1/2 Cup epsom salt ♡ 1 TBSP fractionated coconut oil ♡ 1 tsp jojoba oil ♡ 2 tsp vitamin e oil ♡ 1 tsp vanilla extract (ours is homemade! AND SO easy to make) ♡ 2 tsp witch hazel (this is the one I like to use, but it was out of stock when we were ready to make these so I grabbed some at walmart). ♡ 20 drops of essential oils ♡ dried flower petals (you can order online or you can make your own by simply tying off flowers and allowing them to hang upside down and dry out). We used this mini cupcake pan to mold our bath bombs. Instructions: - Step One: In a large bowl add baking soda. - Step Two: Add essential oils, jojoba and vitamin e oil to baking soda. - Step Three: Add Epsom salt, citric acid and corn starch. Mix well. - Step Four: In a spray bottle add vanilla and witch hazel. Slowly spray the mixture while stirring. If you dont have a spray bottle add these two items in 1/8 tsp increments so it is done slowly. - Step Five: Usimg your hands mix until it starts to hold together. You may need to sprinkle a bit of water if it isnt starting to hold yet. - Step Six: Add dried flowers to bottom of muffin pan. - Step Seven: Firmly pack mixture into molds. Leave it to sit for 8 hours. You can continue to press gently and help it stay packed well while it dries. - Step Eight: Gently remove bombs from pan and set onto a plate to dry. Allow to dry for 24-48 hours. Store in an airtight container and enjoy your relaxing bath! *Using natural ingredients means this mixture is GREAT for your skin* Leave us a comment below and tell us what you thought of these DIY bath bombs! hat is your favorite essential oils to blend in yours? Don't forget to check out Lily's video showing how easy this DIY project is! Show her some love by giving it a like and subscribe to her channel to see more fun videos in the future.  Ok so it's not perfect... but I really like the way these turned out. This project was a challenge to say the least. I started with a pallet and constructing the actual shelves was fairly simple. I did need my hubby's help (mainly his muscles) to get some of the stubborn pallet boards apart. The real challenge was the lettering and stain. Honestly, this was the first time I've ever stained my own project AND it's the first time I've ever used a wood burner. The letters were difficult to get right because I needed the burns to be deep so you would still see them after I applied the dark stain. Let's just say I sanded, burned, stained, and repeat a few times... I didn't really realize until I was finished that the lettering was different sizes on the two different shelves. Even though the shelves came from the same pallet the wood took the stain differently, so they are slightly different shades. 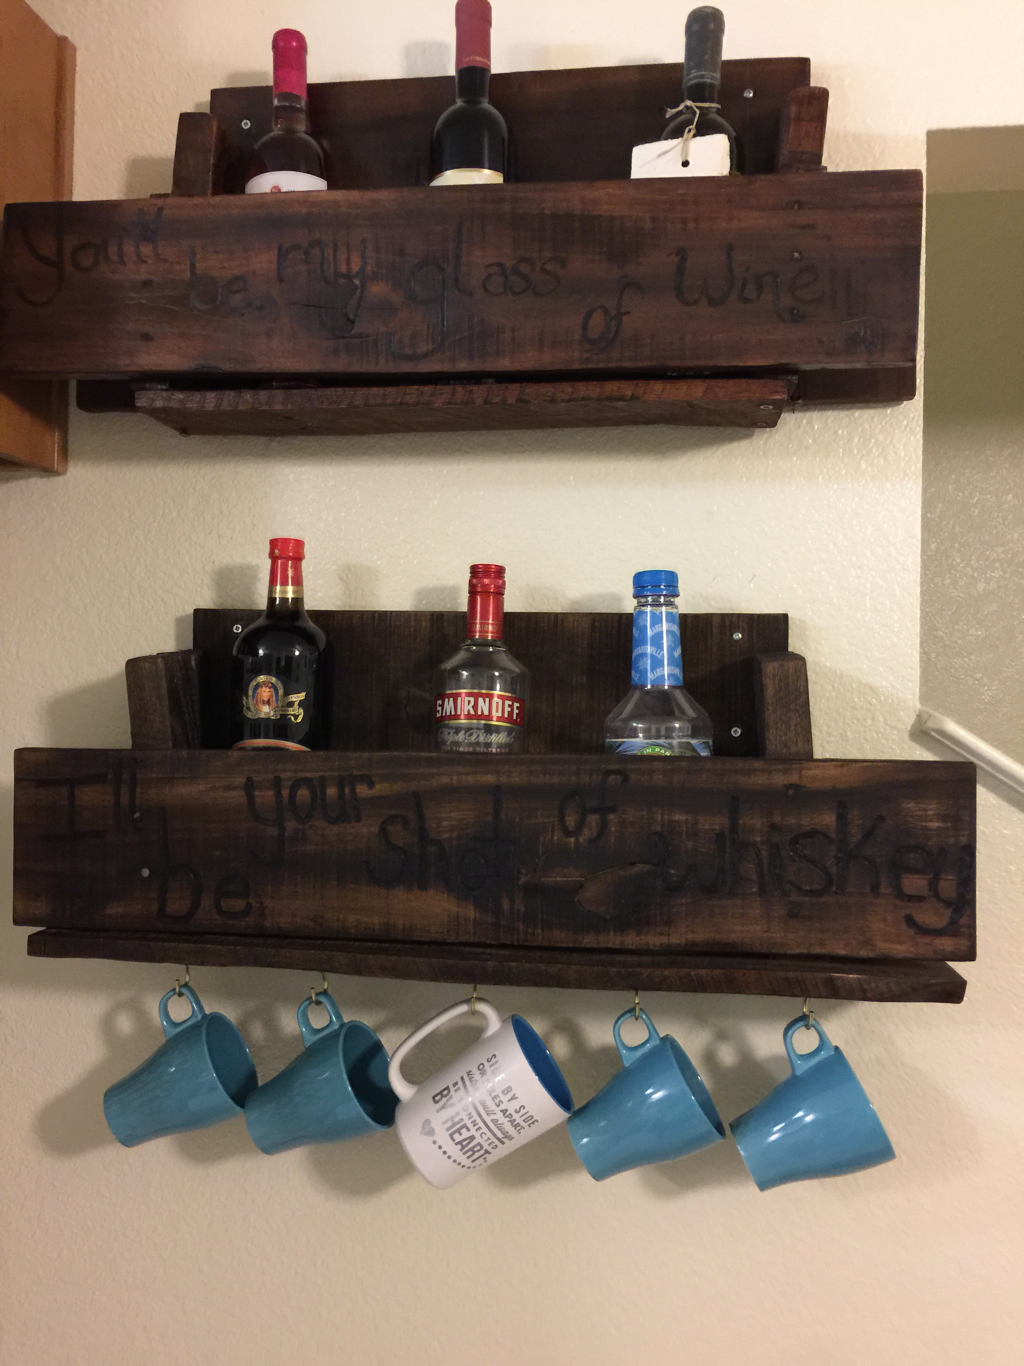 You'll Be My Glass of Wine... 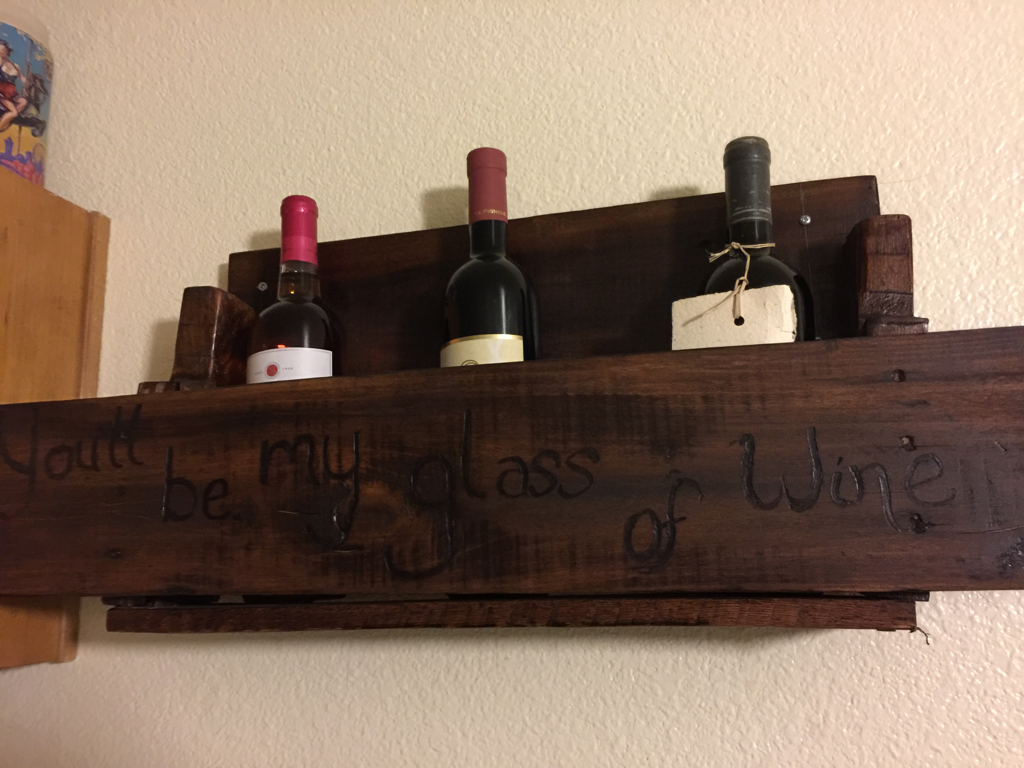 I'll Be Your Shot Of Whiskey.... 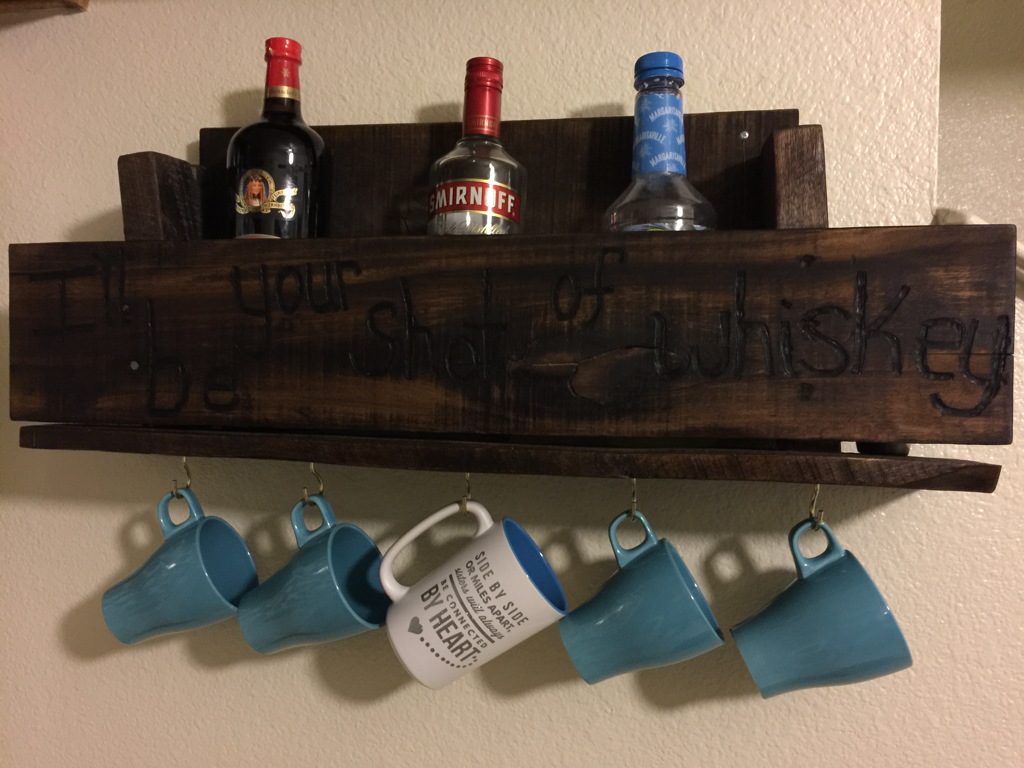 I screwed some large hooks into the bottom shelf so that I could hang coffee cups from them.
Regardless of the imperfections I'm happy with them, for now. Maybe down the road I may do new ones. But before I attempt to redo them I want to make sure I'm better at wood burning and staining! Next project on my to do list... my coffee bar :) This past Christmas I made a few Bunny Lovey Blankets (of course I forgot to take pictures of them) for my nieces, nephews and other little loves of mine! For my nephew's birthday I made him a Puppy Lovey and a Hat to match :) 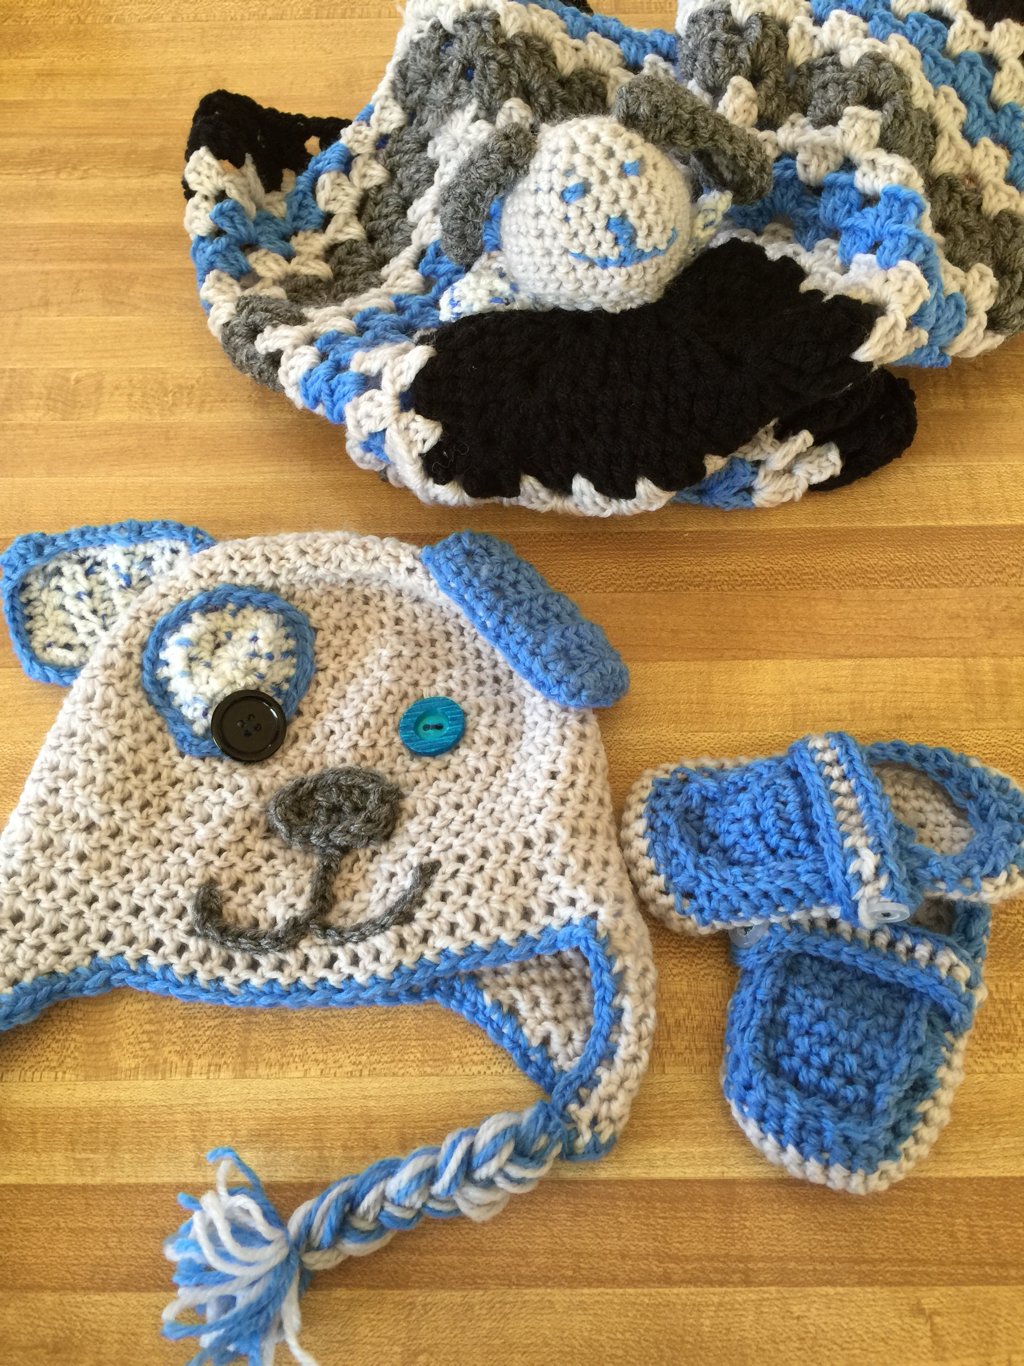 I used this Bunny Lovey PATTERN and adjusted it the ears to make it a puppy. 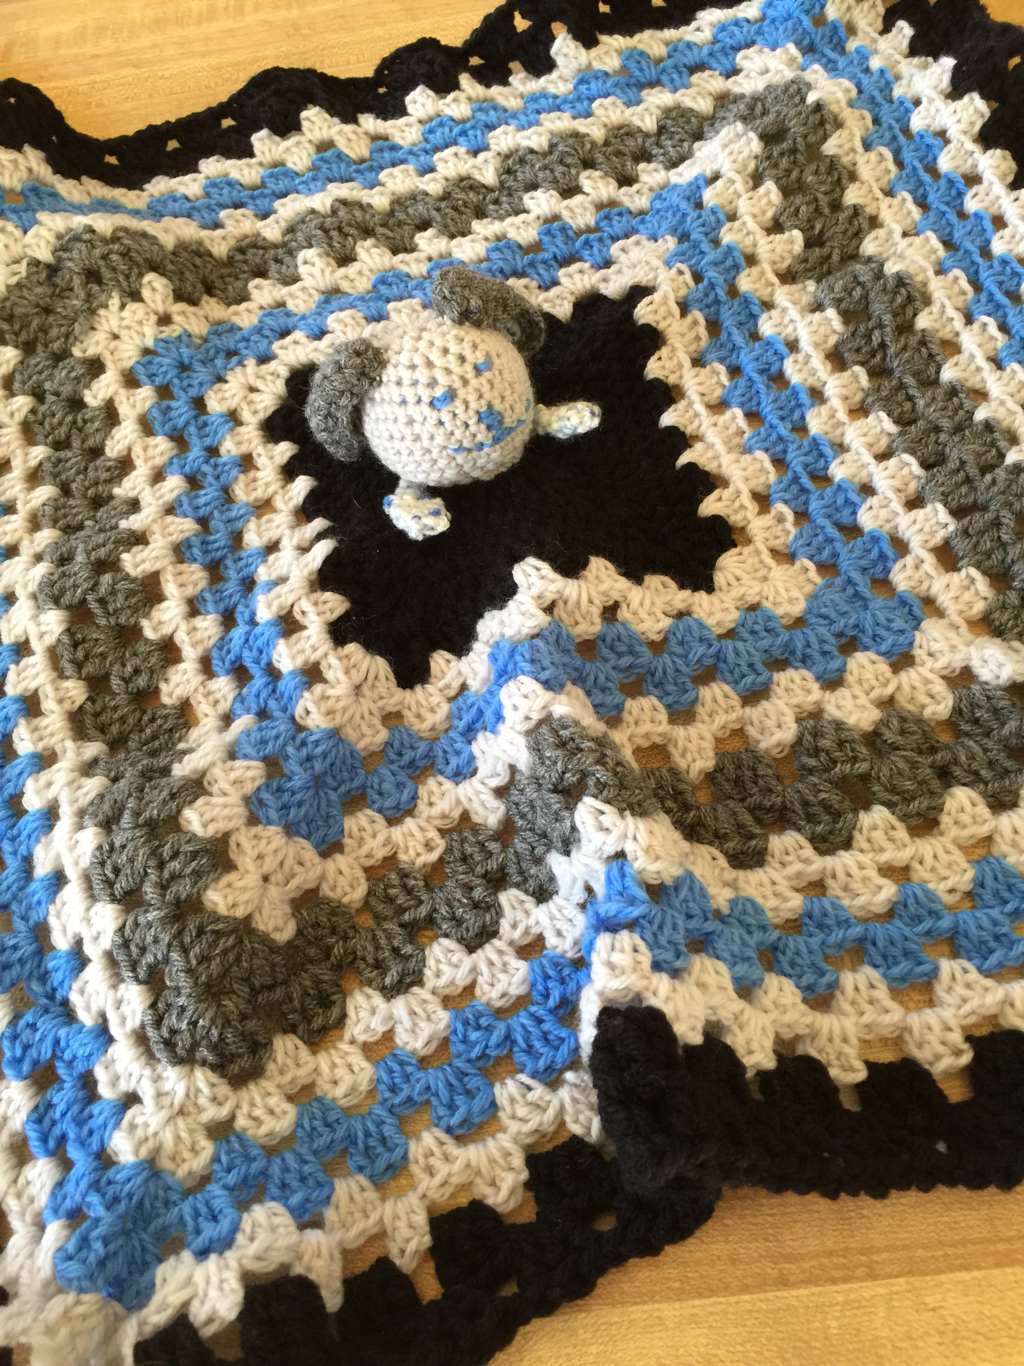 I can't wait to see this hat on him!!! This PATTERN was very easy to follow. 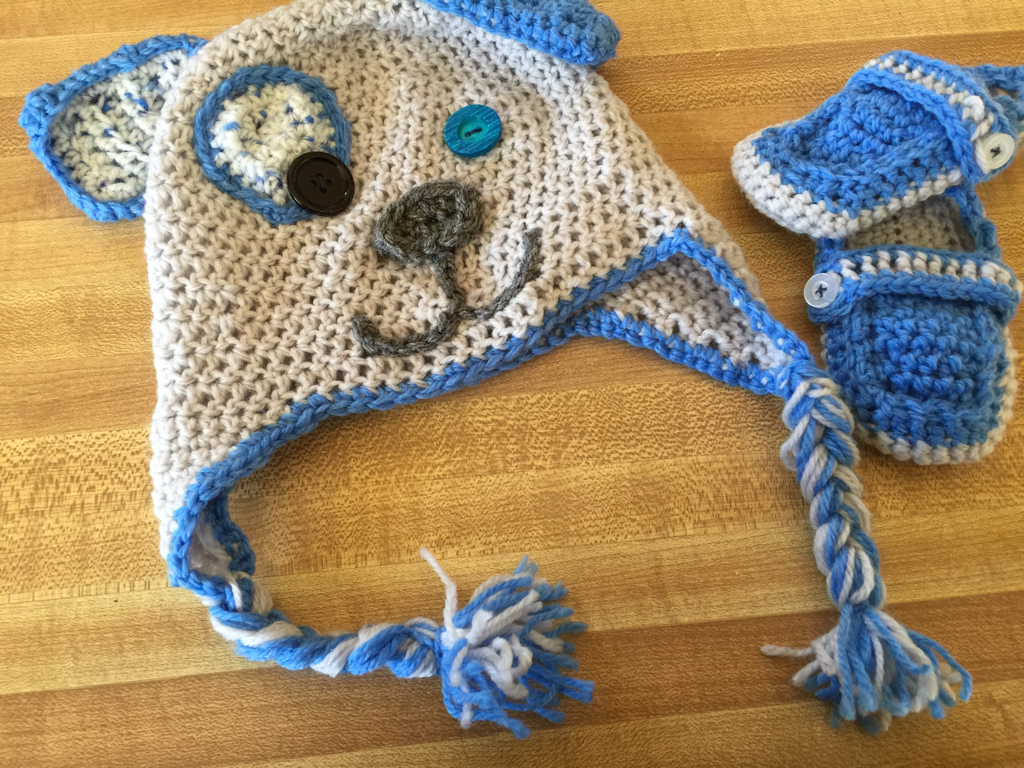 Since I had some extra yarn at the end I decided to make a little pair of loafers to match <3
I seriously cannot get enough of this adorable hat. The color changes were ALOT, but it was so worth it because the colors give it the perfect look. 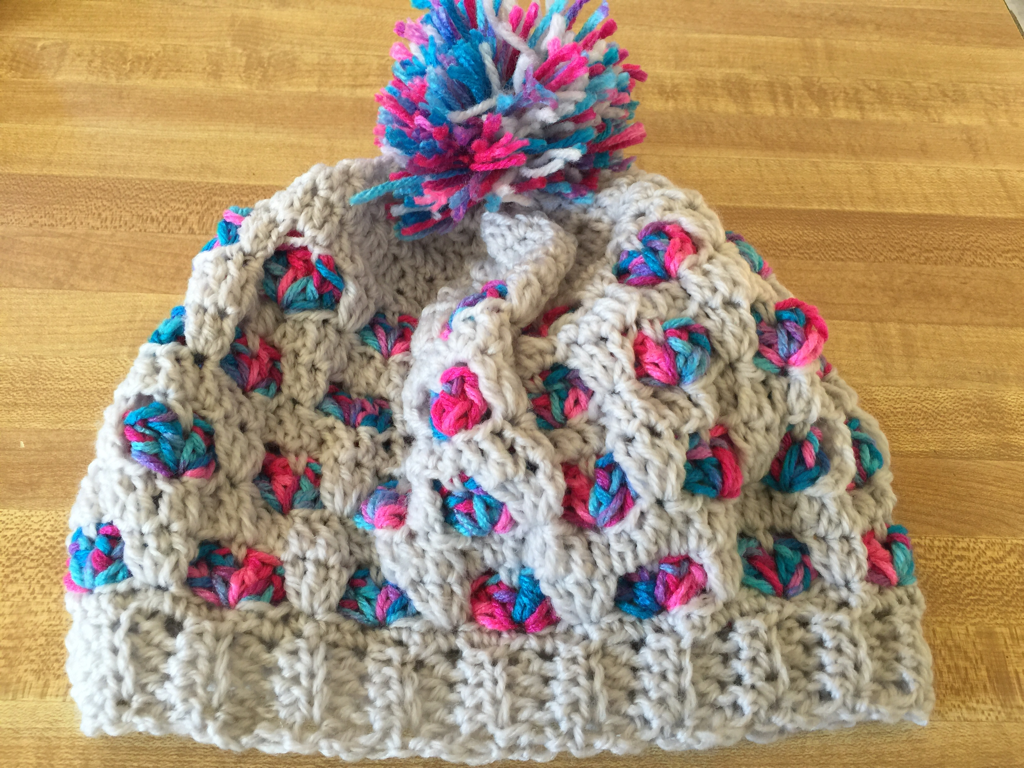 HERE is the link for the pattern :)
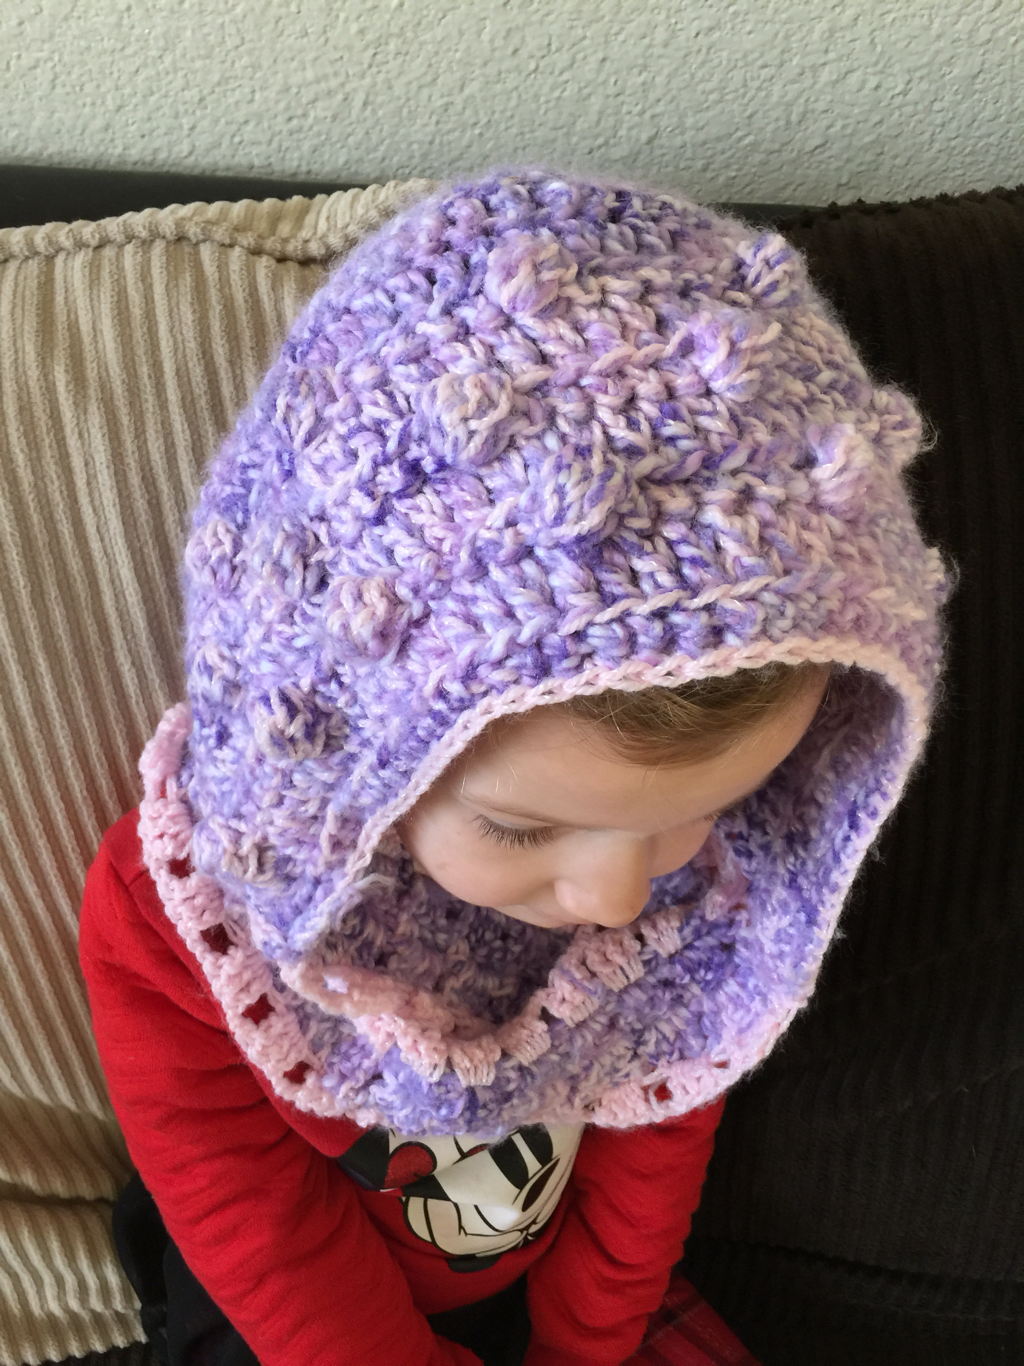
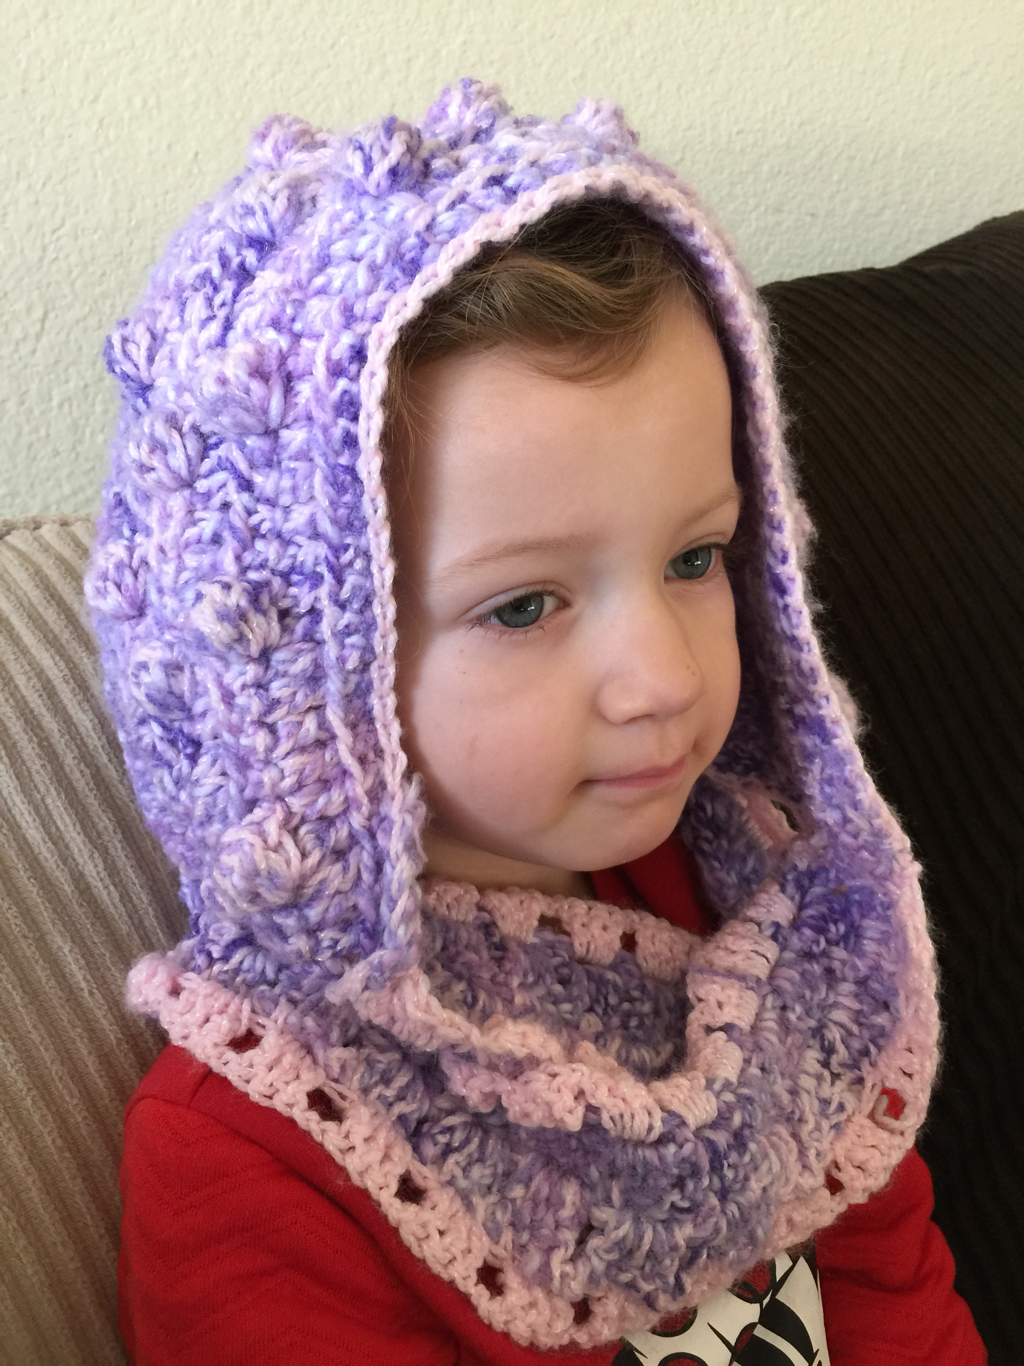
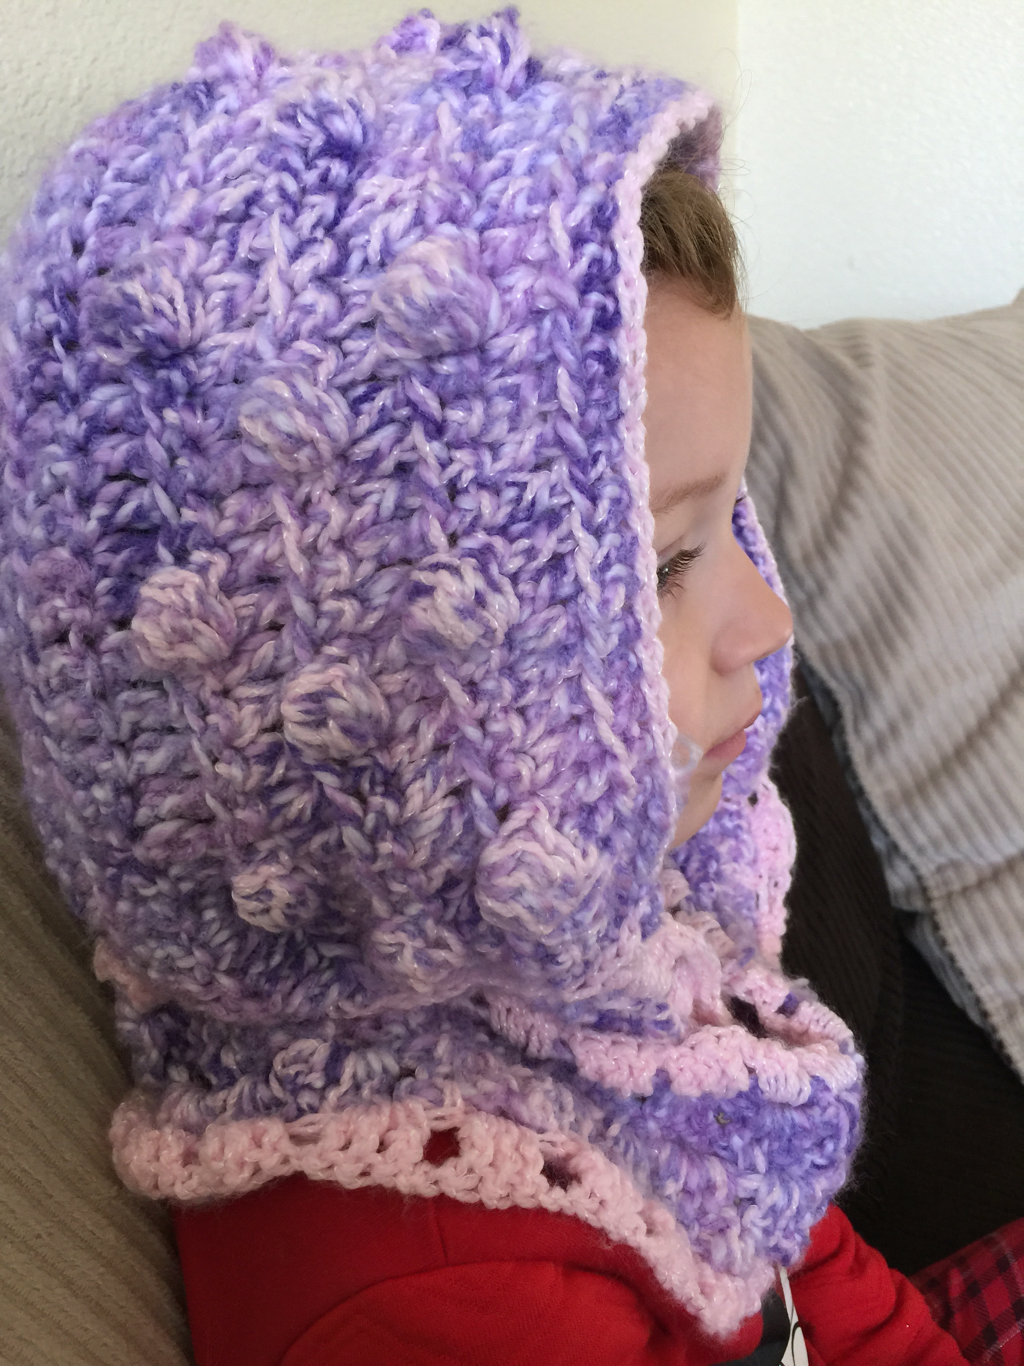
Here are a few fun projects I did over the past few months. Unfortunately... I can't find the patterns! But they are too cute not to share :) L-Bug loves this hooded bubble scarf!
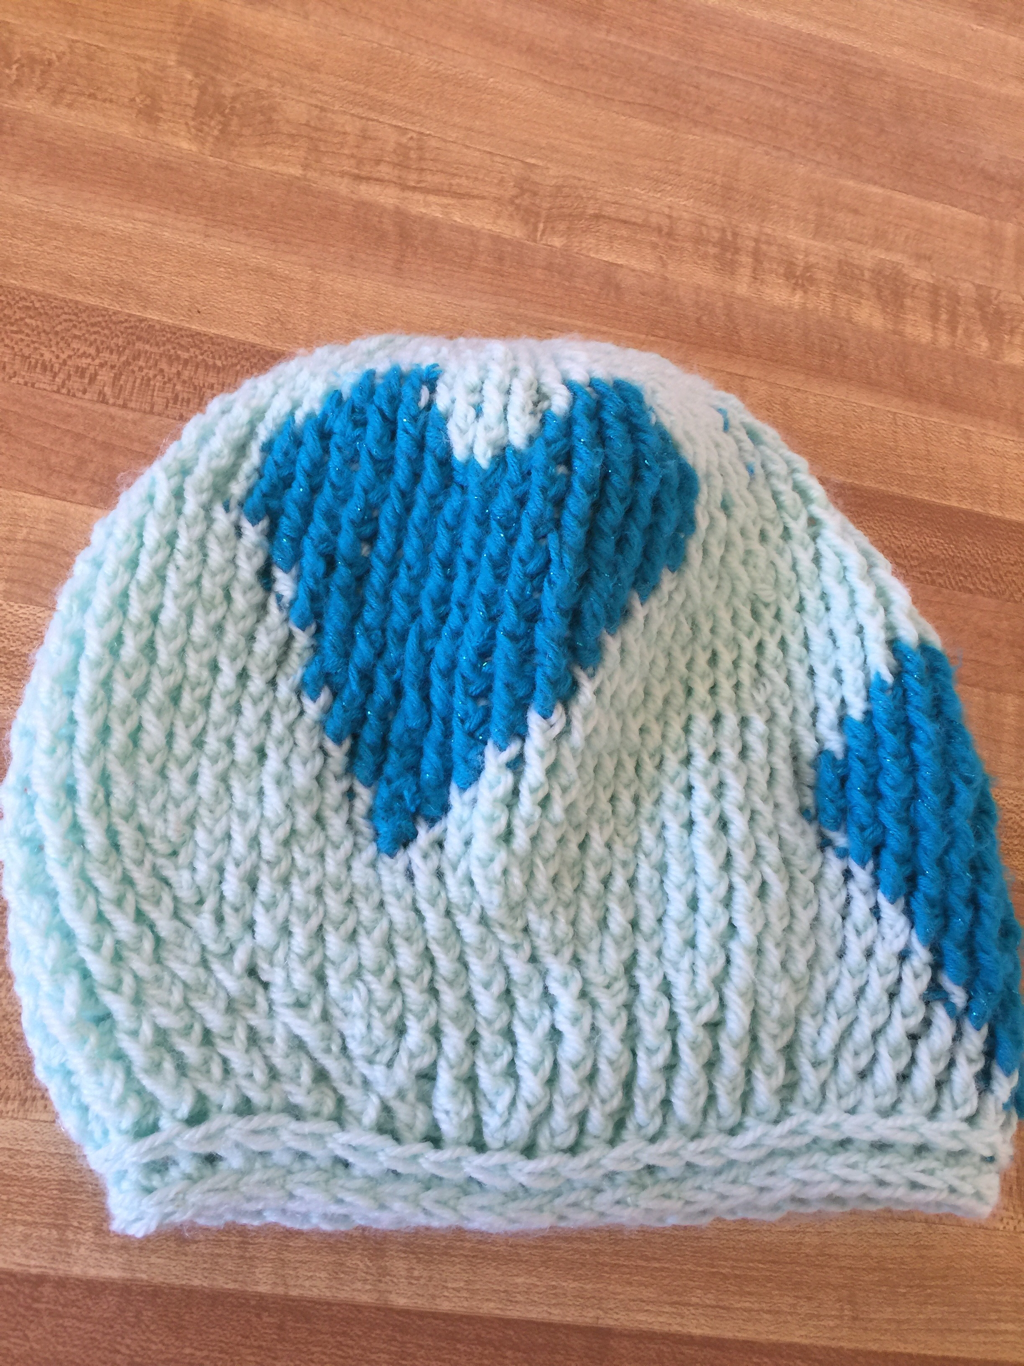
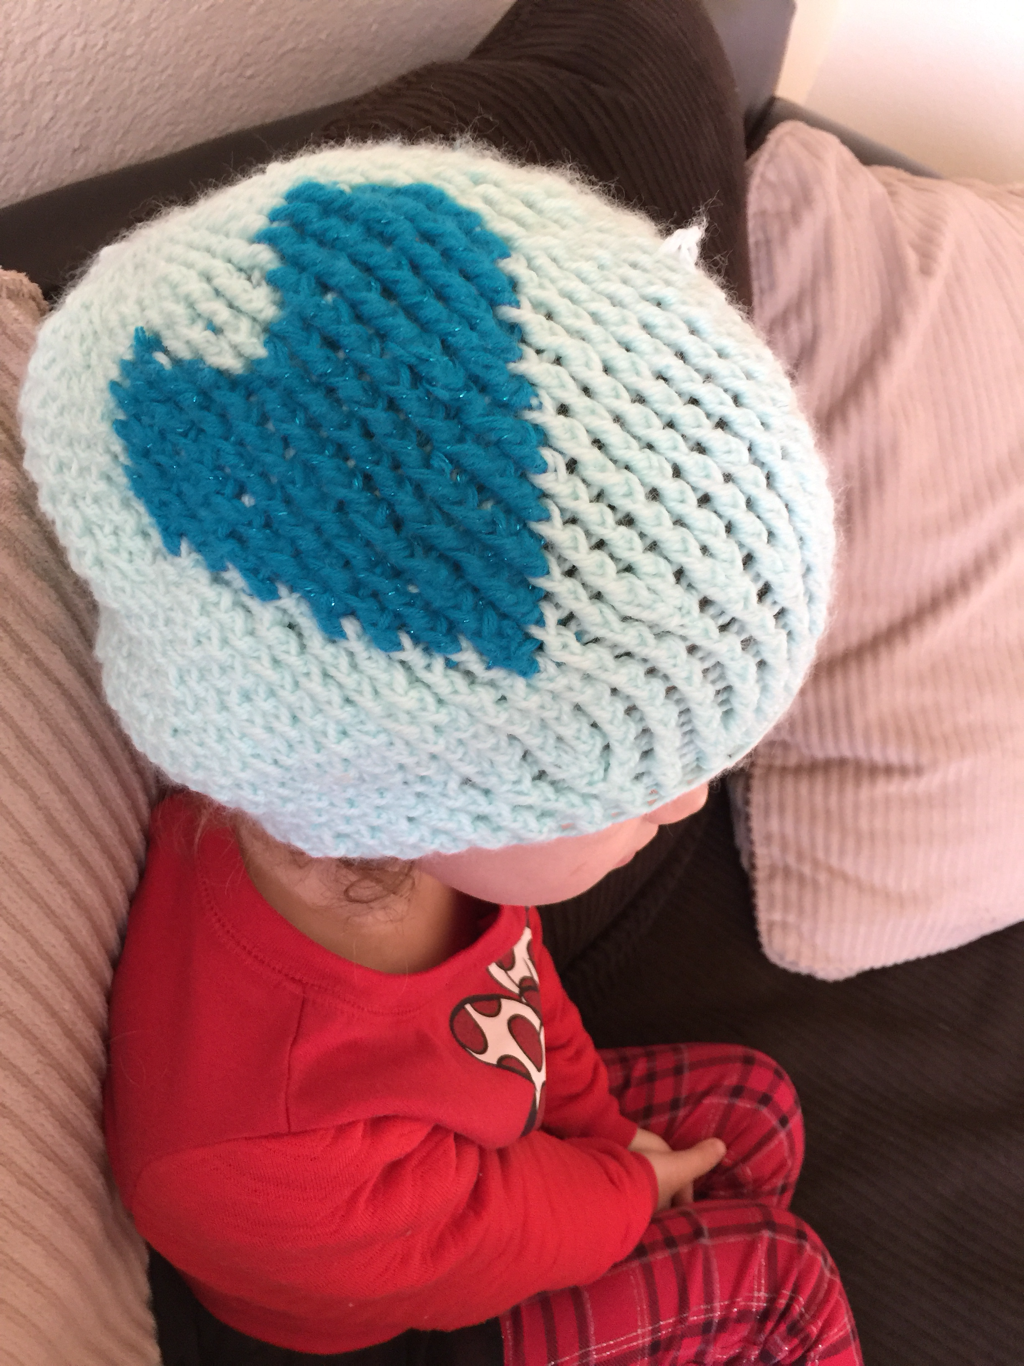
 This slouchy beanie has two hearts <3 I do dislike the away the vertical rows are wavy near the bottom, but the design is pretty and the colors are adorable together!
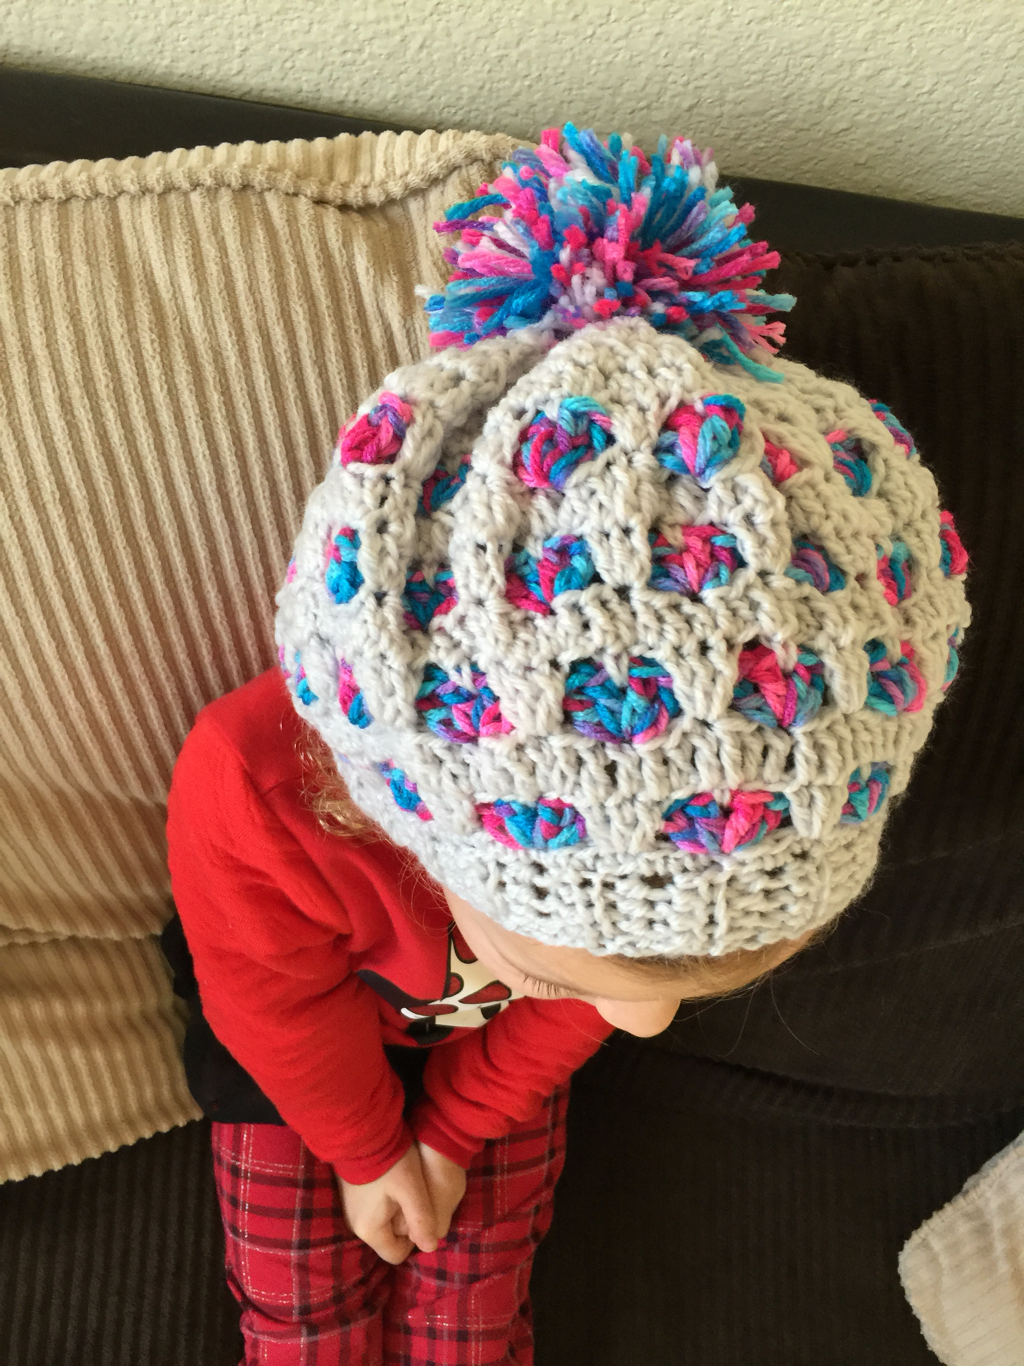
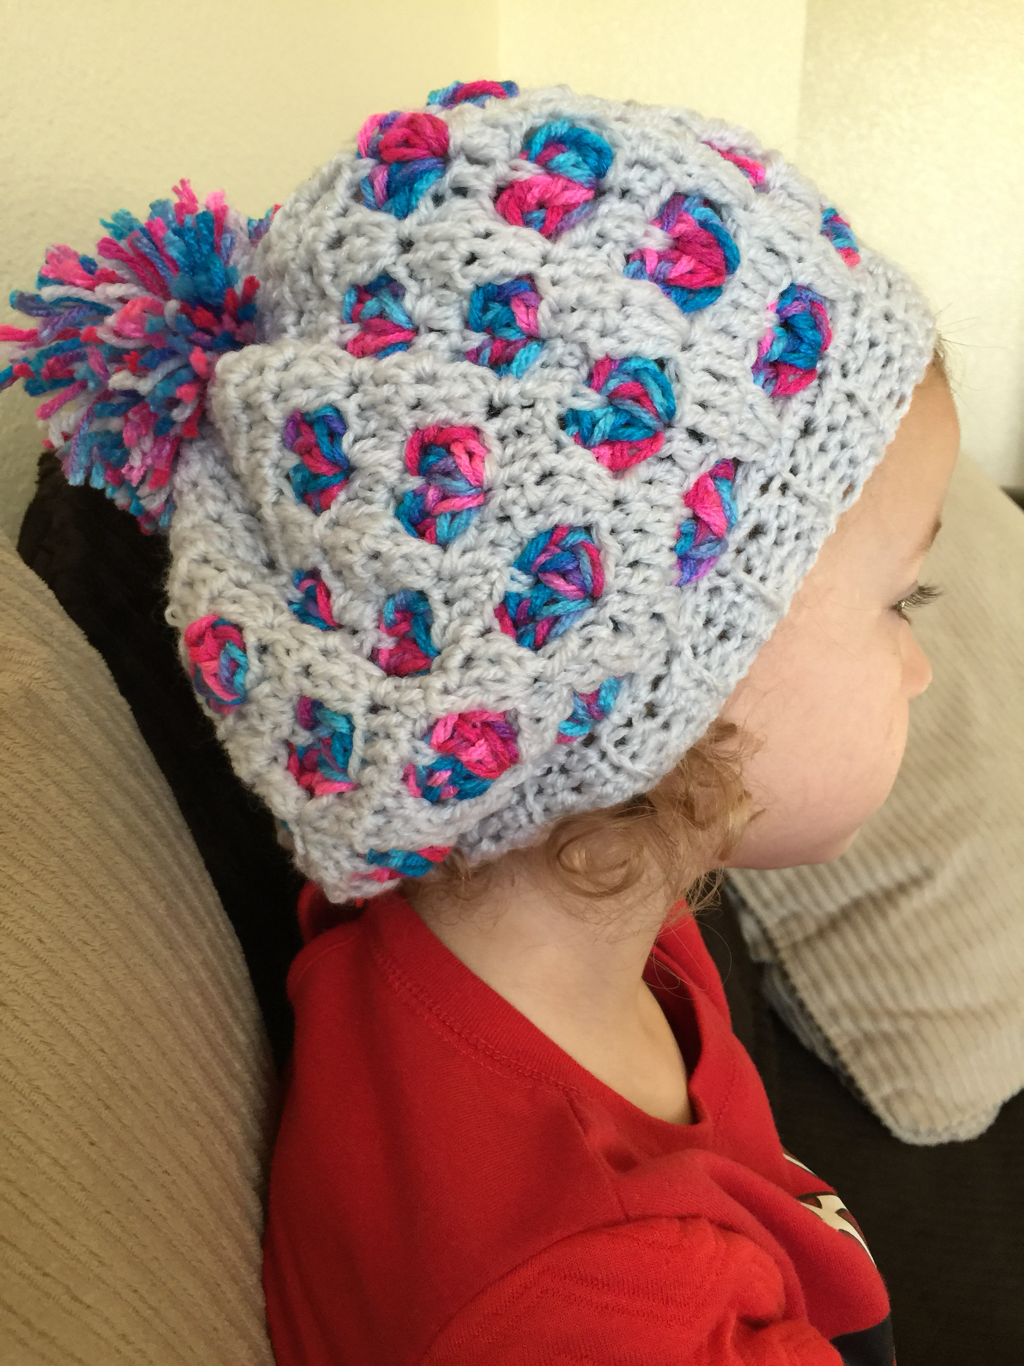
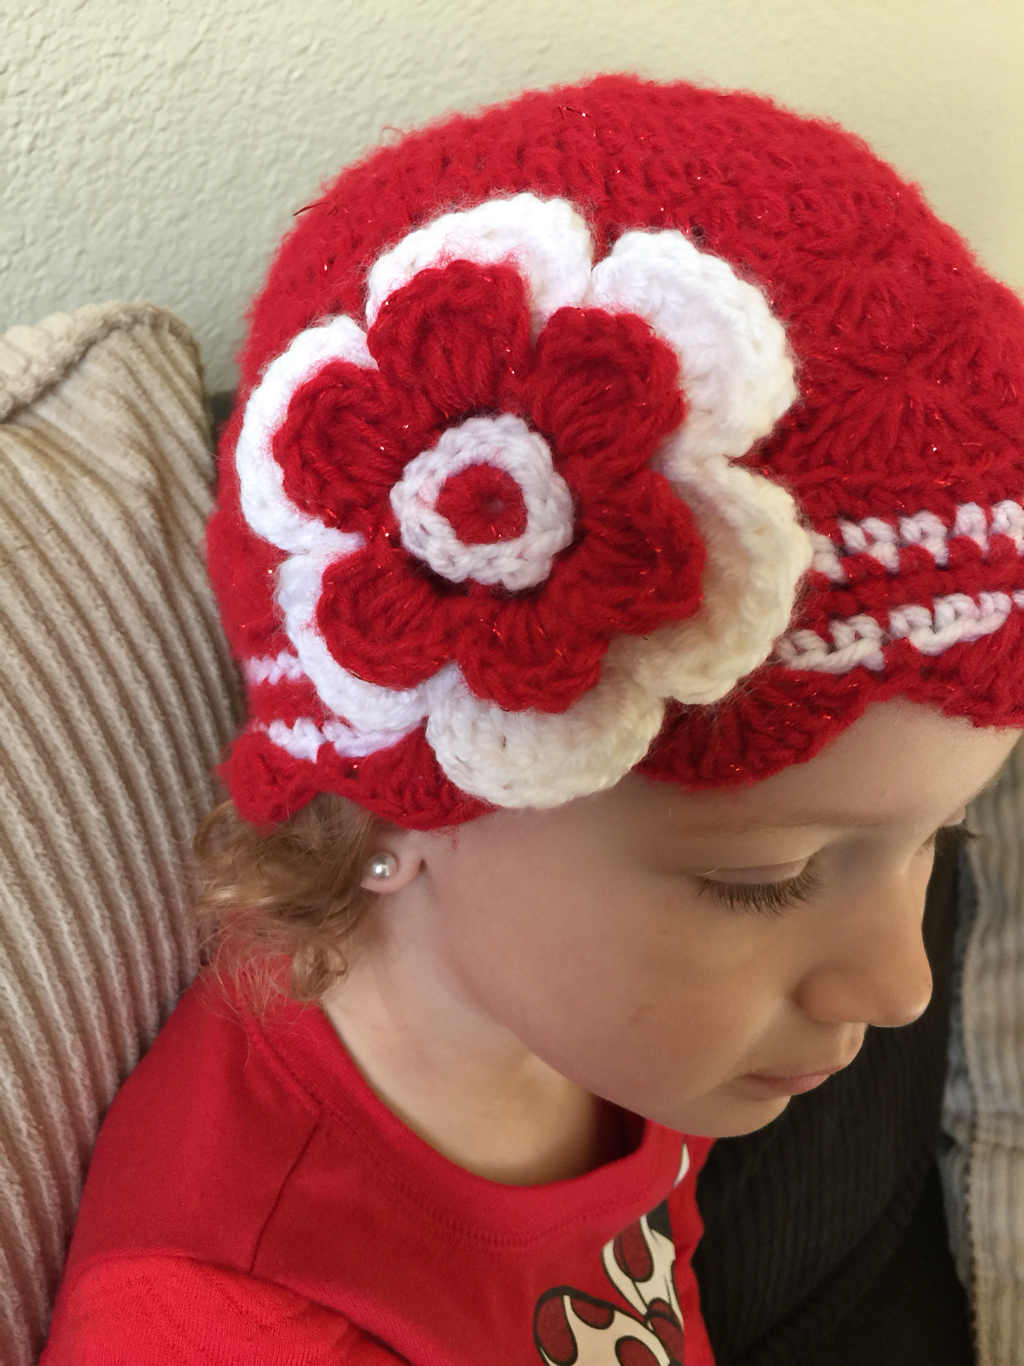
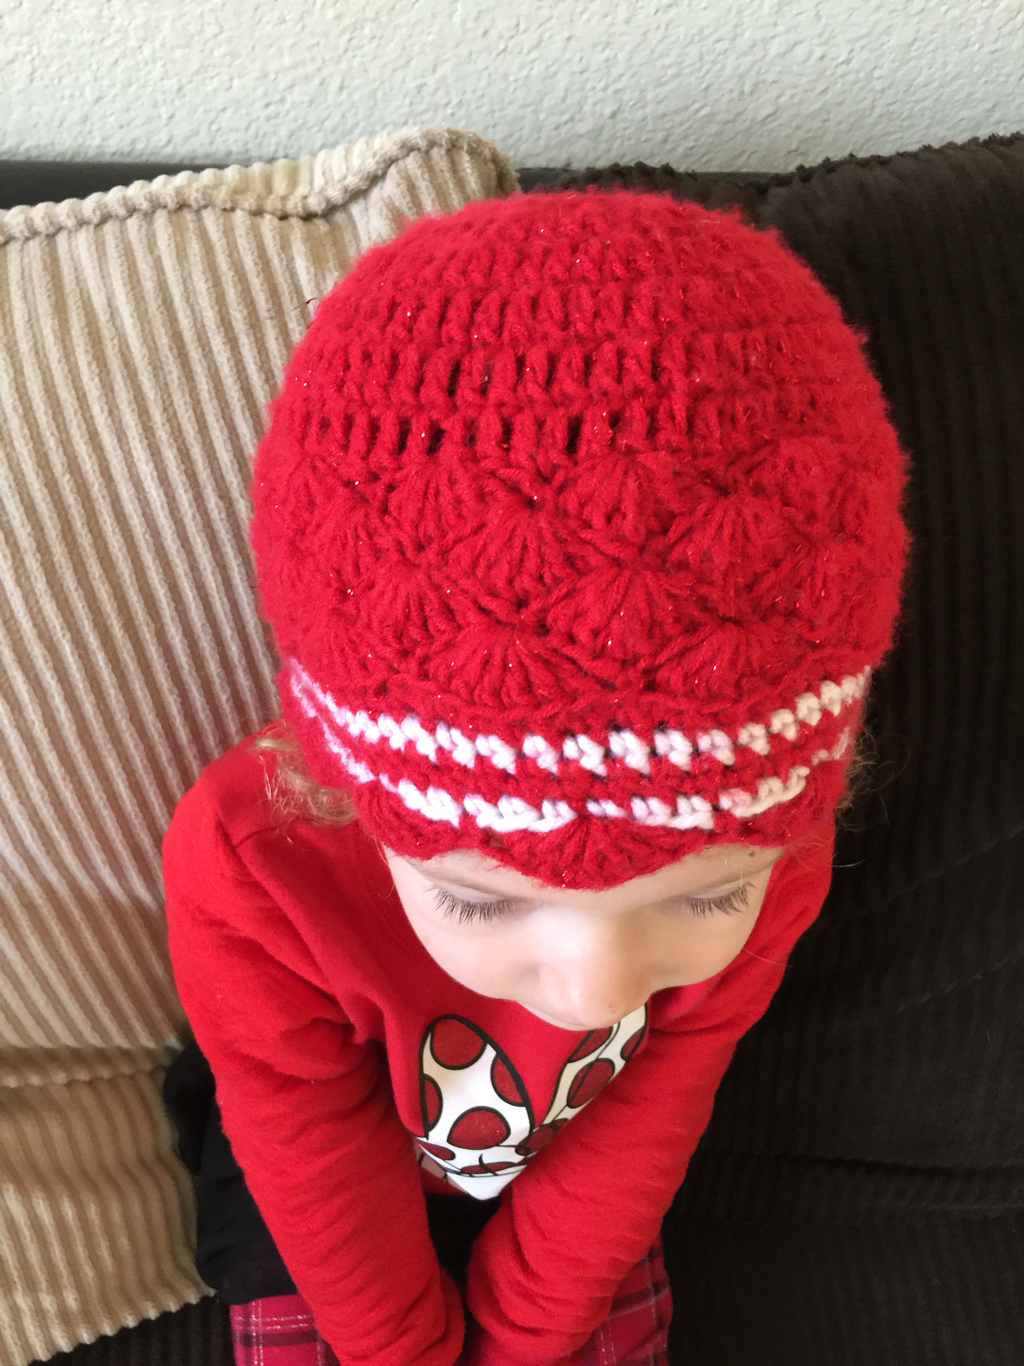
This hat is one of my favorites! The shells designs area beautiful embellishment. When I crocheted the flower I didn't attach it directly onto the hat, I actually put it onto a pin so that I could remove it from the hat or put it on depending on the outfit L-Bug would be wearing. 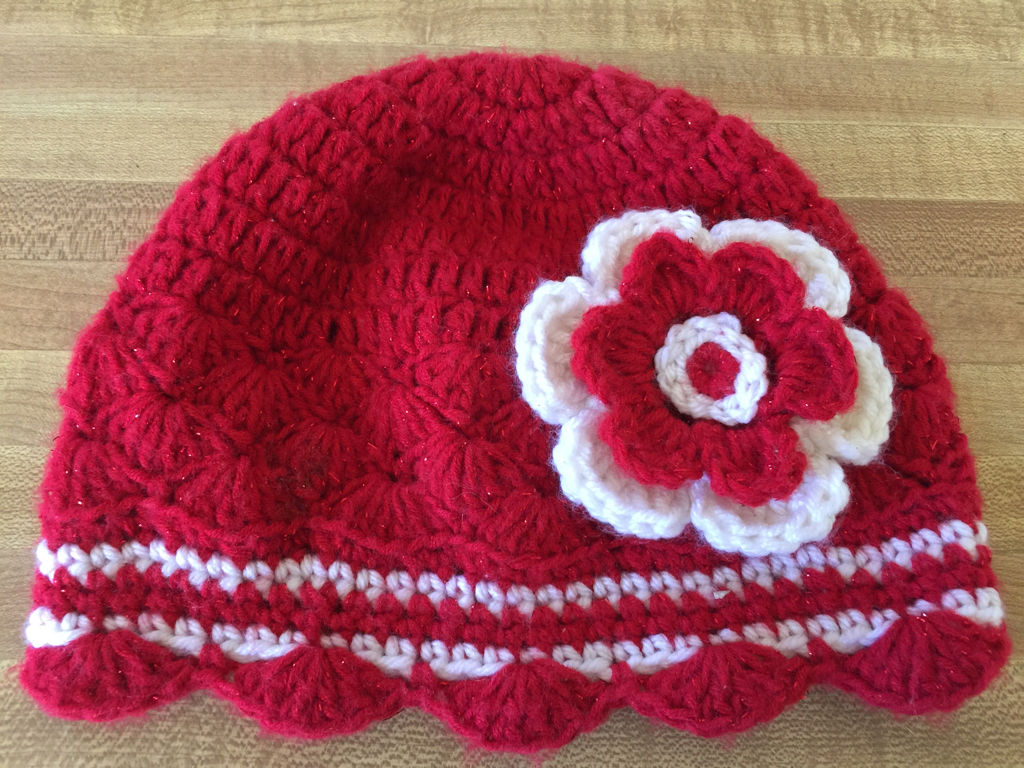
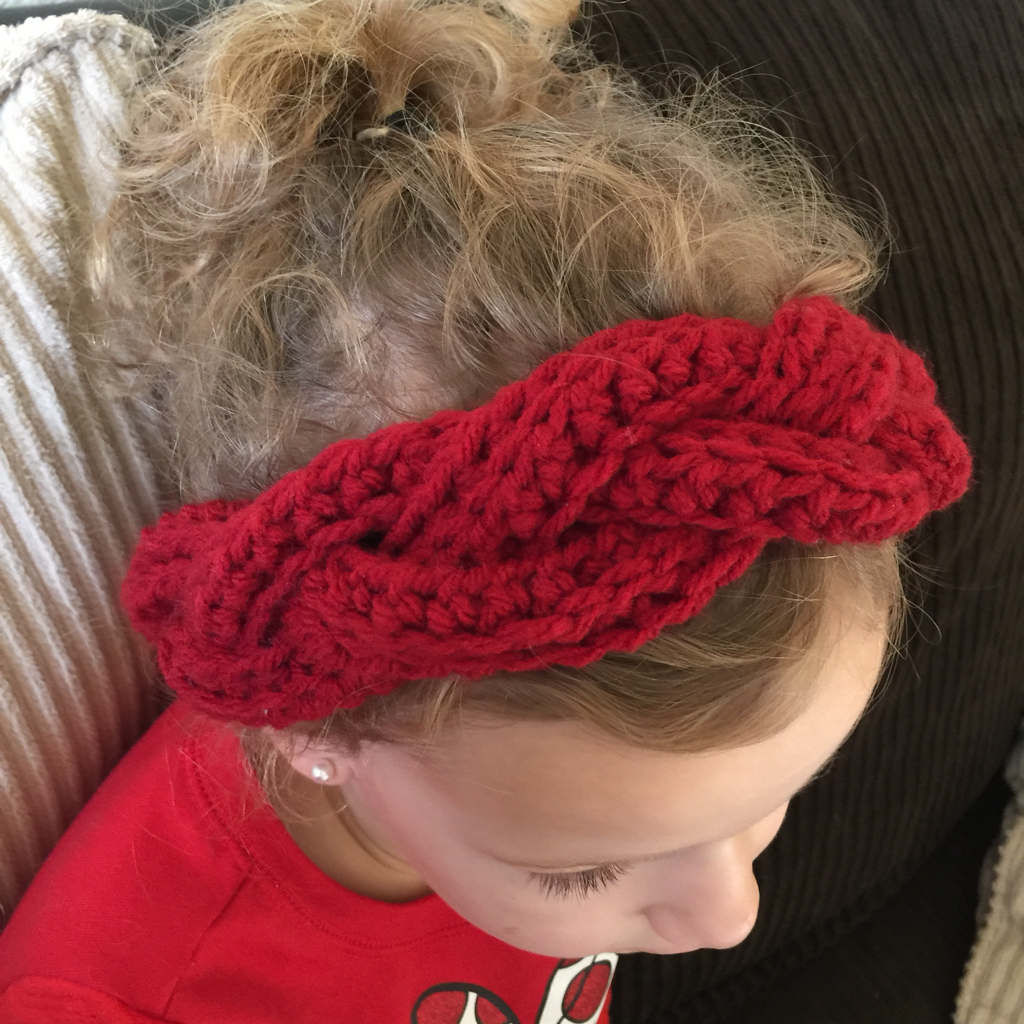
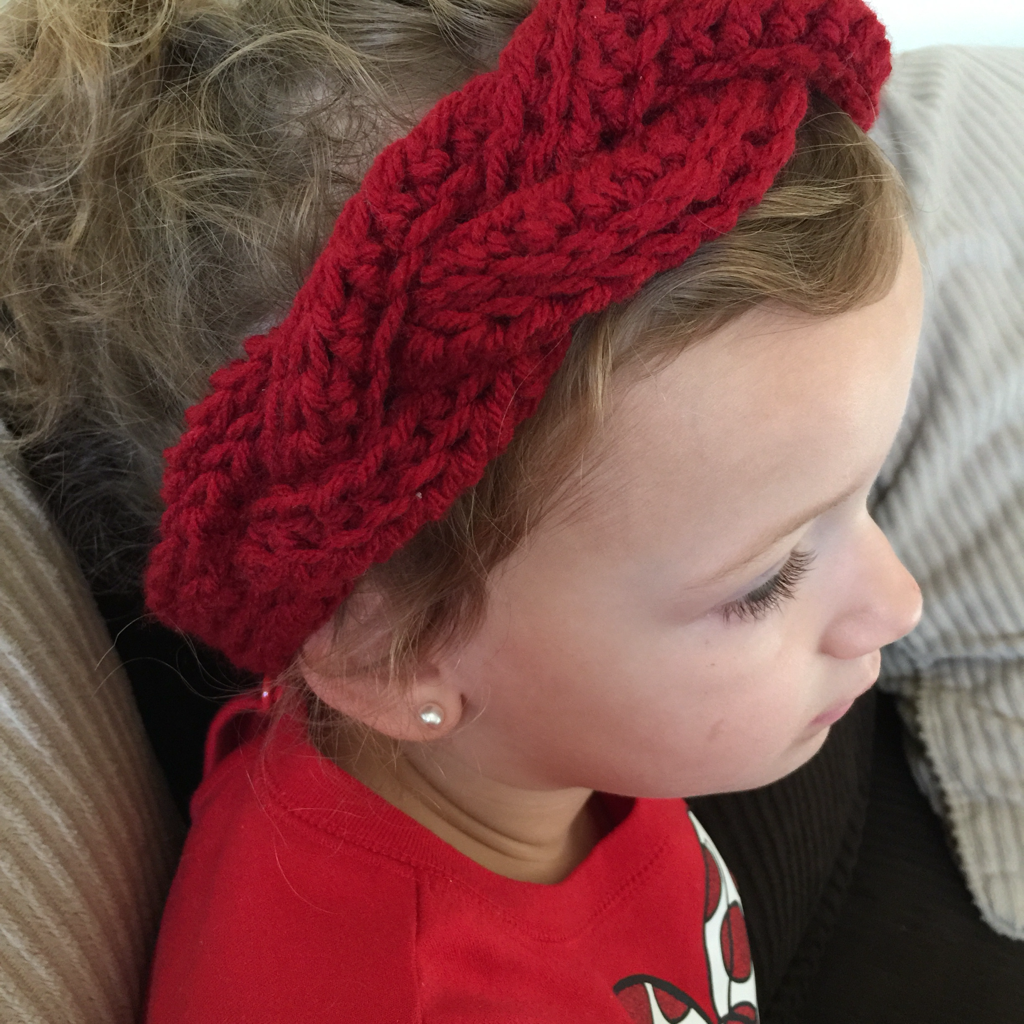
I really like the versatility of having the flower be detachable. 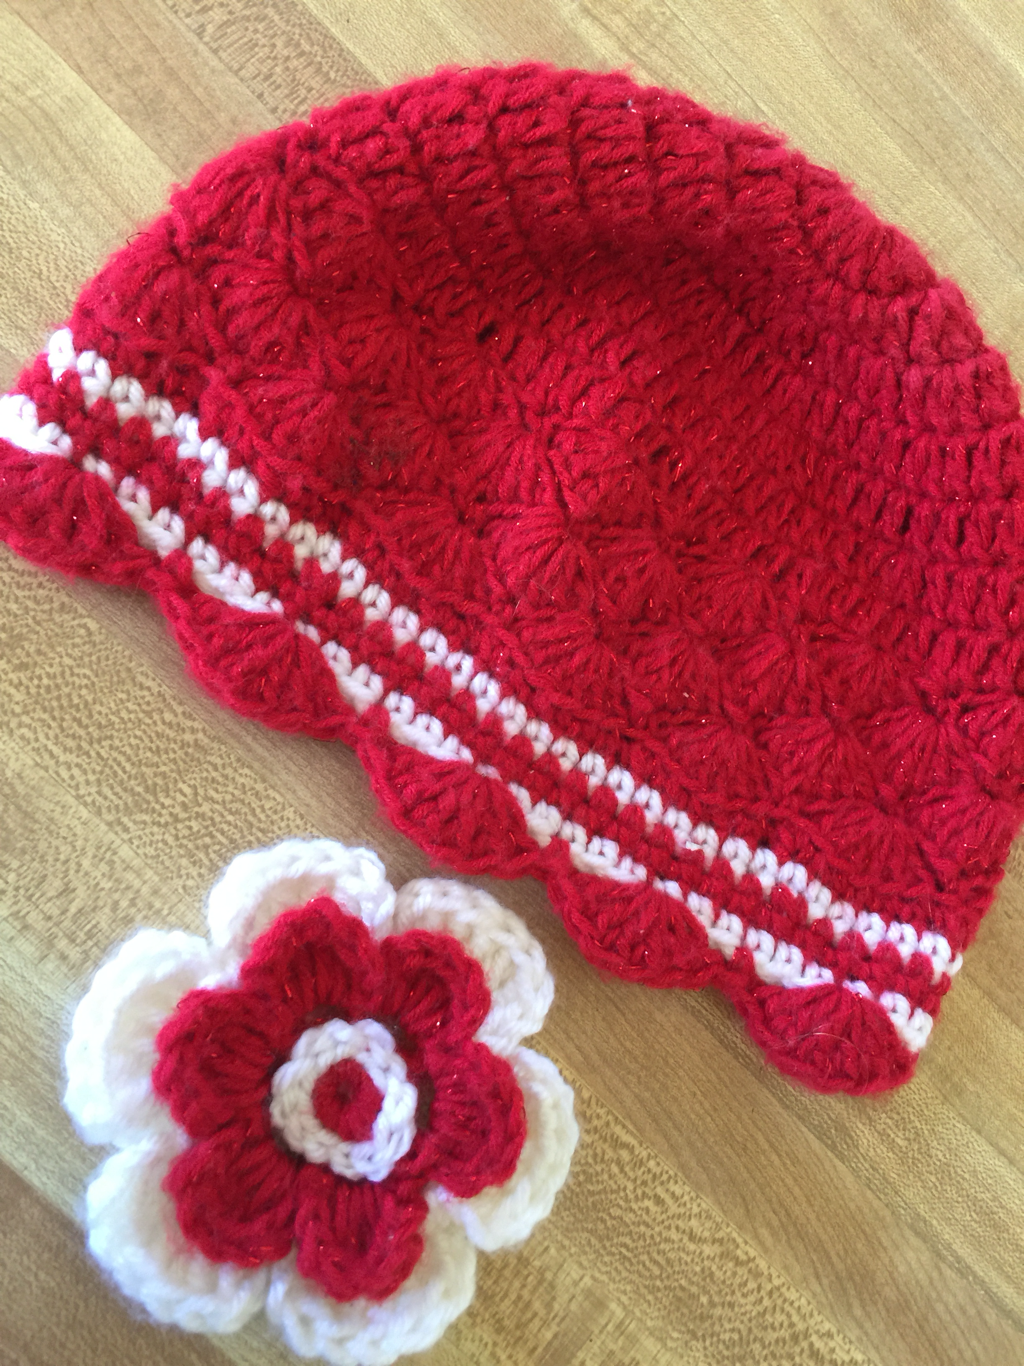 I saw THIS adorable pattern for an ear warmer and knew that I needed one! Naturally so did my mini-me :) I was so surprised at how simple the pattern for the ear warmers were! 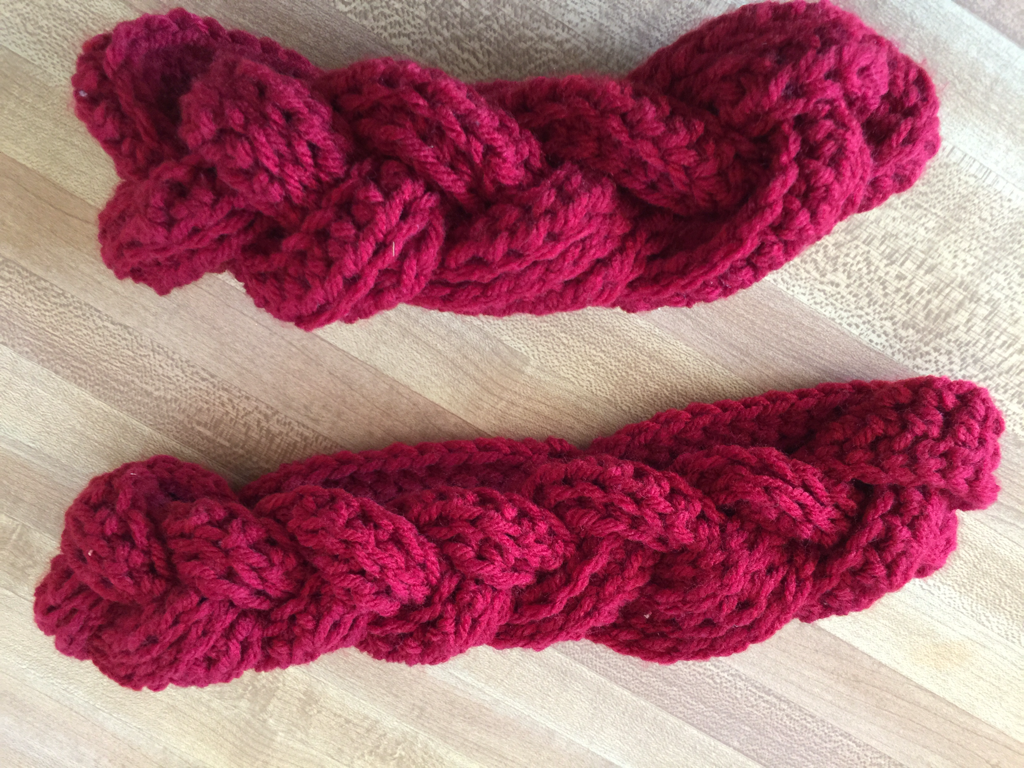
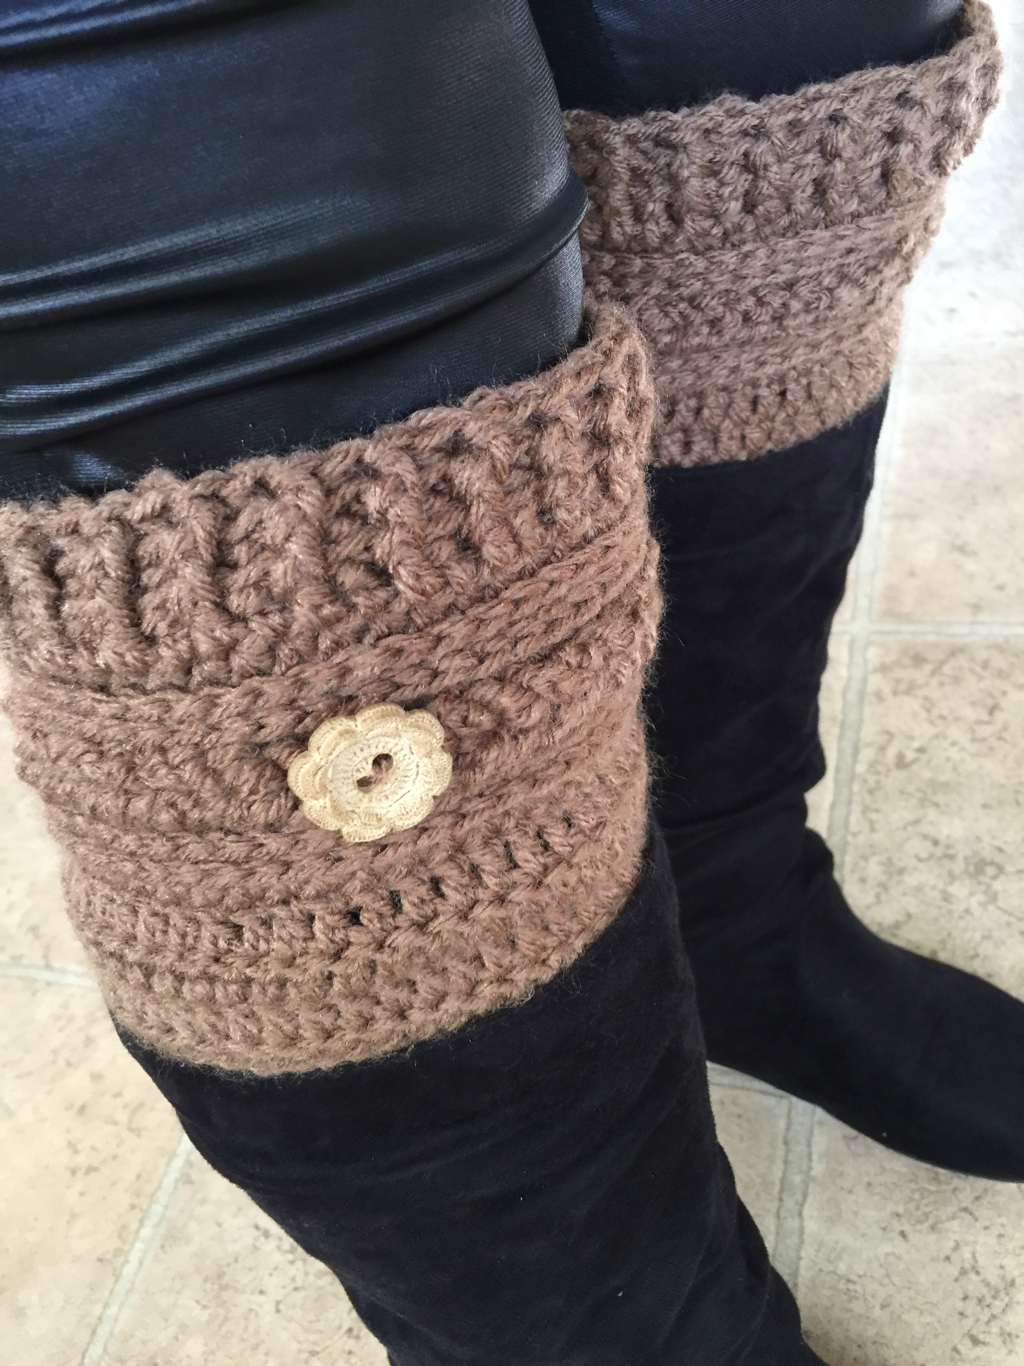
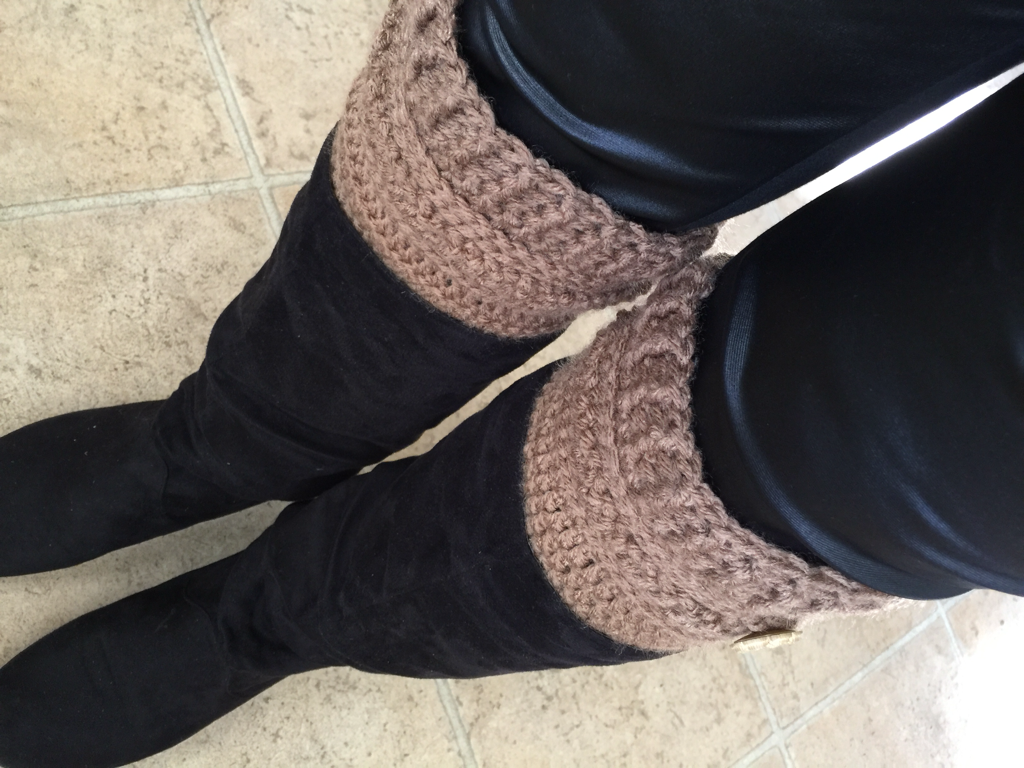
I made us matching ear warmers and then searched for a new boot cuff pattern. 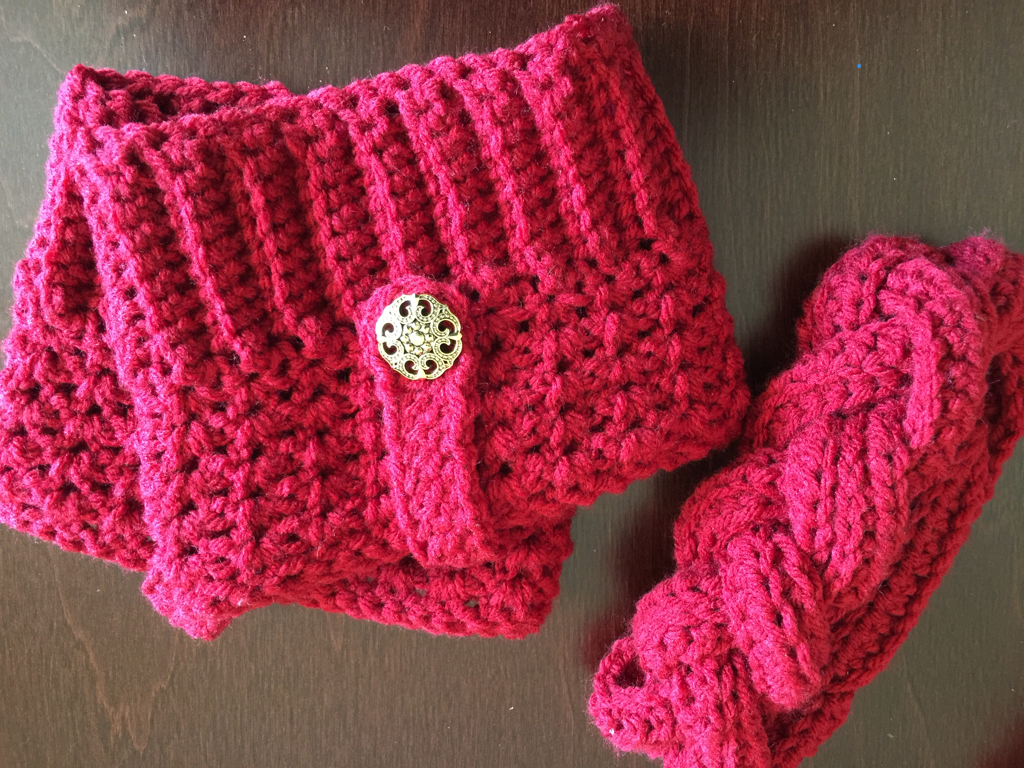 The boot cuffs were fairly simple as well. I love the strap embellishment! 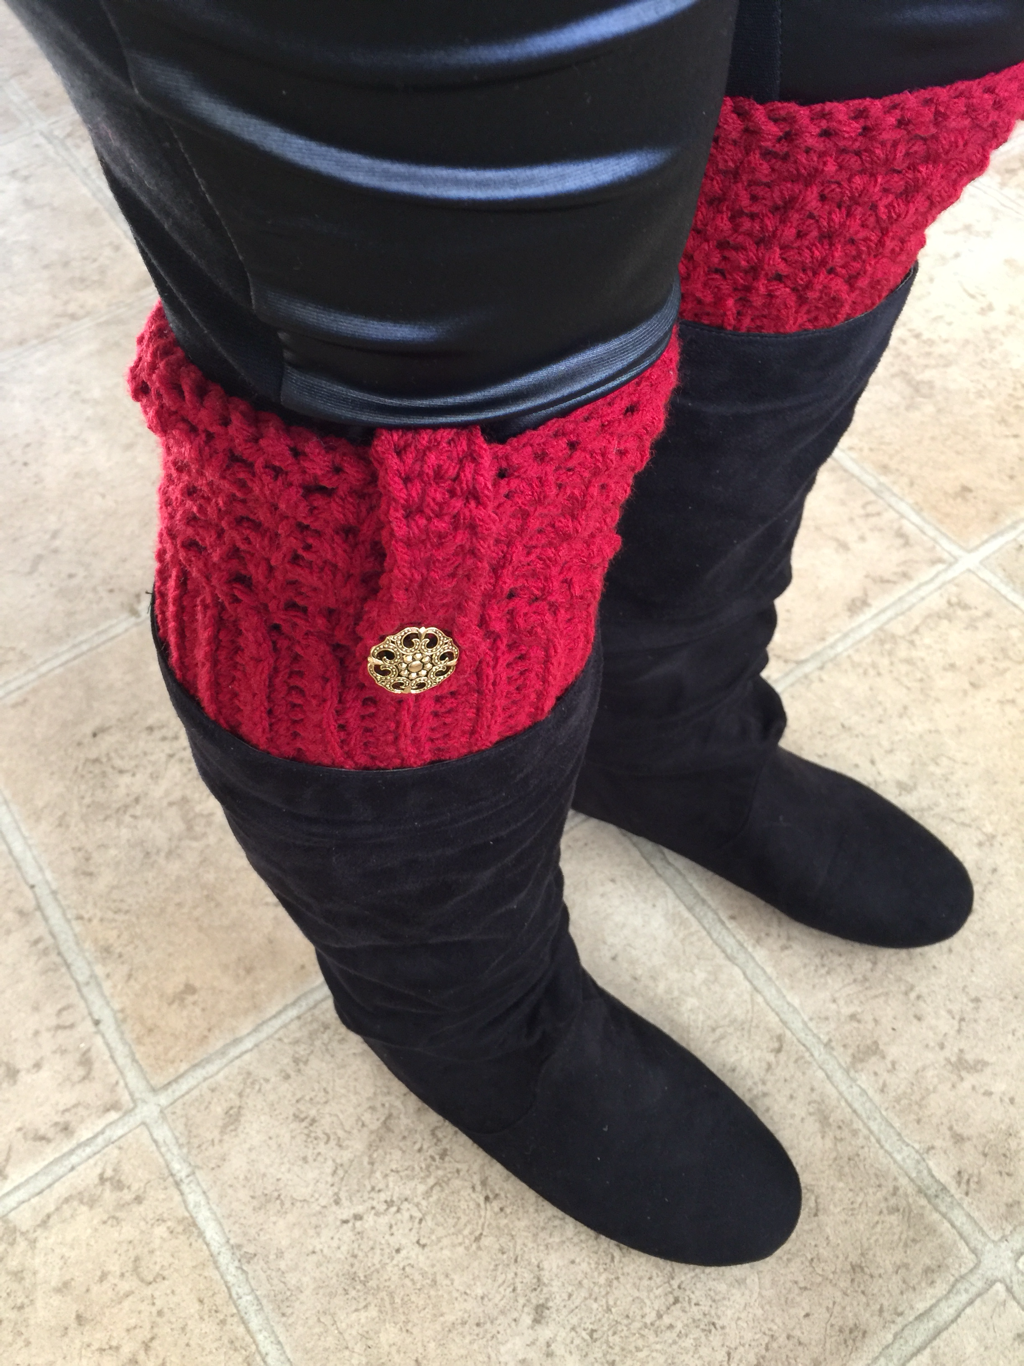 What do you think of the golden button I chose to go with the ruby red color?! 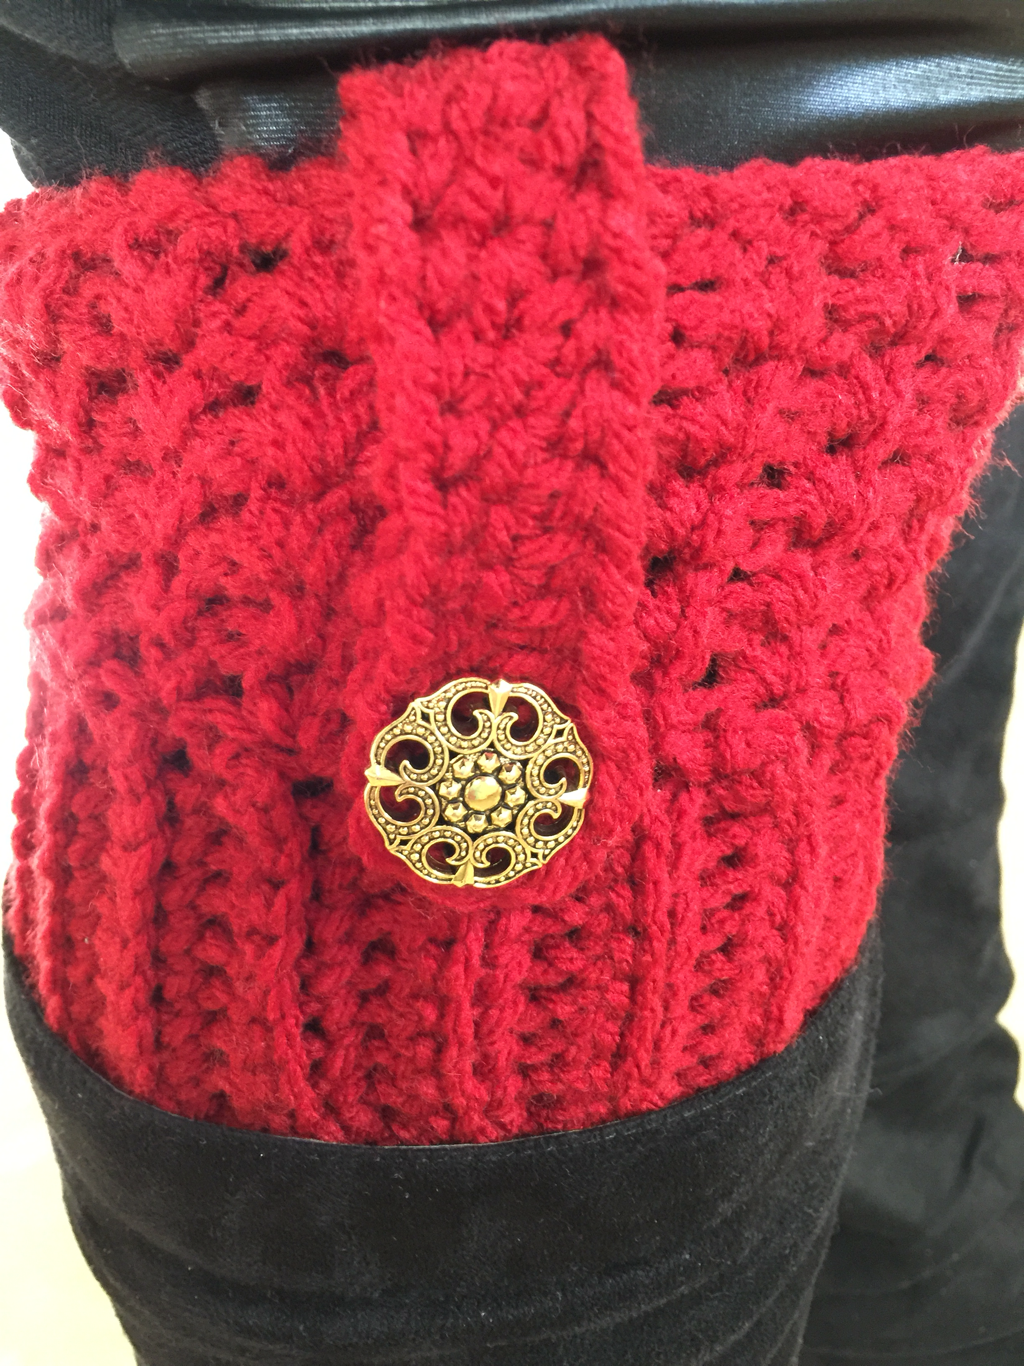 I went on a bit of a binge creating some adorable sets! My favorites so far have been the boot cuff and head band mommy & me sets :) 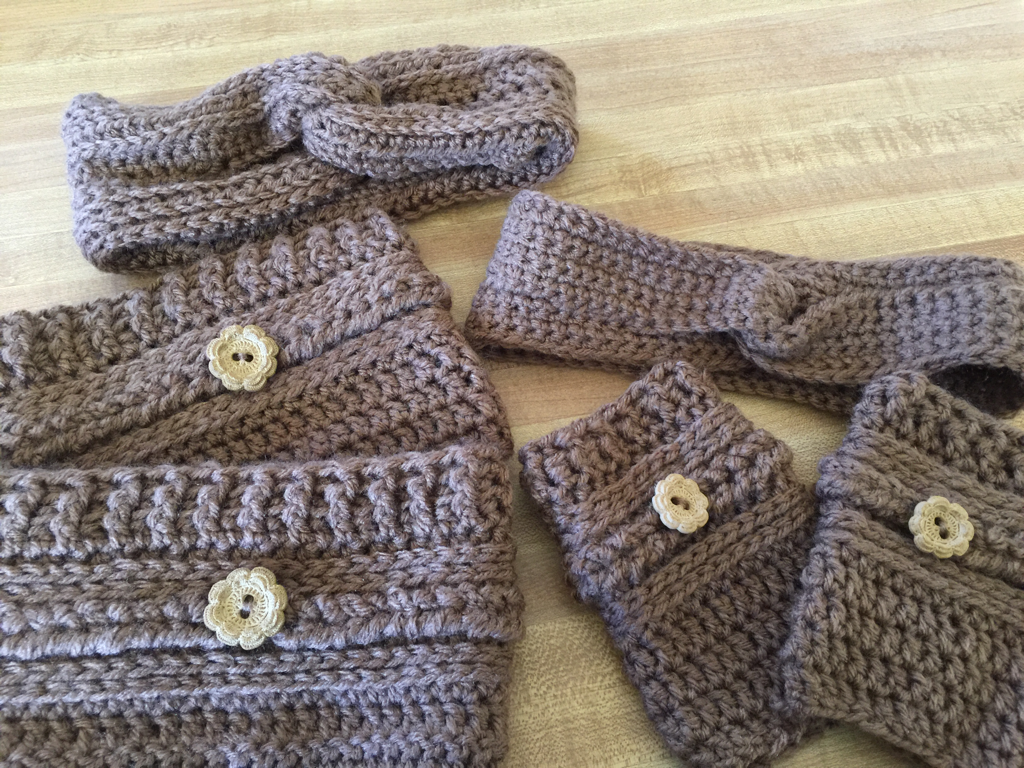 After some exploring on Pinterest I found a few adorable patterns and got started! HERE is the link I followed to get the boot cuffs. I love all the little details on these "Ups and Downs" boot cuffs. They look absolutely adorable on and the pattern made it VERY easy to determine size. 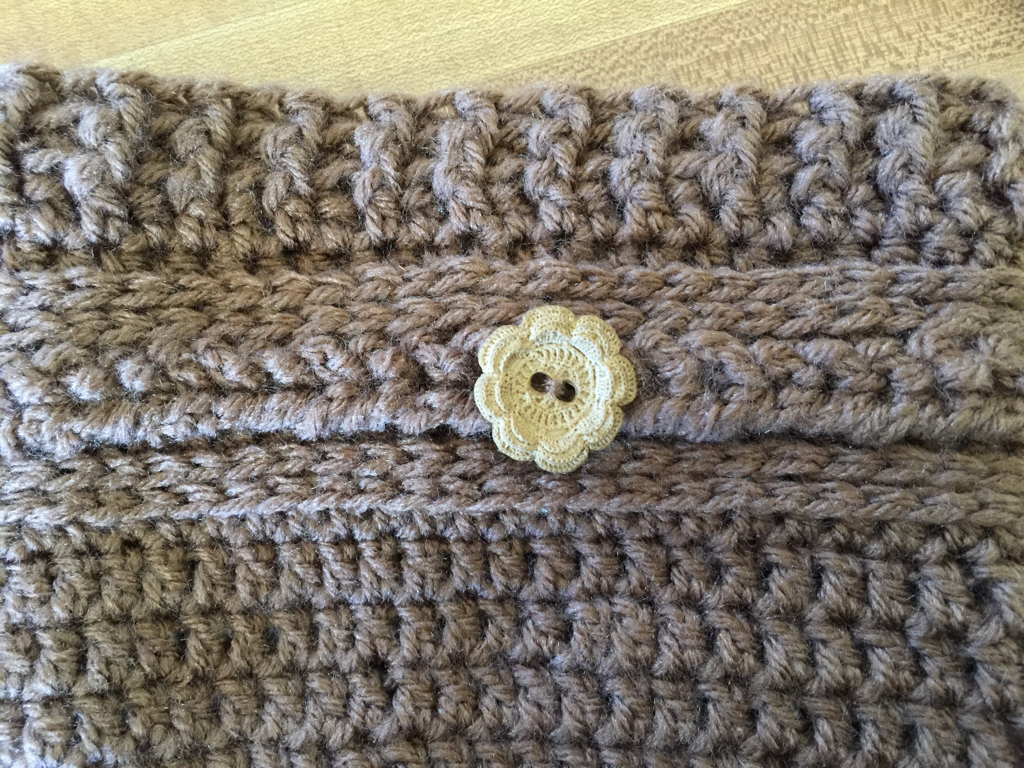
 HERE is the link I followed for the headbands. My daughter LOVES her headband and I think she likes when we match even more <3 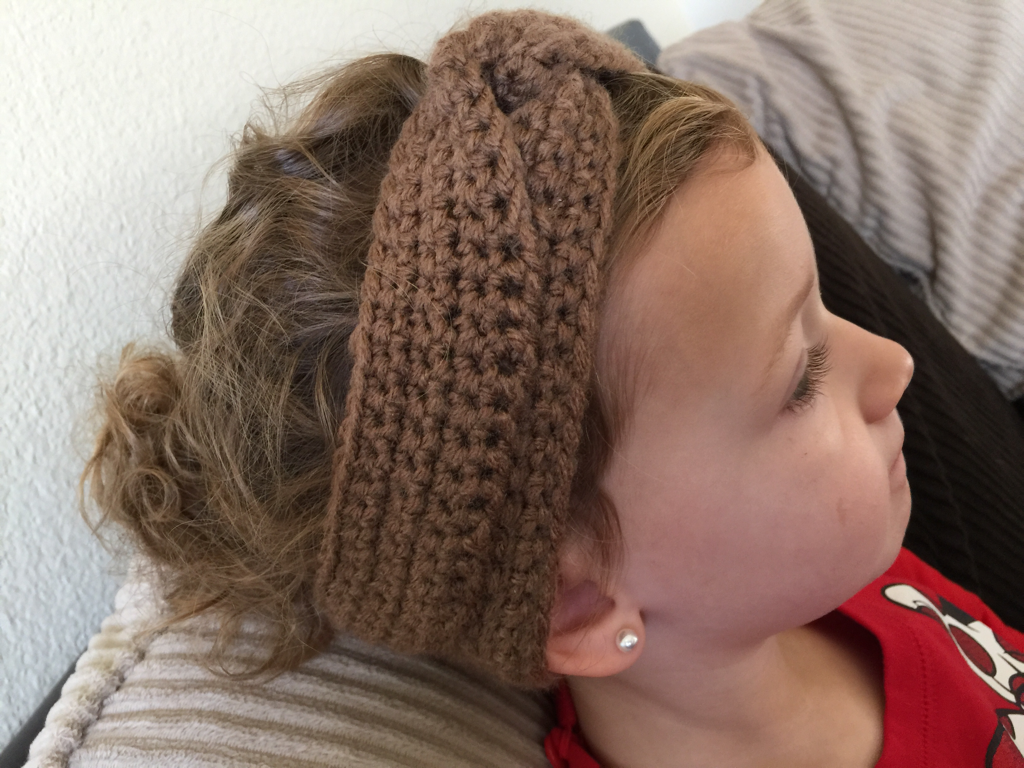 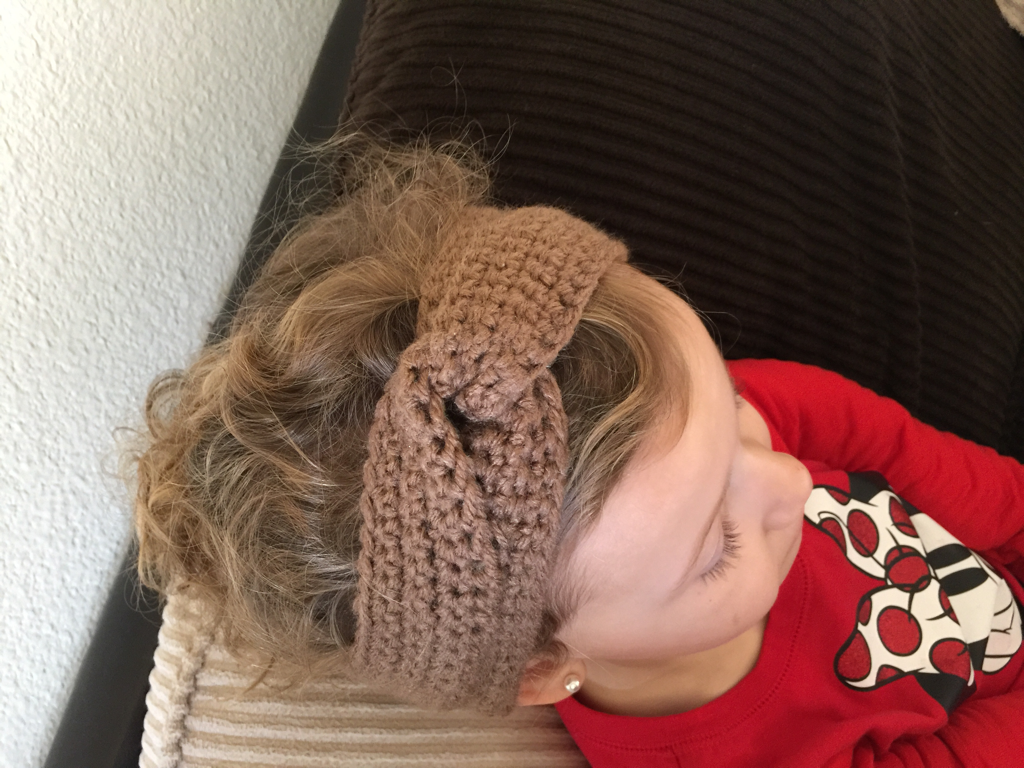 The set is cute and fun! 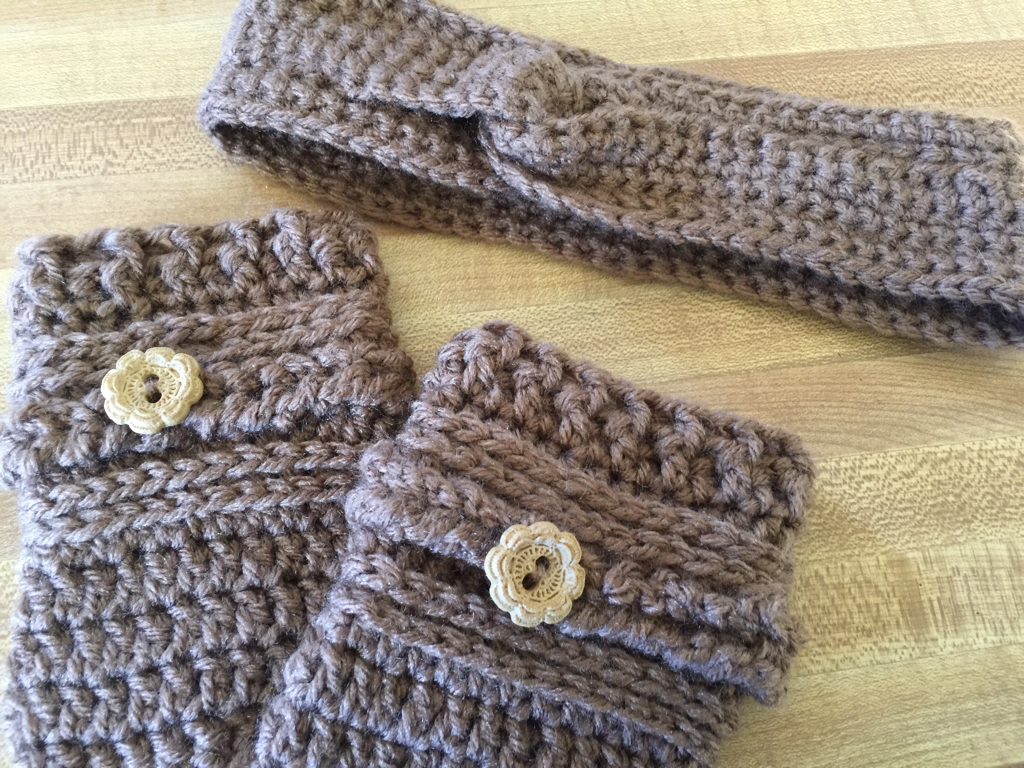
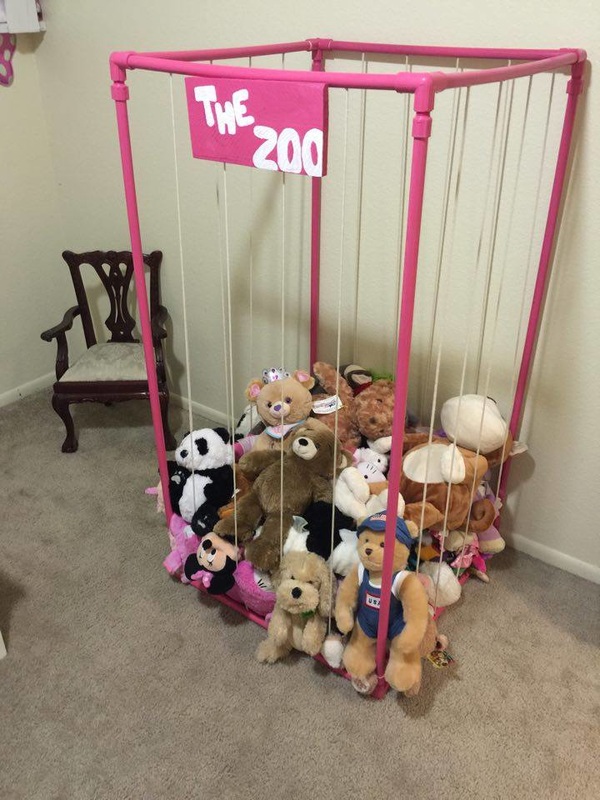
I finished one more project on my list for L-Bug's room :) I'm so excited how this piece turn out! It was so simple and cost less that $20 to make and less than 3 hours.
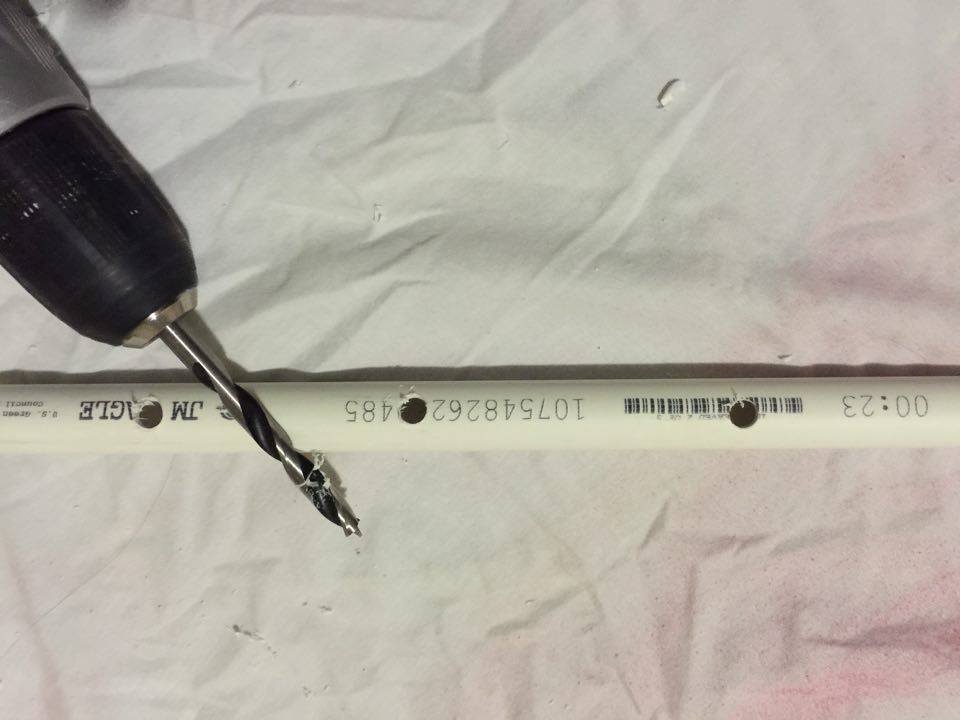
The first step was to purchase all of the materials I needed. All of my poles were 1/2" pieces and I needed (4) four foot poles, (8) two foot poles, (8) three-way elbow connection pieces, one can or pink spray paint and one roll of nylon rope.
My first step was to cut my PVC pipe into the lengths that I needed. Next I measured 5 inches apart along all of the two-foot poles and marked where I would drill at. I drilled holes all along each 2 foot pole. I made sure to drill holes into the writing of four poles and on the opposite side of the other four poles. That way if the spray paint didn't cover the writing completely it would still be hidden.
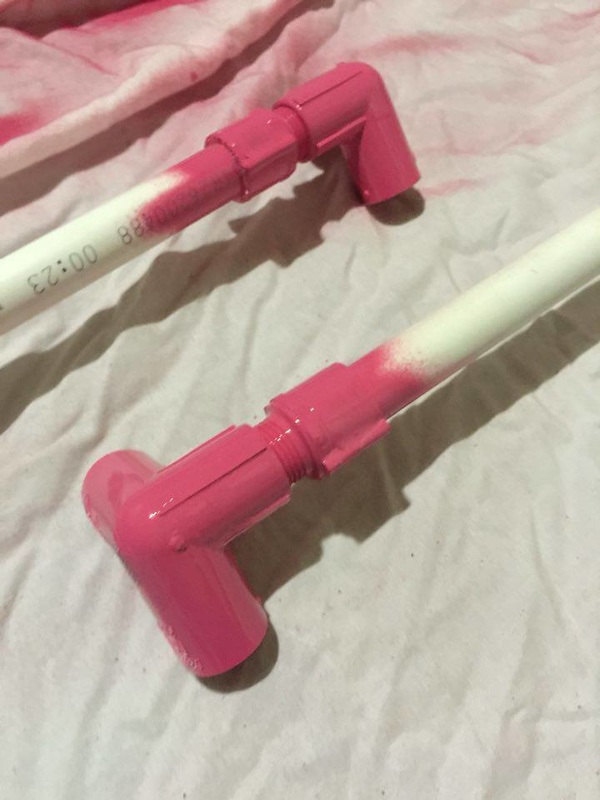
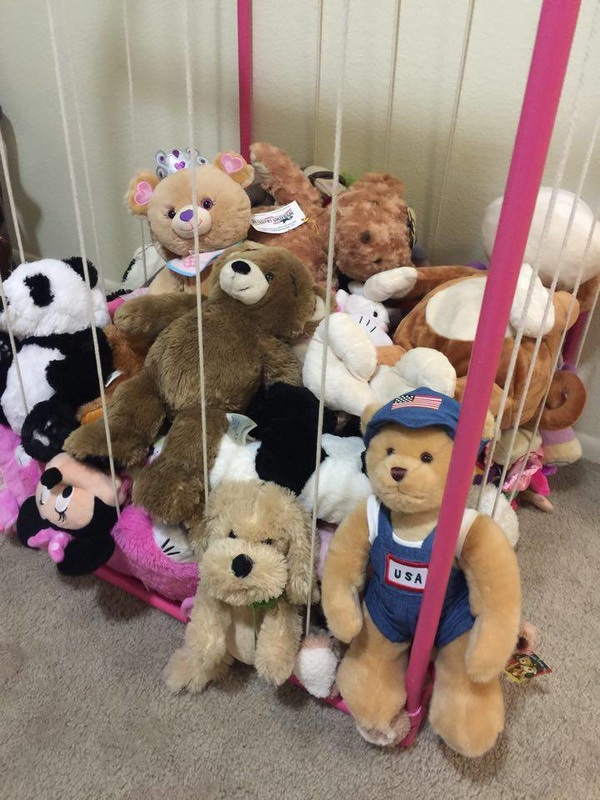
After all the holes were drilled I spray painted all of the pieces. Next I put the nylon rope through the pipes and secured it. I put the entire set of pipes together and tightened all of the ropes accordingly so they would be taught. Lastly I painted a sign for L-Bug's zoo and loaded it with the animals :)
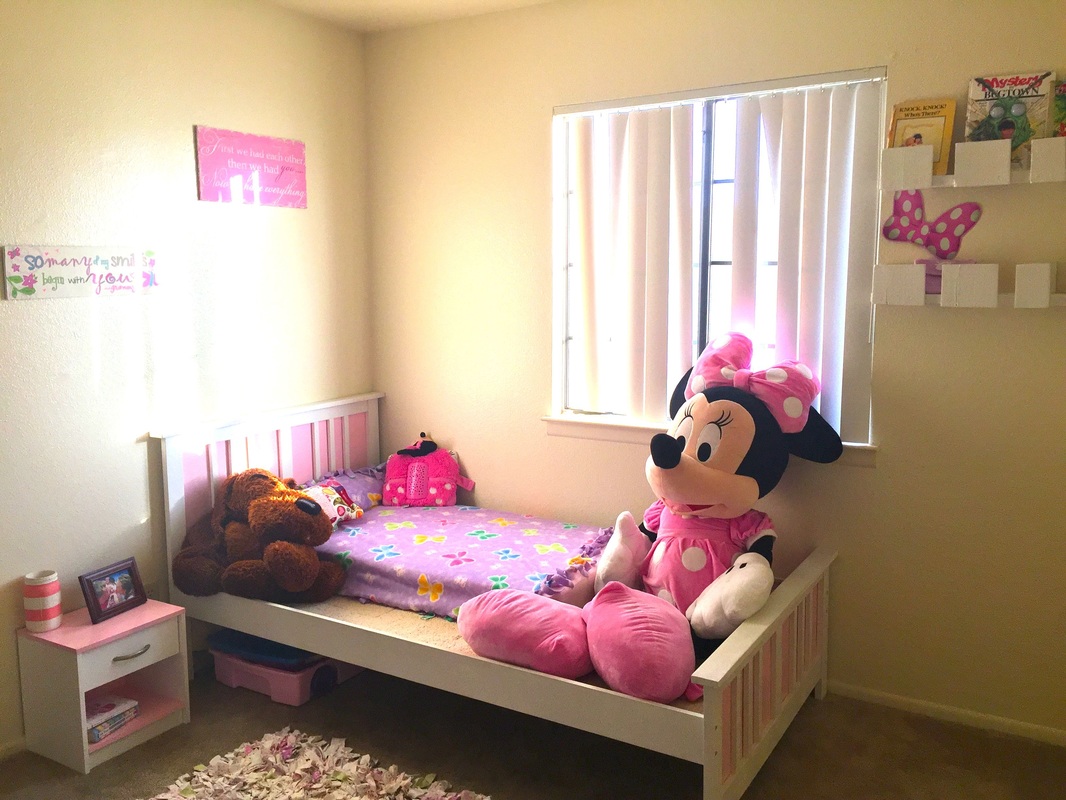
It's been fun putting together L-Bug's room! And it's even more fun to hear her say "it's so pretty" or "I love my sparkly room"! After finishing the bed and the shelves we added a little armoire, a small night stand and a few decorative pieces. Still not COMPLETELY done but I love that so much of her room has come from my DIY projects :)
The most recent addition was updating a little nightstand to go in L-Bug's room. This was an all white night stand that used to be in my room. I got it at a yard sale for $5 I think... They had put it together backwards and the bottom shelf was a little damaged. The inside of the drawer was, well disgusting {Of course I totally forgot to take before pics AGAIN}! 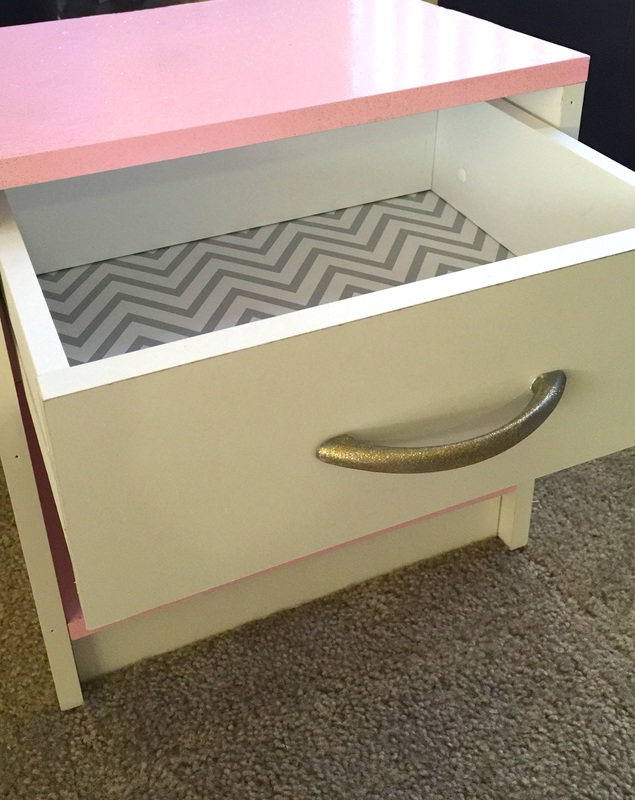
Anyway, I took the entire thing apart, cleaned it up and then go started updating! I put some shelving liner inside of the drawer, I wish it were more coordinated with her gold colors, but I had tons of this left over from my Laundry Room table project. I painted the handle with the glitter gold spray paint and then I painted the top piece, bottom shelf {which I turned upside down since the original top was damaged} and inside backing with the pink spray paint and dusted it with some of the gold glitter. I put all the pieces back together THE RIGHT way and project done!
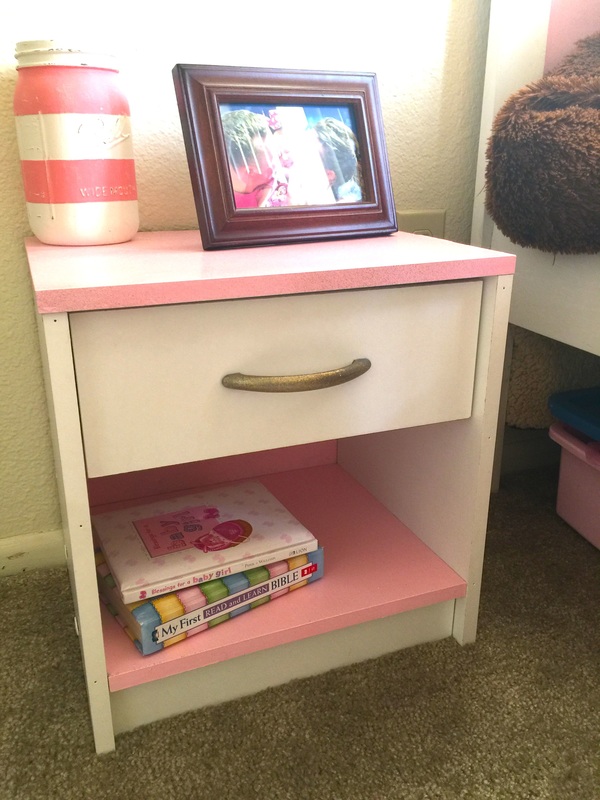
With her bed I had made it to where if she doesn't like pink later on down the road we can switch the panels out so they aren't pink... her shelves are all white and then she can add whatever pops of color she wants later on down the road! With the dresser I didn't wan it all white so I took it all apart and painted it. If she hates pink later or wants to change her room color we can either take it apart again and re-paint or get a new project for her to do! The rag rug was a project I had done and is made from all of her baby receiving blankets and the other DIY project here is the mason jar which I hope to add some pretty gold & pink flowers to!
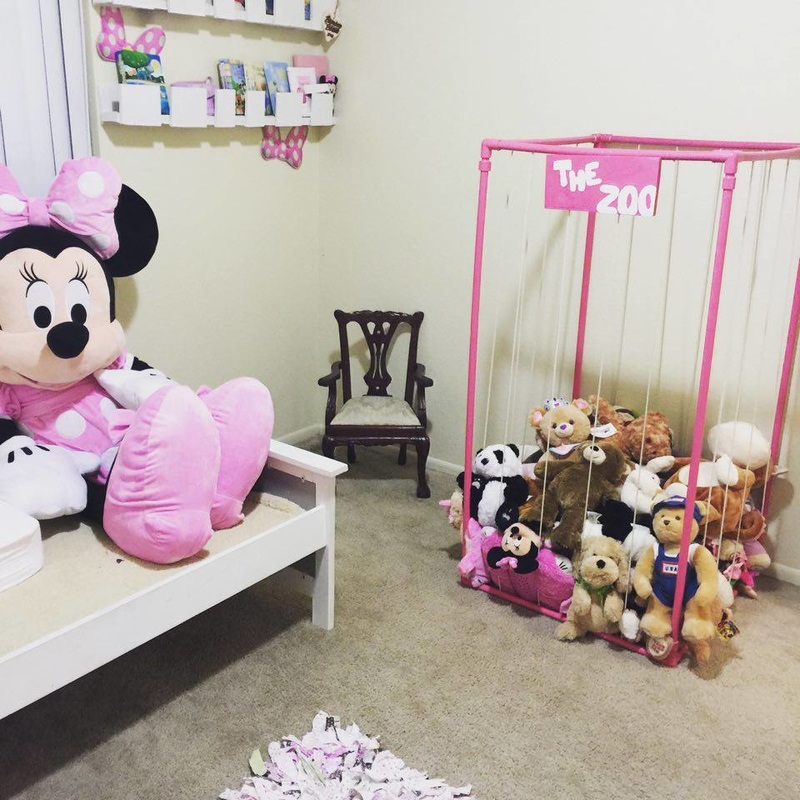
The next project for little L-Bug's room will be a pet zoo for the ridiculous amount of stuffed animals this girl has! LOL Can't wait to work it out and hopefully this time I don't get carried away in excitement and remember to take pics of all the pieces before and pics during the project! :)
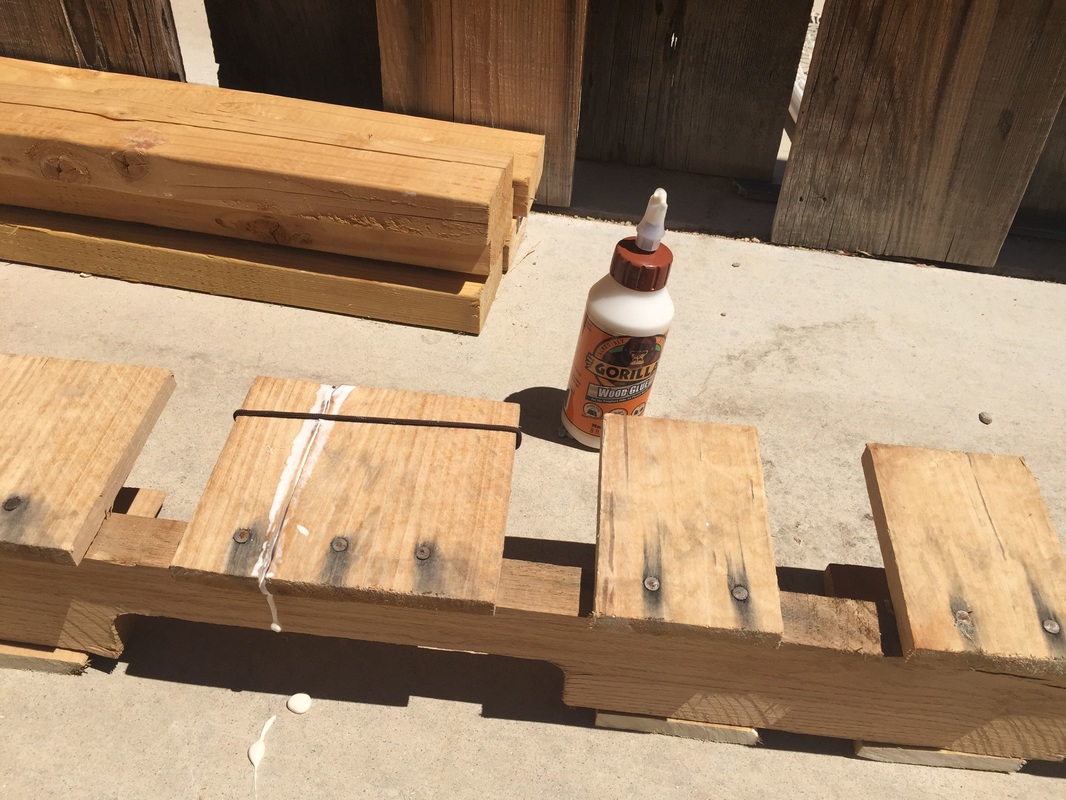
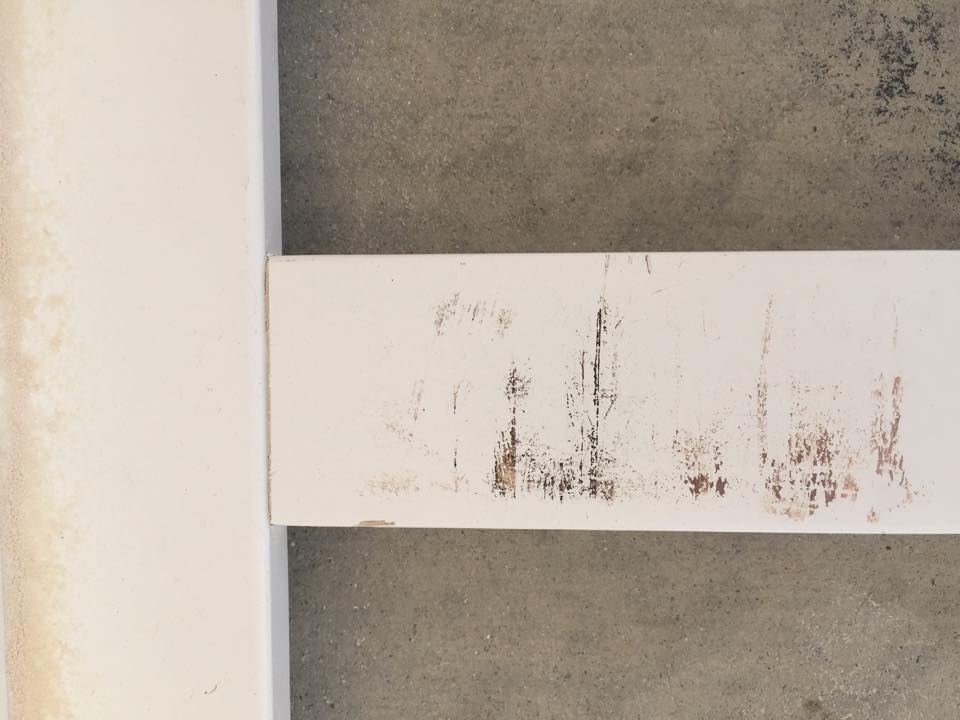
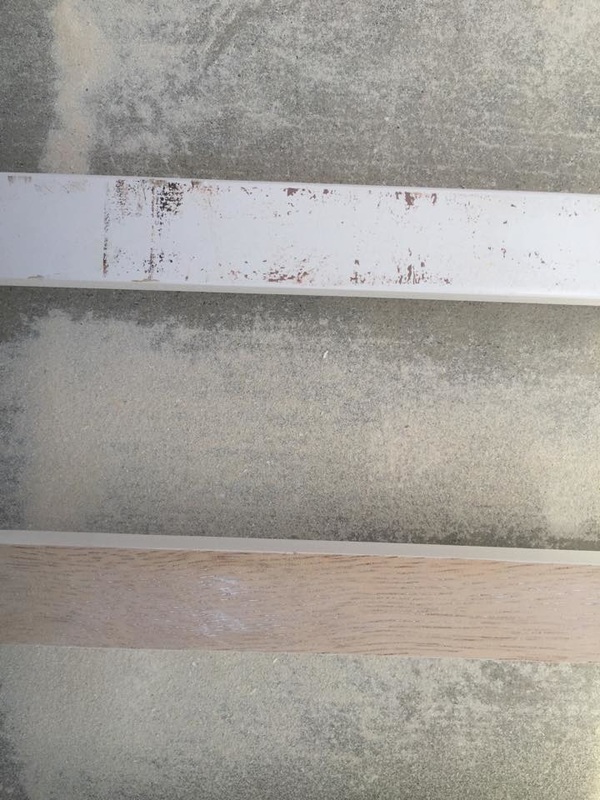
These shelves were actually an "add on" project that piggy backed off of our Reading Nook project! When I was creating the nook I cut these off so it was easier to pry the planks off to use on the seat back of the nook. I really liked the way they looked and decided to spruce it up to go in my daughter's room! I used some wood glue and a band to fix the cracked wood so it wouldn't fall of later.
Then I sanded them down and made sure the edges weren't too rough. I put a couple of coats of white paint on each shelf and I used some of the leftover gold sparkle spray paint I had from her bed and put a light coat of shimmer on the shelves! 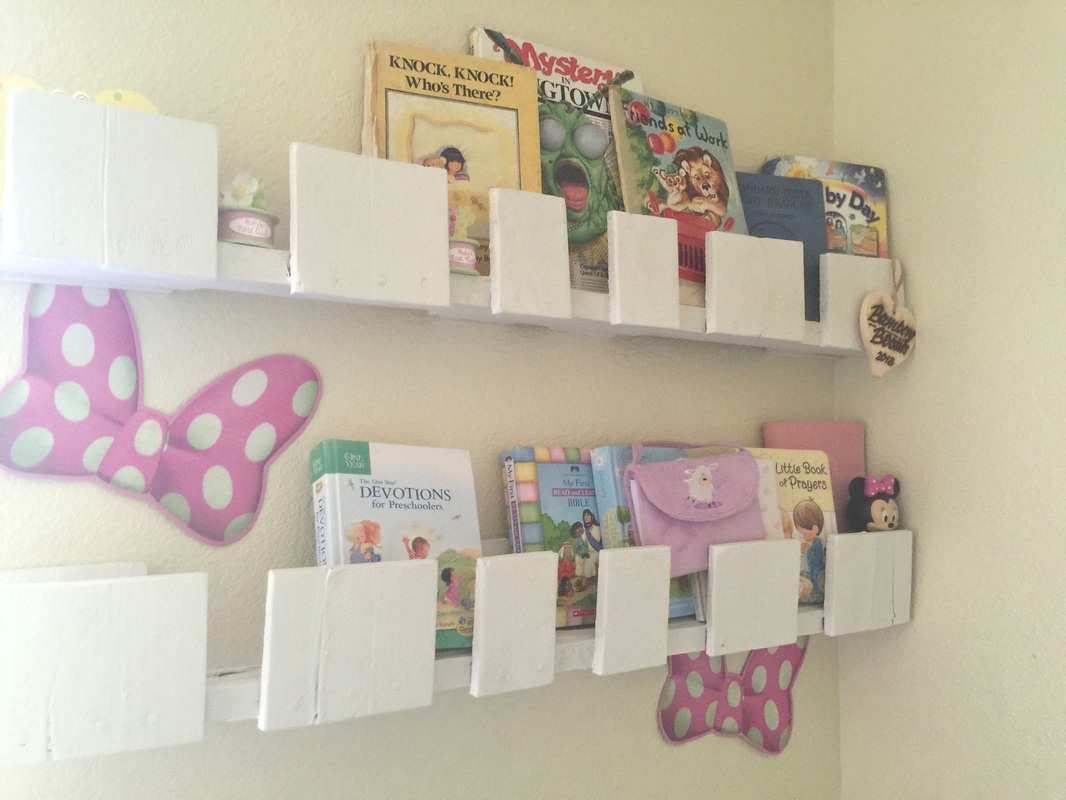 My husband helped out by drilling the screw holes and hanging the shelves. He just used the back planks to attach it to the wall. Then I added all of L-Bug's books and special memories to the shelves.
Here is the original project that I got the pallets for! Our reading corner is nearly finished! I'm so happy I got these few little pieces added and I just have one more idea I'm working on :) I found these awesome wood letters on Amazon and I got some great Acrylic paint to use on them! I wanted vibrant, fun colors to go along with a canvas painting I'm doing + our school room is already full of these fun colors! 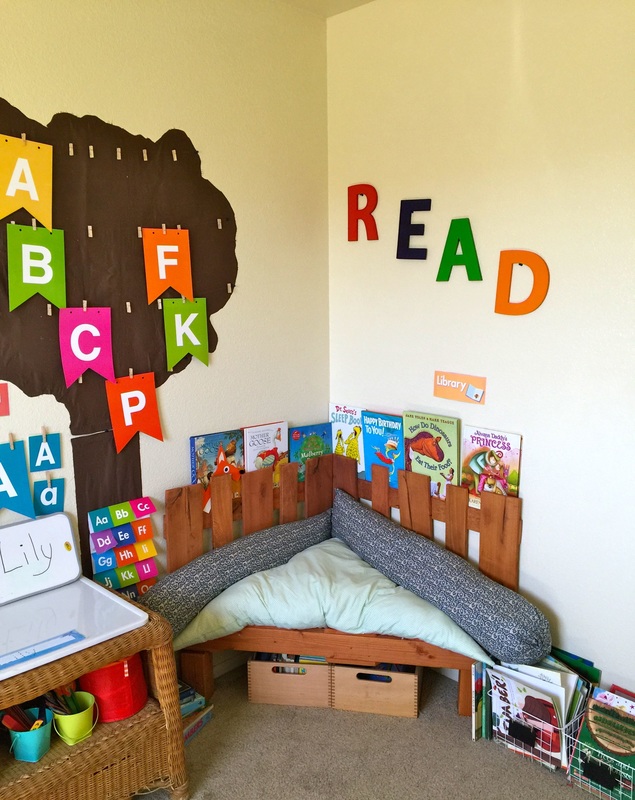 The other little addition is the wire baskets I got to put our books in! I did get mini chalk boards to put on the baskets but I haven't used them yet. They are really cute though! LOL I can't find the exact ones I got but these are similar :)
I can't wait to get the last little addition done, I'm very excited! I'm also on the lookout for a small table to replace our wicker one with. As you can see it's time to replace it! Post your recommendations for a kids height table with at least one shelf in the comments below! L-Bug's school room is a work in progress but it's coming along! I'm so excited about this project I've been working on for L-Bugs reading area <3 I got the idea from this Pin on Pinterest. The first step is to cut a pallet in half from corner to corner. I used a chalk line to make my cut line from corner to corner, then I used a skill saw and cut one side then I flipped it over and cut the other side. In the picture below the left piece is the scrap wood to use later and the right piece is the seat. The next step is to use the long board from the extra piece to reinforce the front edge of your seat. From the scrap wood (the scrap pallet piece on the left) has that long board on the top. You'll measure and cut that to fit the front of your seat. 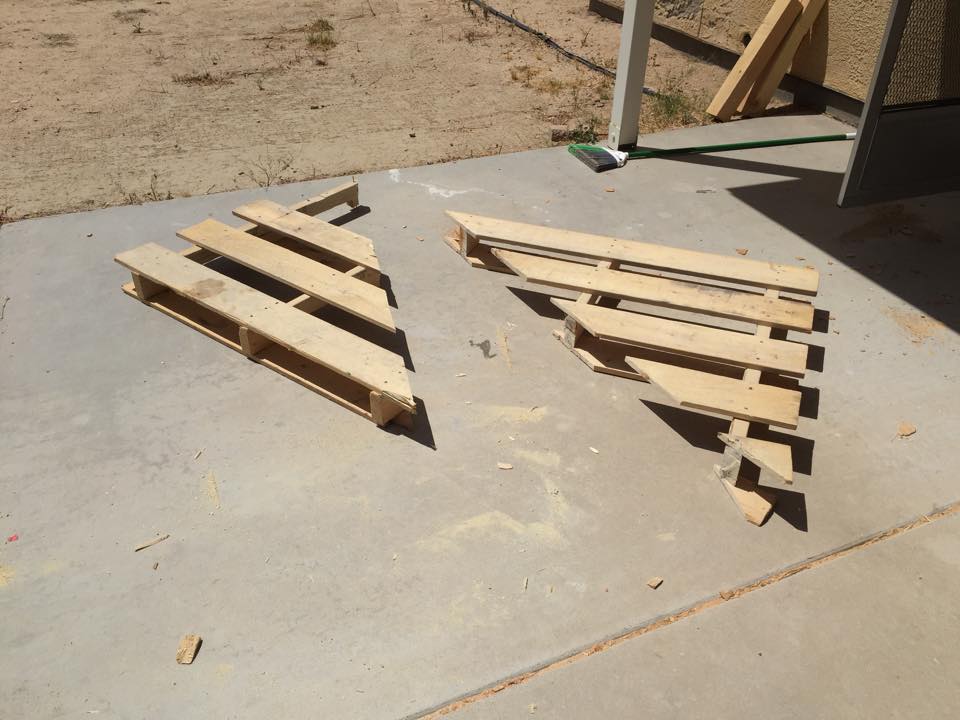 My husband helped me build the brace that runs along the front and he helped me create three legs (for each corner) using a scrap of 4X4 we had left over from another project. The next step is to use a second pallet and pry the boards off. I actually cut the planks on the inside along the top and bottom 2X4 pieces and then pried the planks off of the center piece. Then I used the two smaller planks (on the second pallet) and some wood glue and I attached the planks to the smaller plank (like a picket fence). Once it dried I attached it to the seat and put a few coats of stain on the whole thing! 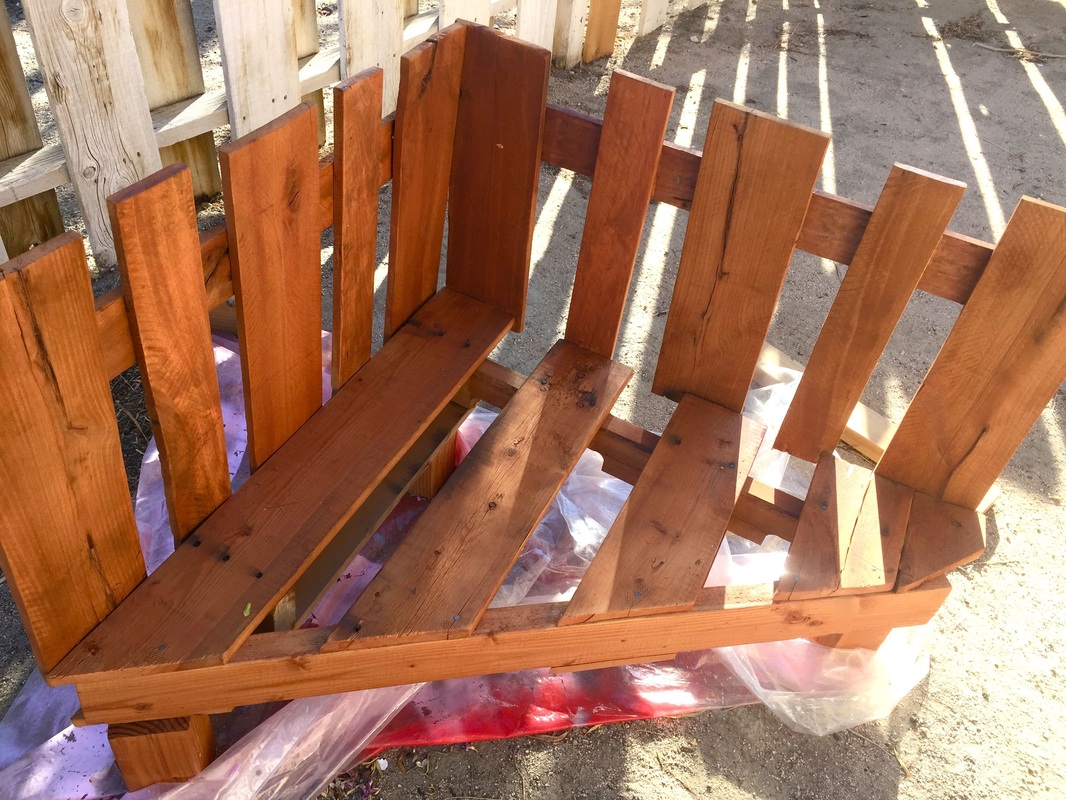 Shout out to my sister-in-law for letting me borrow her sewing machine to finally finish off this project! I sewed a triangle cushion for the seat and two long log pillows for the backing. Now L-Bug has a cozy corner library to read in :) 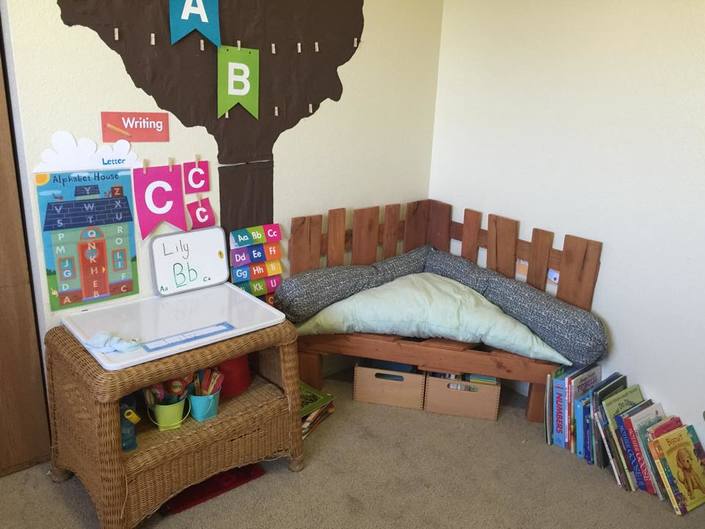 I set it all up while Lily was sleeping and the next morning L-Bug walked in and was beyond excited! She sat in her little corner reading every which way and even asked if she could take her nap in there today :) 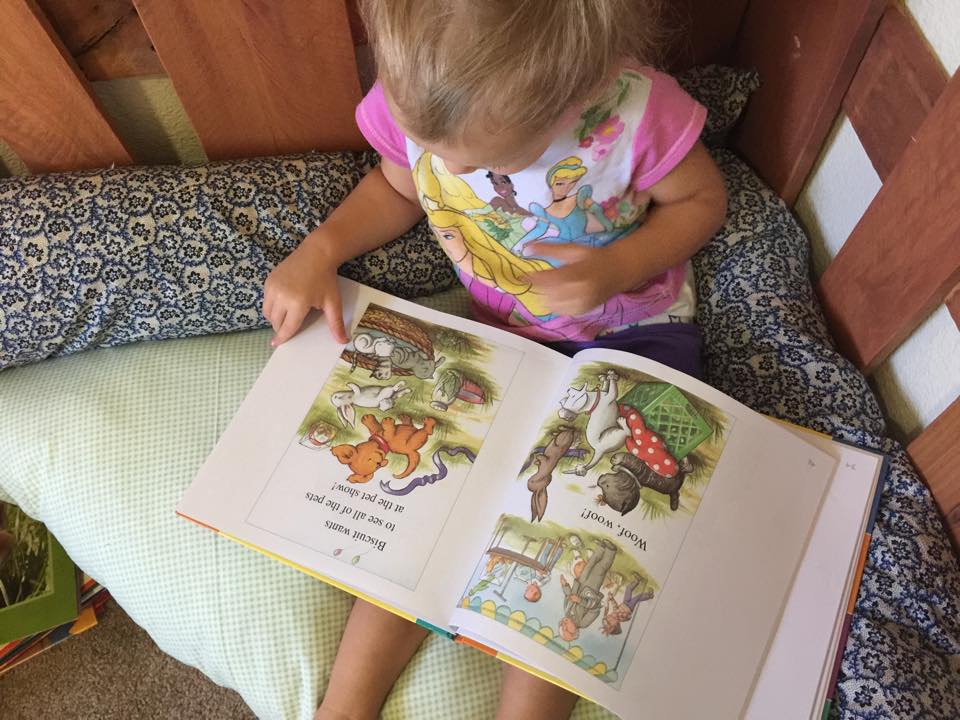 I had such a blast at a "Project Party" this past weekend! I had never been to one before so I didn't know what to expect, but it was a blast! I learned some great new tips AND came home with adorable new decorations, now I just need to make another trip to Hobby Lobby so I can get flowers to go inside of them :) Shout out to Project Parties by Beth, thanks for the invite! She has lots of great tips, custom work and recipes for making your own chalk paint on her Facebook Page. We started off with Beth's first tip of the night: MOD PODGE your jar FIRST! She said by doing this you don't risk peeling off as much of your white coat when you peel off the tape. Then we put a few coats of white chalk paint onto our jars. 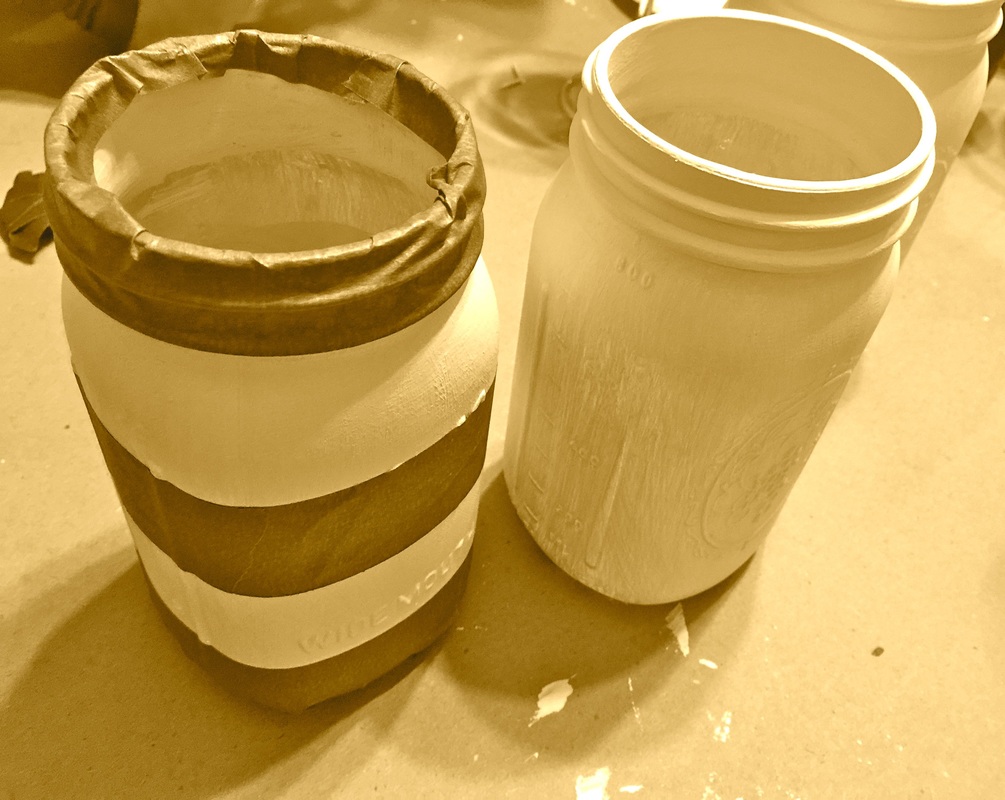 After our white base coat was dry -- and a glass of wine later -- we taped off our jars to make the stripes. Beth's taping tips:
Once it's dry paint away! 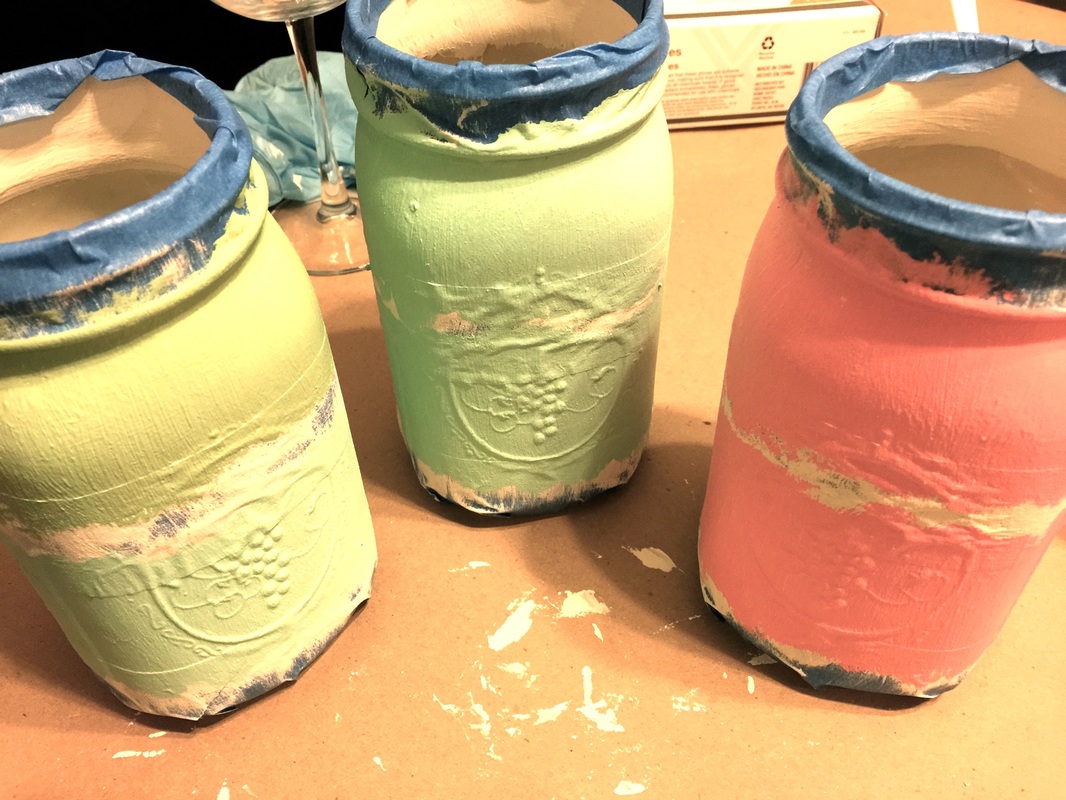 Wait until your paint has completely dried before peeling the tape off. Make sure you are peeling slowly and carefully if the white starts to peel away from the jar try peeling from the other direction and just touch up any parts that peeled off. Beth showed us how to "distress" our jars too! I kept my blue-green jars the way they were because I liked the clean look! But I did distress the pink jar to go in my daughter's room :)  To distress you really just take a piece of sandpaper and rub it on the jar... The rougher you rub the more paint comes off. The last tip Beth had for us was to rub some sealant on the jars because chalk paint is absorbent. 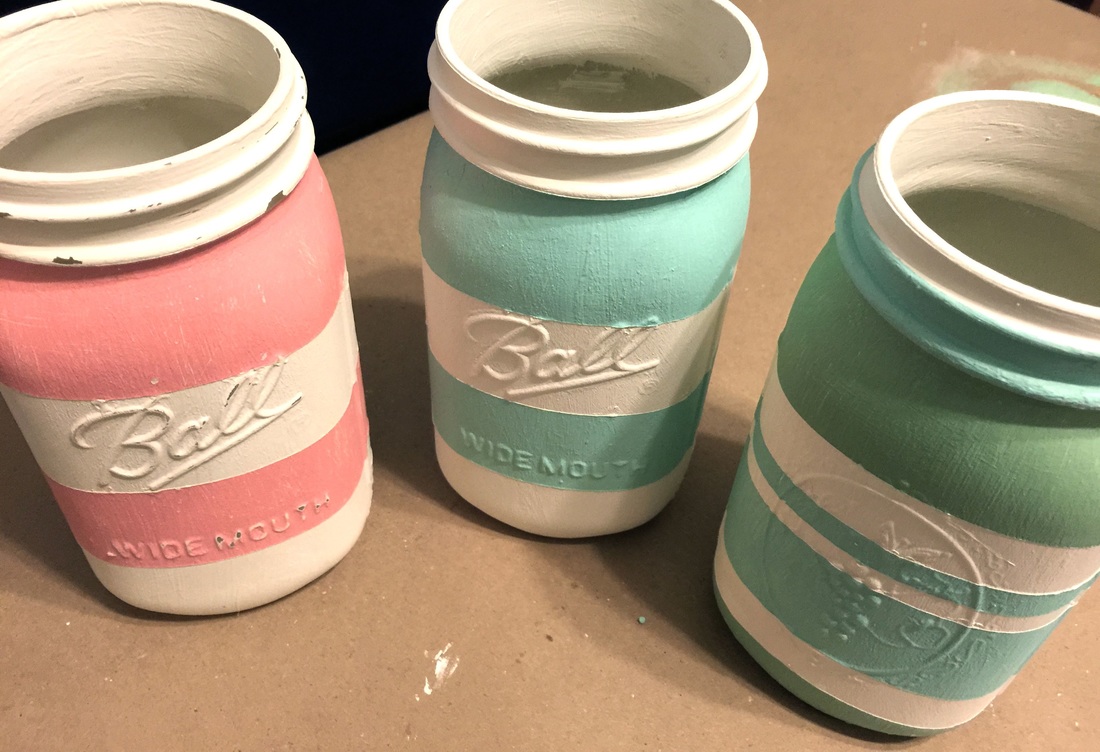 So what ideas do you all have for me to put in these beauties?! Burlap or paper flowers, scent reeds...? I'd love ideas!
Have I mentioned how happy I am to be back in the states for the simple fact that I can go to Home Depot, Hobby Lobby and all of my other favorite craft stores! Haha we've been doing some redecorating and working on quite a few projects! Backyards are best for BBQs, hanging out, and watching your kids run around and play which in my mind is totally the perfect American picture! So my "theme", I guess you can say, for decor in the back yard is Red, White & Blue! I took this old patio table and gave it a breath of life <3 It was a dirty, dingy white with a clear glass table top. 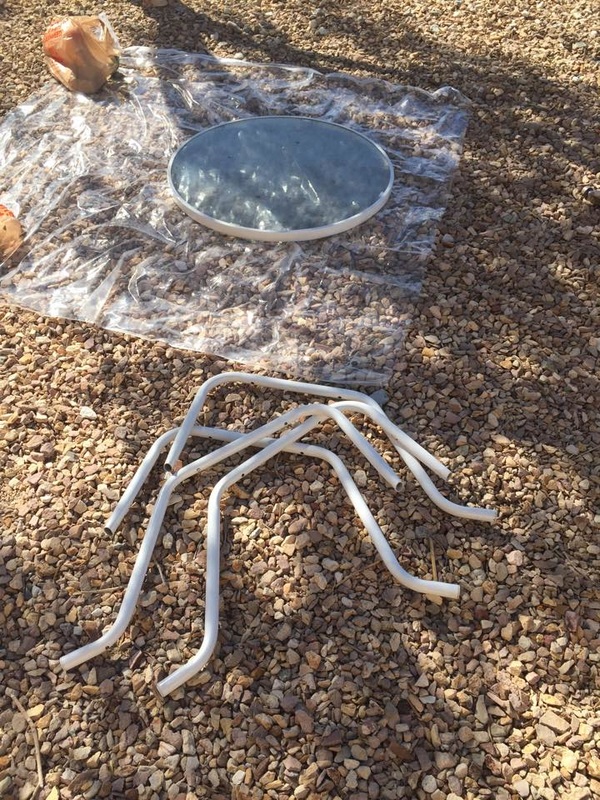 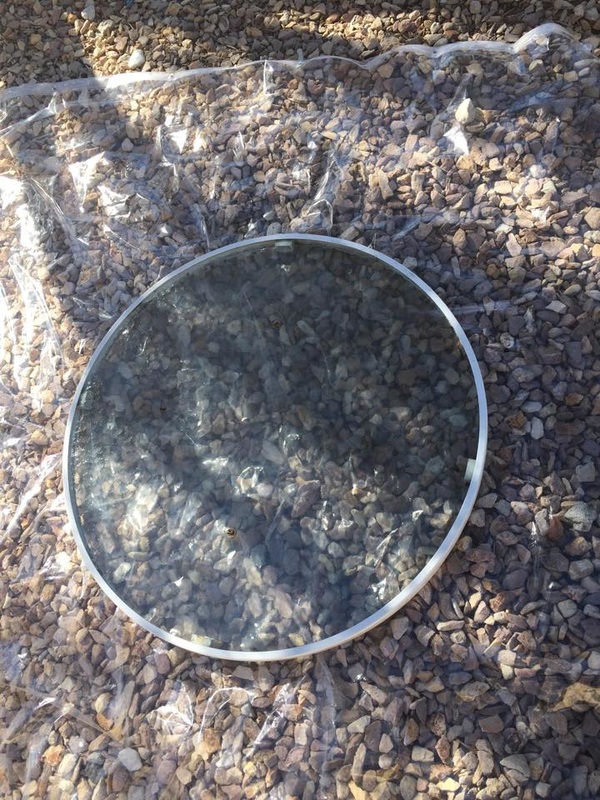 First I took a can of red spray paint and I gave the legs and the white table top rim and good couple of coats. Once it dried I put it back together and taped of the red rim on top. Then I took a can of blue chalk board paint and put quite a few layers on! I let it sit over night and decided it needed a few more layers. 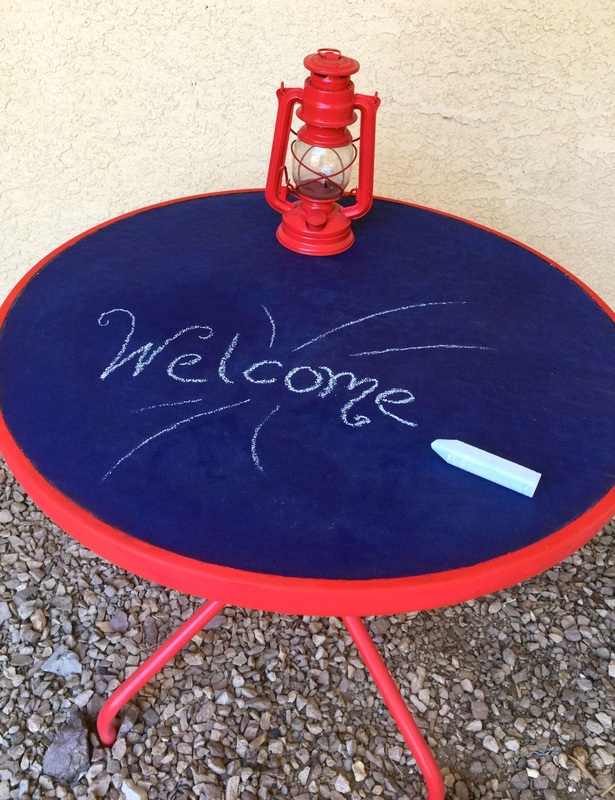 Now we've got our Red, White & Blue Table <3
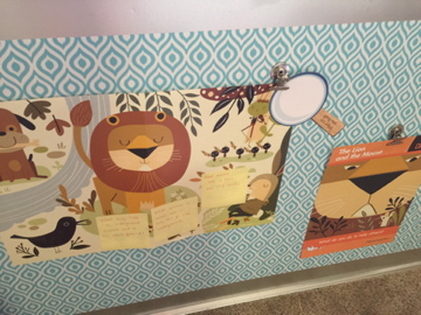
A couple of months ago I started this project: http://everyday365life.weebly.com/school-time/interactive-circle-time-board-in-progress and created a circle time board for our school room. It's working out really well so far!
Here it is all finished up with our 2015/16 School Year Mother Goose Time display pieces! 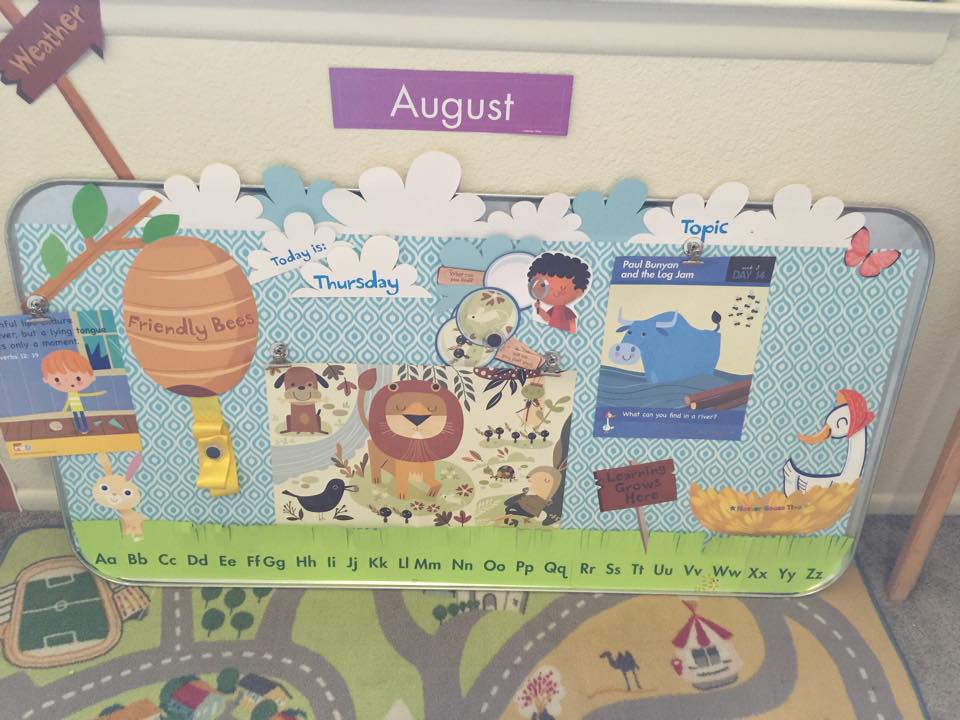 I love how it turned out and that it's so interactive!
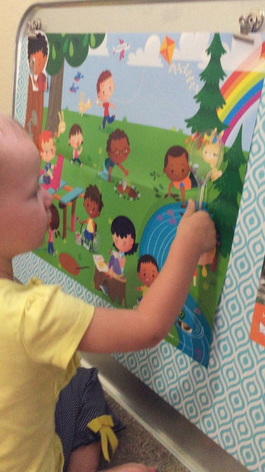
This is definitely one of my BIGGEST projects that I've done yet. While we were in Italy L-Bug got a HUGE gift for her 2nd Birthday from her godparents "Mo & Wevi". A GIANT Minnie Mouse. L-Bug wanted Minnie to sleep in her bed all the time, but it didn't work because Minnie was too big and would fall on top of her... we had no where to put her! Later when we started unpacking our house from the big move back to the USA we found out L-Bugs crib was broken! Time for a new bed and it works perfect because I can make something work so Minnie Mouse has somewhere to go too :) I got this bed on a yard sale page (the first image is the "for sale" picture from the yard sale page). The frame was fine, just a little dirty and marked up with scratches and markers. The pink part you see set behind the bars actually comes out and is reversible. One side is pink and the other is blue. I really like this because I can paint the blue side a neutral color like a sparkly silver and if L-Bug grows up hating pink in a few years then we just flip it around and have nothing to worry about ;) 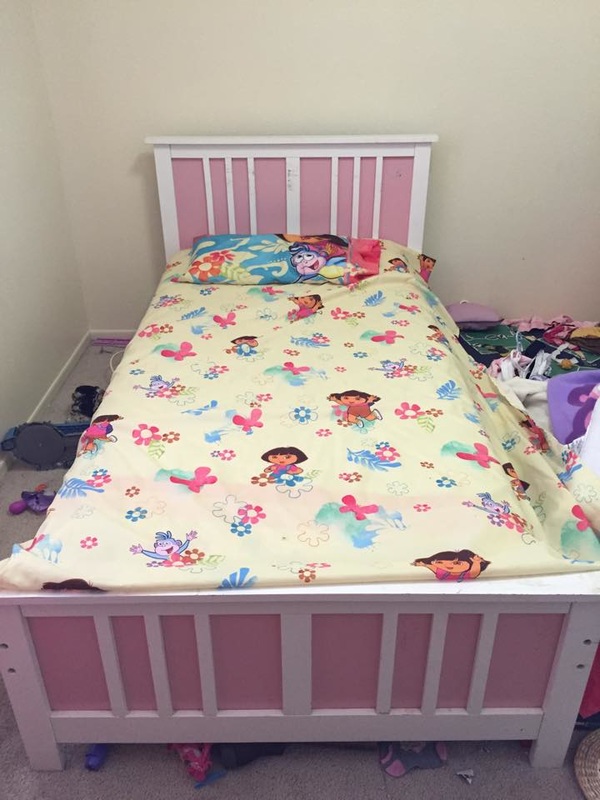 Since some of the scratches on the frame were pretty bad I decided to sand it down and repaint it. I also wanted a little bit of texture and not just a flat glossy white frame. So I mixed up some "Baking Soda Chalk Paint" and used a textured paint brush. To mix the chalk paint yourself: 1 Cup Latex paint, 1/2 Cup baking soda and 3 tablespoons cold water!
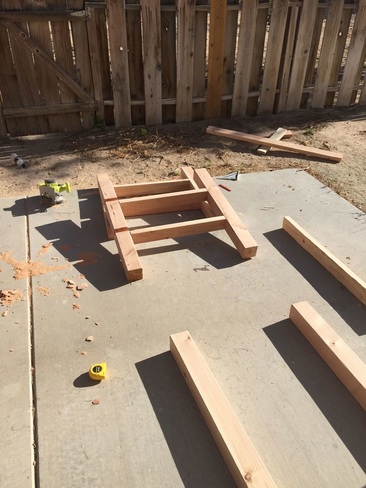
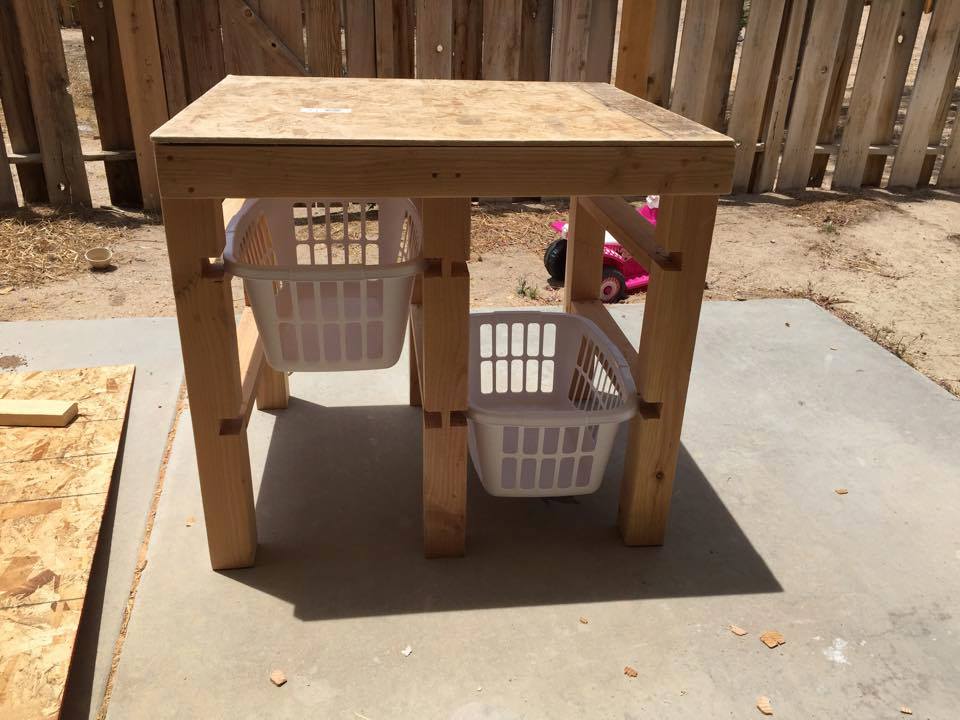
Don't mind the pallets in the background... those are for another project that will hopefully be finished soon <3 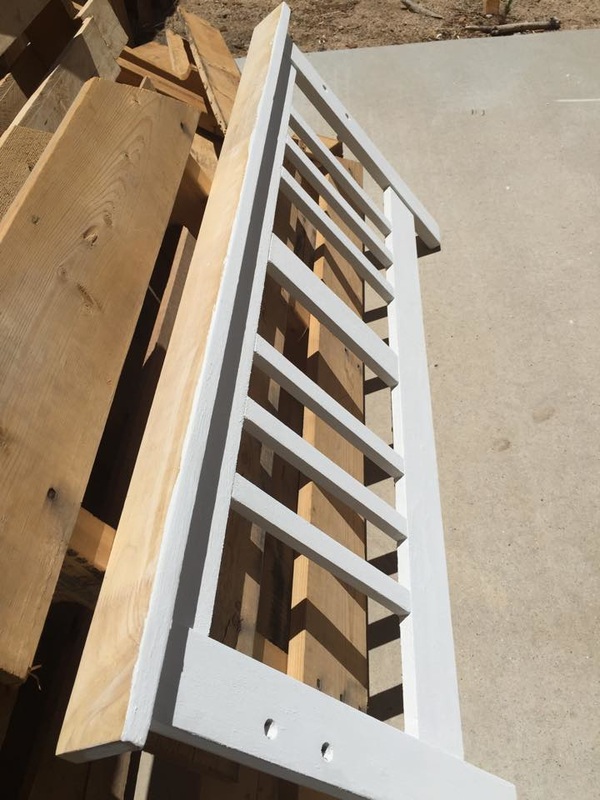 By using the crib mattress and the twin frame we opened up a TON of room at the foot of the bed for Minnie Mouse to set! Now L-Bug has somewhere to put here :) Plus, L-Bug still rolls in her sleep and since I didn't want to mess with getting a toddler safety rail and all of that so if we just use the crib mattress we can make it where it already has a "safety net" lol. Also, she may be potty trained during the day, but she still wears a pull up to bed and the last thing we want to do is have to clean, clean, clean a mattress to get accidents out... The crib mattress is easy to clean! To use the crib mattress we had to create a platform to go across the slats on the bed so her mattress didn't fold through. Oh and check out the silver colored backing :D I wasn't 100% decided on whether I wanted the pink or silver showing so this is what was in for now ;) For the "back boards" I did glitter sliver with a dusting of glitter gold on the top and on the reverse side is pink with a dusting of glitter gold on top of it! L-Bug calls the sparkles: "sprinkles". 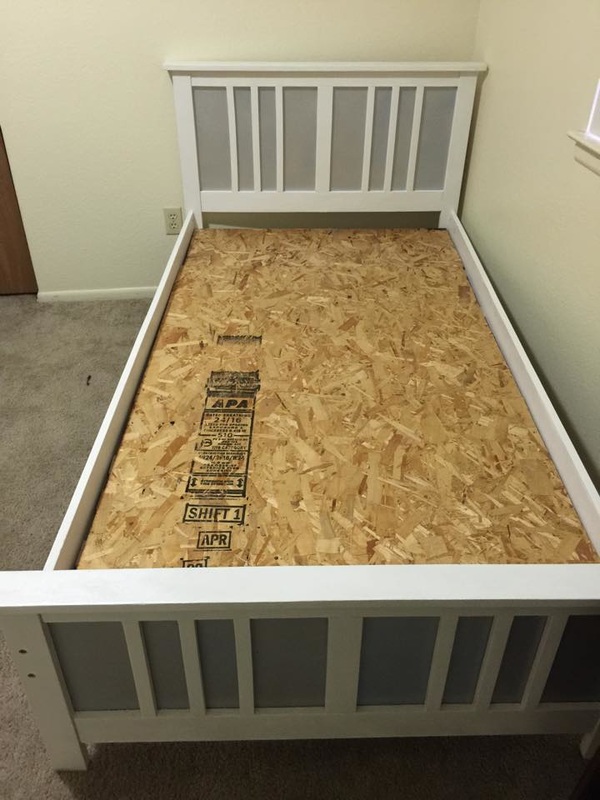 And there is the pink! Yeah I think I like that better ;) Well I knew I couldn't just leave the plywood platform exposed because 1) splinters in my baby's feet! 2) It didn't look cute and 3) Hello ripped sheets, snagged blankets, um no! So I took a fuzzy blanket and wrapped the plywood piece. It's all in there good so the blanket doesn't come loose! The nice thing is if L-Bug spills something here I can take it up and wash it! Now its soft and fuzzy for her toes. 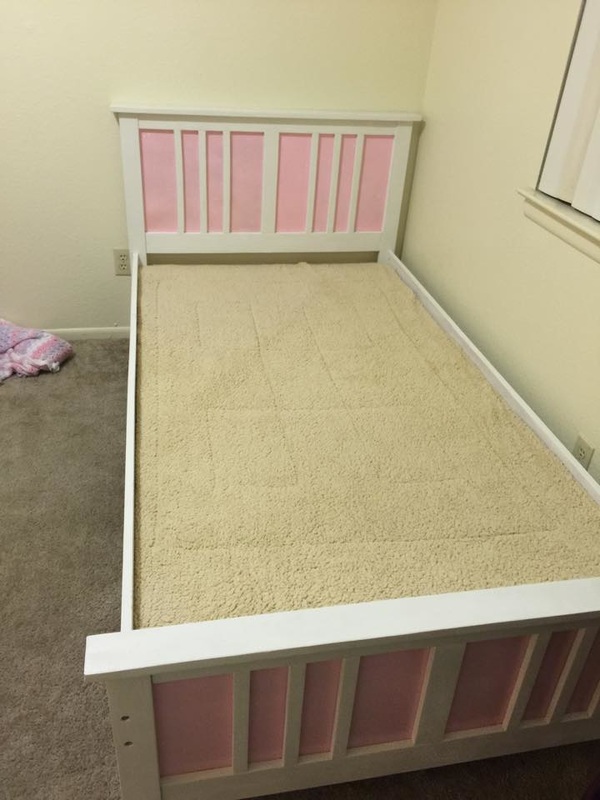 Trying to decide how the colors look with her bedding we went back to silver... Here is the Crib mattress set up and you see there is about 1 1/2 feet on the side of the mattress that goes right onto the platform! We also put "Floppy the Dog" right there, this way if L-Bug rolls she doesn't go right off the side of the bed onto the floor. And I think L-Bug's FAVORITE part about her new bed: she get's to sit in Minnie's lap and read her Bible <3 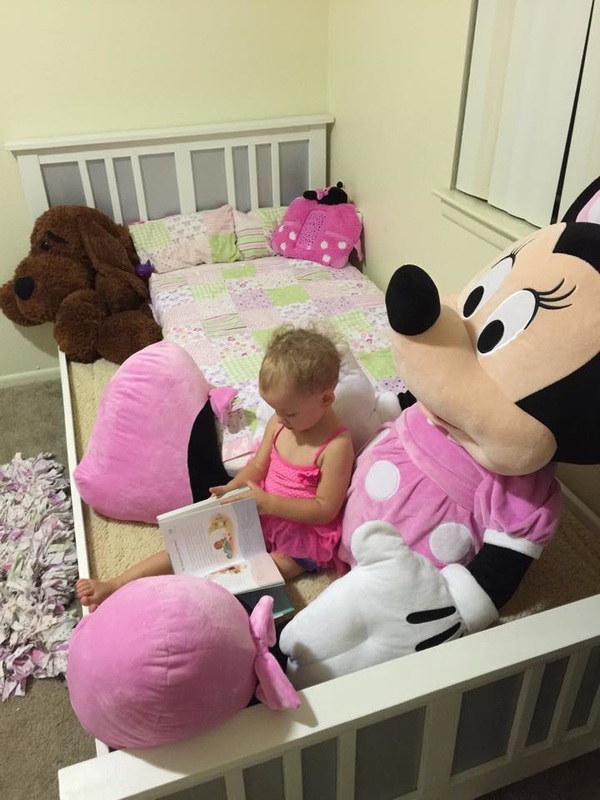 In the end I decided I like the pink the best! That night while L-Bug was in bed and she was saying her prayers she said "...and thank you for my new house, and thank you for this new bed, and thank you for sprinkles!" So happy her room is coming together, but at the same time I can't believe she's in such a big girl-ish bed now! 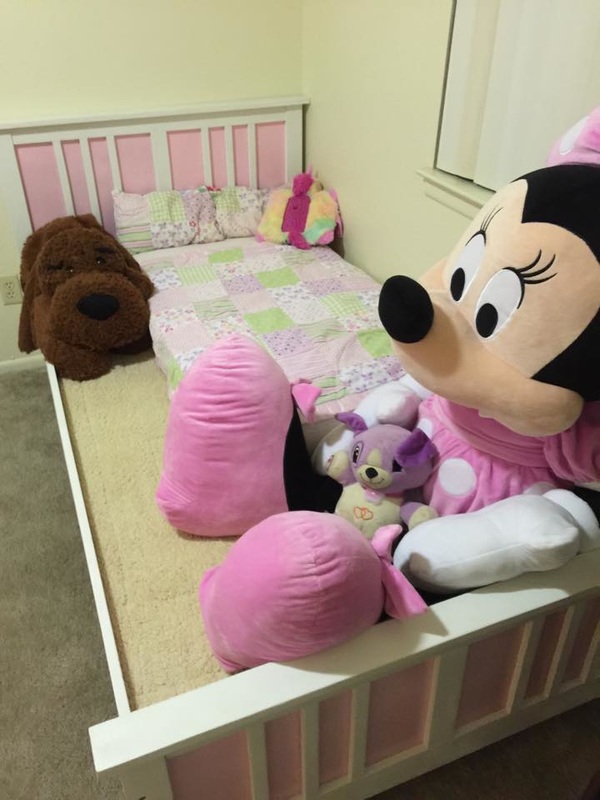 There is SO much stuff that comes in our Mother Goose Time Curriculum kits every month. Sometimes I just don't get around to using everything, but I just can't make myself throw stuff out! Here is a perfect reason why ;) With a little imagination, glue, some magnetic tape and some mini clothes pins I was able to take a handful of left over pieces and create a cute chore chart. 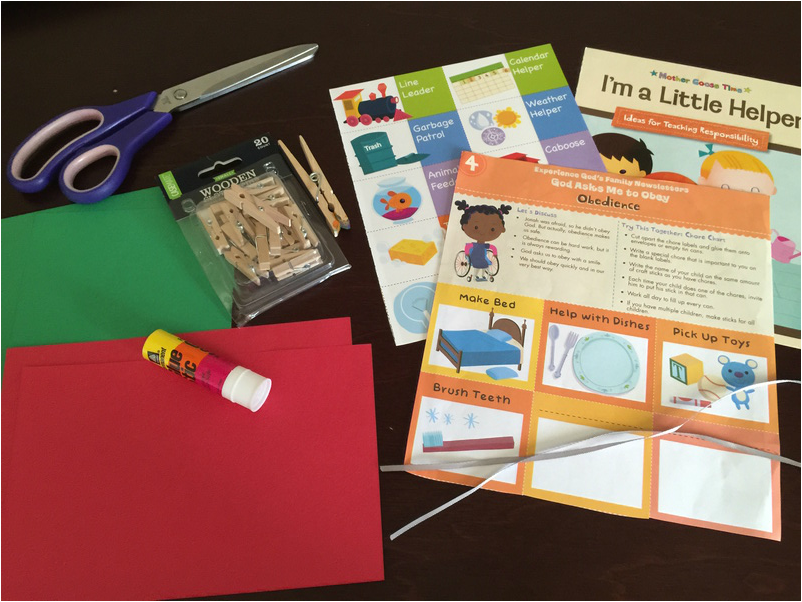 The construction paper, string, large & medium clothes pins and the Little Helper and Obedience sheets all came from different lessons throughout this past year. While I was going through and trying to create some organization to the heaps of left over materials an idea dawned on me to make a new chore chart for L-Bug. Being two she's getting into that "WHY" and "I don't want to" stage, especially when it comes to picking up her toys! Let's see if this helps :D First I cut one half sheet of red paper and a half sheet of green paper in half hot dog style. Then I taped them together to make two long strips. The red side is the "DO" and the green side is the "DONE". Then I cut off the "I'm a Little Helper" and "God Asks Me to Obey" titles from the pages. I took the string and glued it under the top title. 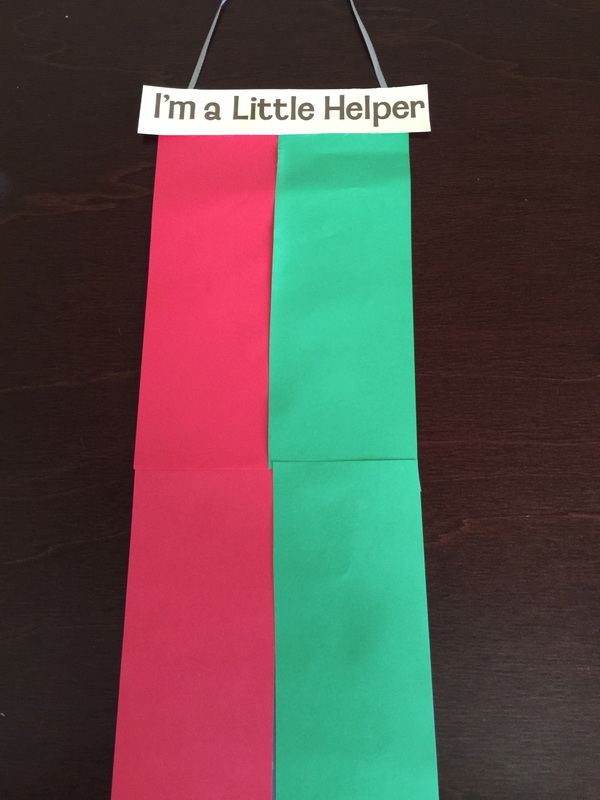 Next I cut up the different chore cards. I decided that "make bed", "brush teeth", "pick up toys" and "help with dishes" were the chores that L-Bug would do daily. There were so many good chore cards that L-Bug could help with but giving a toddler 12+ chores a day is a little much ;) So I decided to take the medium size clothes pin and glue it right in the middle. Then I made a pouch at the very bottom of the chart by folding another 1/2 sheet of green paper, gluing the sides and then I glued it to the bottom. This way I have a "Choose 1 More Chore Chart". Each day L-Bug can choose an extra chore to help out with around the house. After she picks it I will stick it in the bottom clothes pin so she can remember what chore she chose. 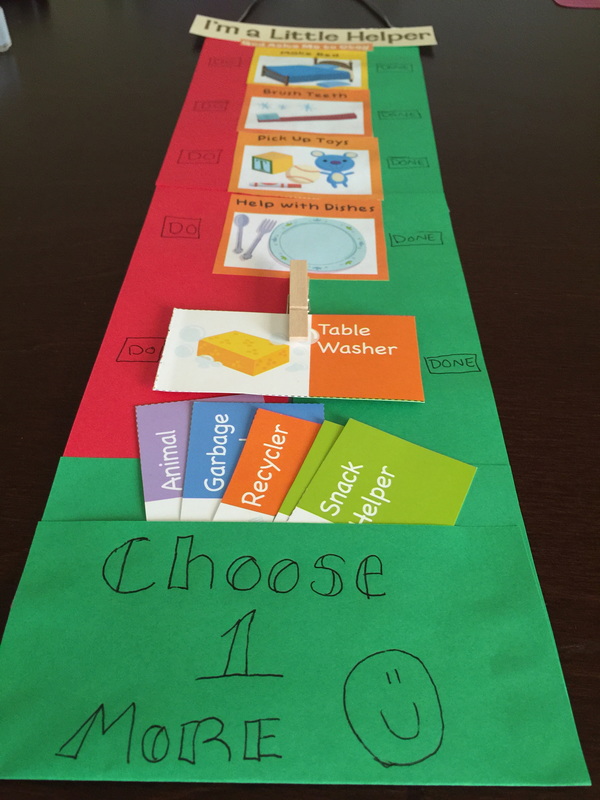 Next I took a large clothes pin and put a small piece of a magnetic strip on it! I love the scotch stuff that has one side sticky so all you have to do is peel of the cover and stick it to what you want. Then I hung the clothes pin on the fridge and hooked my string on the top of it. Now it hangs on the side of the fridge so we aren't always bumping into it and it's low enough that L-Bug can help me move her pins to "DONE" once she's finished with a chore! 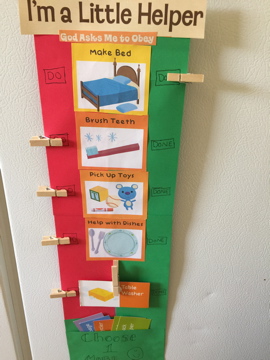 She was so excited to see this and pick out her first chore for the day! An idea I had while putting this post together is to take a small treat like a package of fruit snacks or animal crackers in the clip of the big clothes pin at the top. Once L-Bug moves all of the clothes pins to DONE for the day she get's her treat! 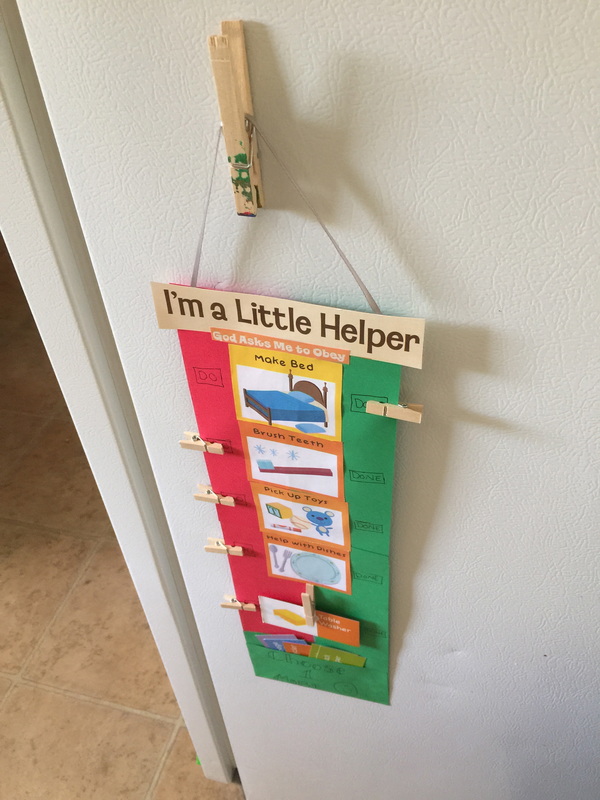 I have had this idea for years now, but while we were in Germany we didn't have the tools and while we were in Italy the materials were WAY to expensive! So we FINALLY built it now that we are back stateside. I drew up the design plans and made all of the measurements. Then my hubby put some blood sweat and tears into cutting out all the wood and assembling a majority of the table before he had to head off for his school.
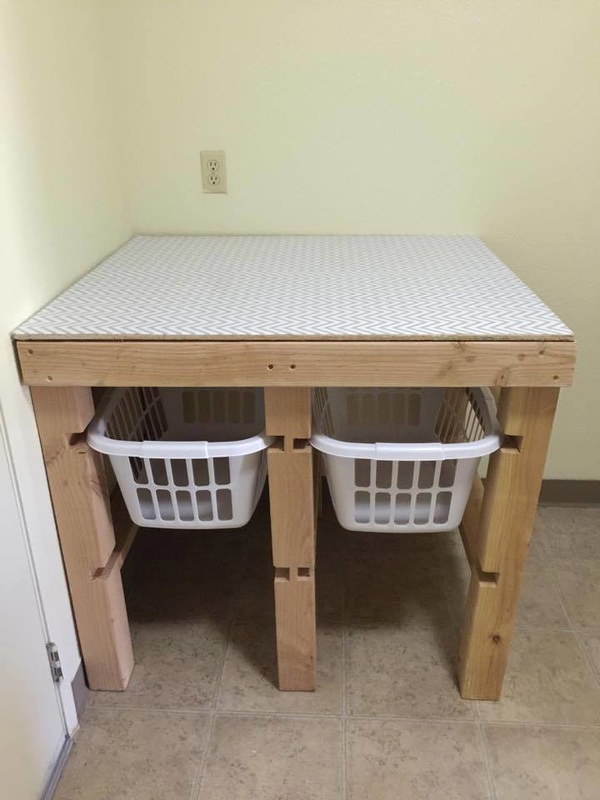 After I got it in I put some contact paper across the top to keep it smooth so we don't have any snagged clothes.
Were finally back stateside and I'm so excited to be able to get started on a few craft projects I've had on my list FOREVER!
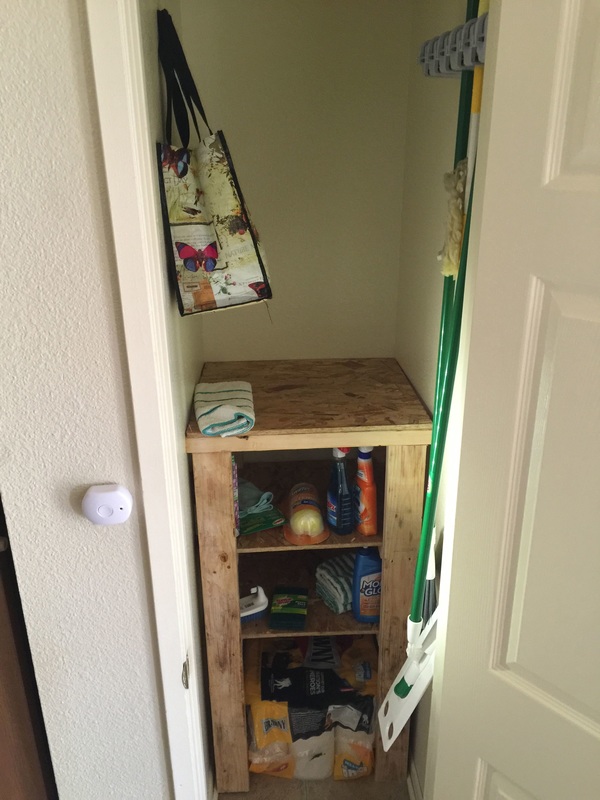
My awesome hubby helped make my utility closet VERY functional ;)
He built the shelf inside for me to put all my cleaning supplies. Then hung this really cool rack we got from amazon onto the wall to keep my brooms, mops, dusters, etc from being in the way. I put a hook screw in the wall to keep all my reusable shopping bags up and out of the way. What else do you see missing from this closet? A LIGHT!?! We added a battery operated light that came with a remote that we put on the outside of the door.
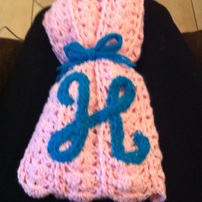 PLEASE excuse the horrible quality of the picture… unfortunately my camera is on the ritz, so iPhone pics it is! A good friend of mine has been going through a difficult pregnancy. Recently they have found out that they will most likely deliver VERY early. The expect their baby girl to be born soon, weighing around 3lbs. I wanted to create a blanket pattern that would be as dainty as their little one. This is the first time I've tried my hand at embroidering… so it's no where near perfect, but it's a start!
Petals and Vines is a simple crochet pattern to follow and easy for beginners to pick up. Stitches to know:
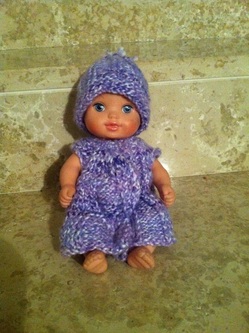
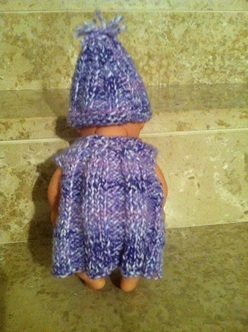
Ahhhh baby clothes… Well Lily's grandma had a request, she made Lily a blanket for her baby dolls and she really wanted a little outfit too. She didn't know any patterns and neither did I, so I made one up super simple one. Unfortunately I didn't write out the exact pattern. This is just a Knit 4, Pearl 4 pattern. For the arms I just did a slip stitch 6 times for each arm and then cast on 6 once the holes were as tall as I needed. After the arm holes had 2 rows in I decreased the back by slip stitching two together knit wise (only in the knit areas) and then once I turned over I did it again knit wise so that the pattern in between the arms (the back of the shirt) was Knit 2, Pearl 2. In the last four rows I decreased the ends by slip stitching the first two and the last two in each row to decrease for the from neck line.
I prefer crocheting over knitting hands down... that's why over 1/2 of the things I make are with a hook ;) When fall comes around I kinda go a little crazy and start making everything I can find a pattern for! 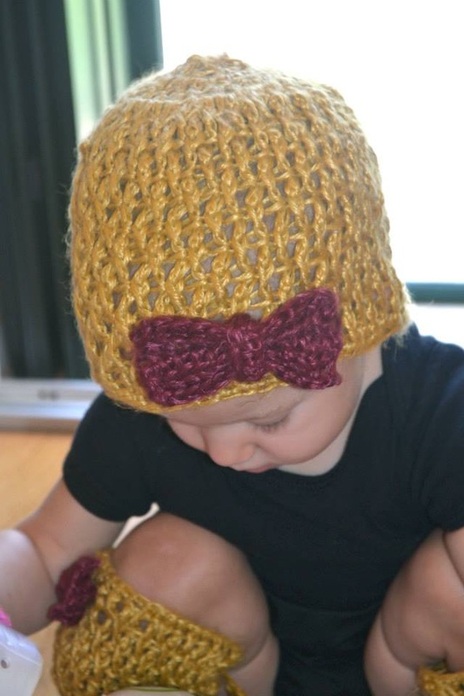 I loved this pattern and am definitely going to be making a set every year. Hopefully I can make the leg warmers more into something that would work well with boots for myself and L-Bug and I can have a matching set! 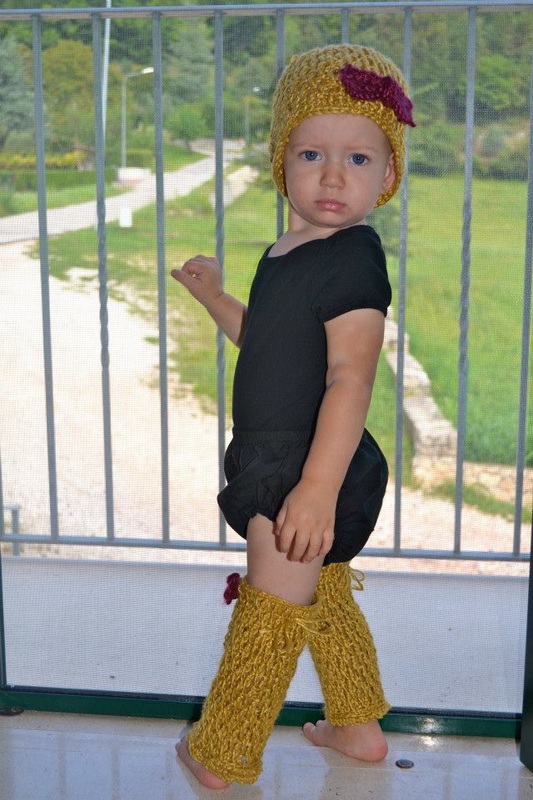 Excuse the scowl... apparently mommy trying to get a picture was interrupting her bird watching time?!?! So much attitude, so young....
|
Check out my Etsy Store for some of my own creations!Pinterest has become my best friend and my biggest enemy! There are SO many things I want to do and want to make… My list keeps growing. I'm so excited to finally back stateside and be able to start on some CRAFTING <3
I also love to Knit and Crochet! Check out a few of the patterns I've done here on Ravelry :) Archives
December 2023
Categories
All
|
| Everyday 365 Life | I'm a "crafter" I just can't help it... |


 RSS Feed
