|
I'm so excited to announce that I'll be hosting a giveaways sponsored by Mother Goose Time! Welcome to a Manipulatives Monday Giveaway :) You can find ways to enter the giveaway near the bottom of this post AND check out some other bloggers participating in the giveaway as well.
Manipulatives are a VERY important part of our daily activities. We use them for so many different activities: counting, identifying color, shape, size, playing with them in games, pattern making, art, fine motor skills and SO MUCH MORE!
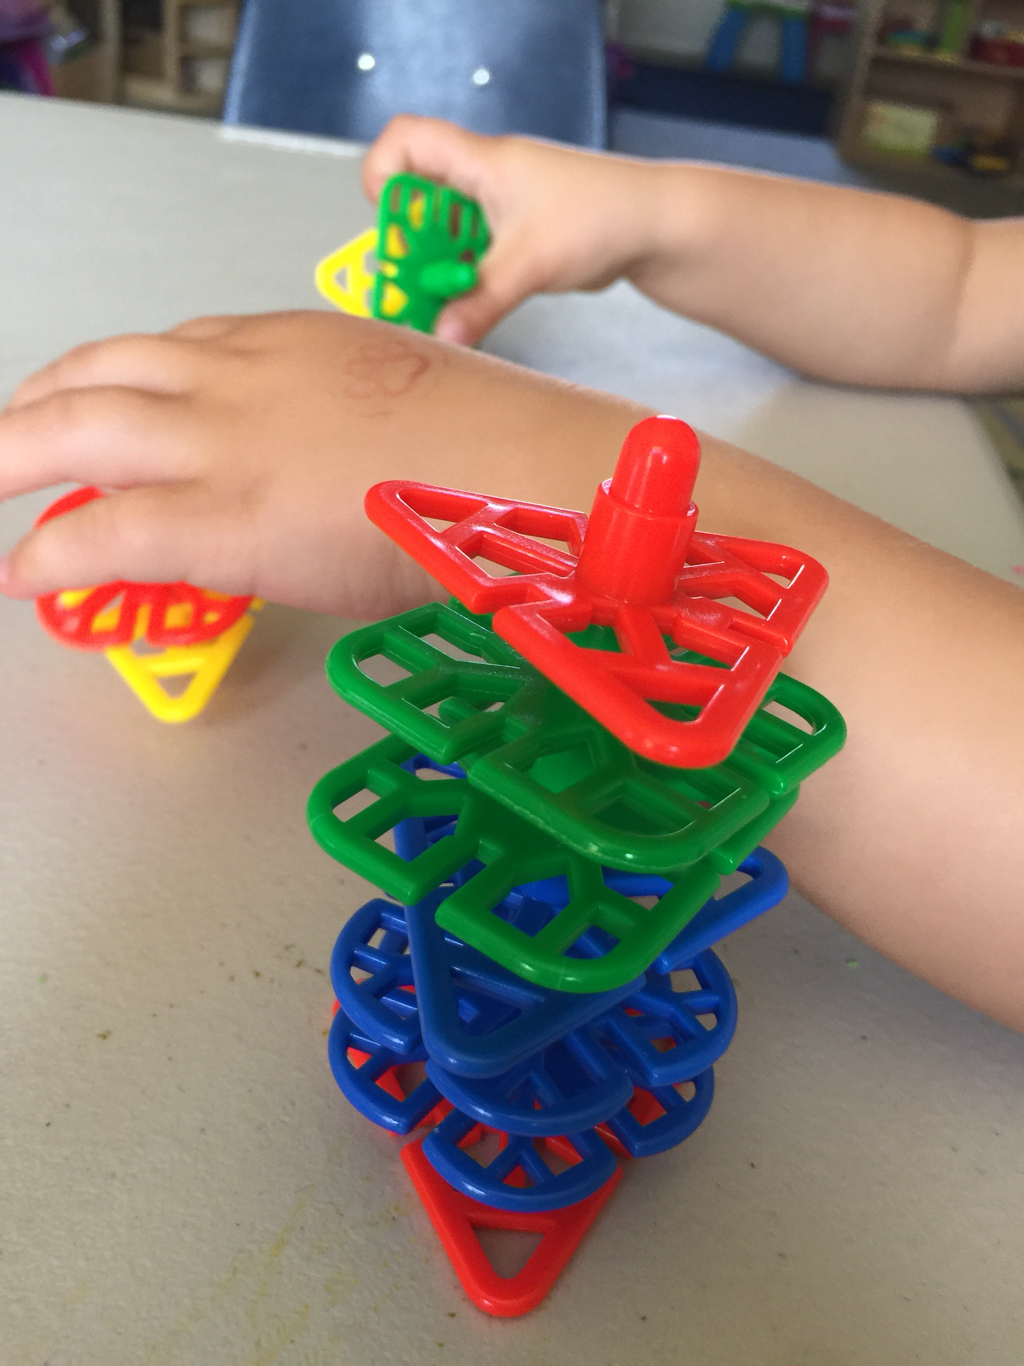
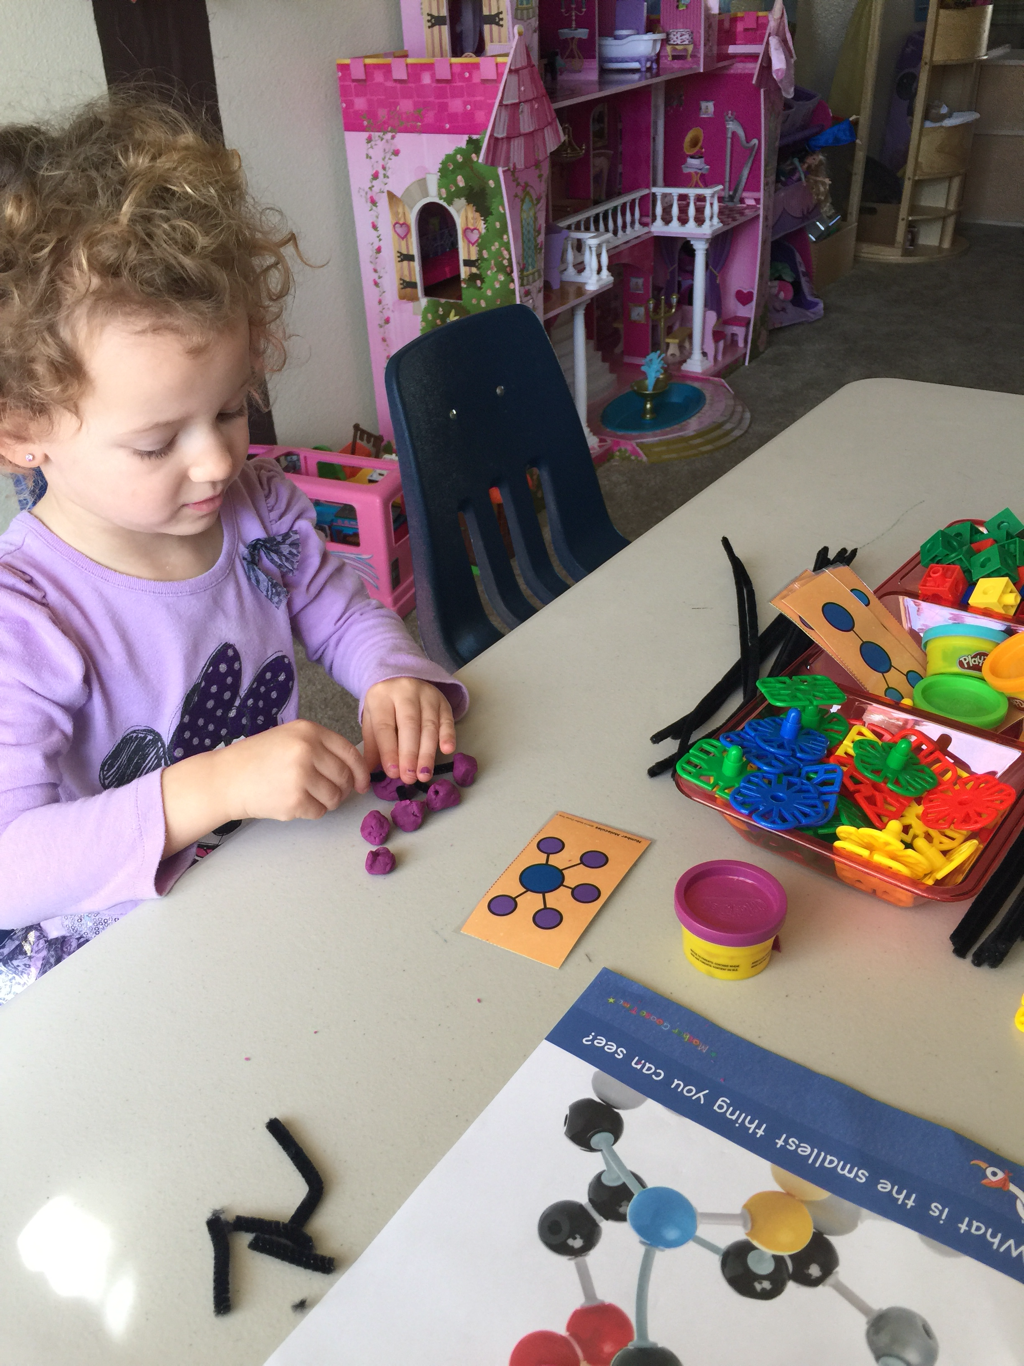
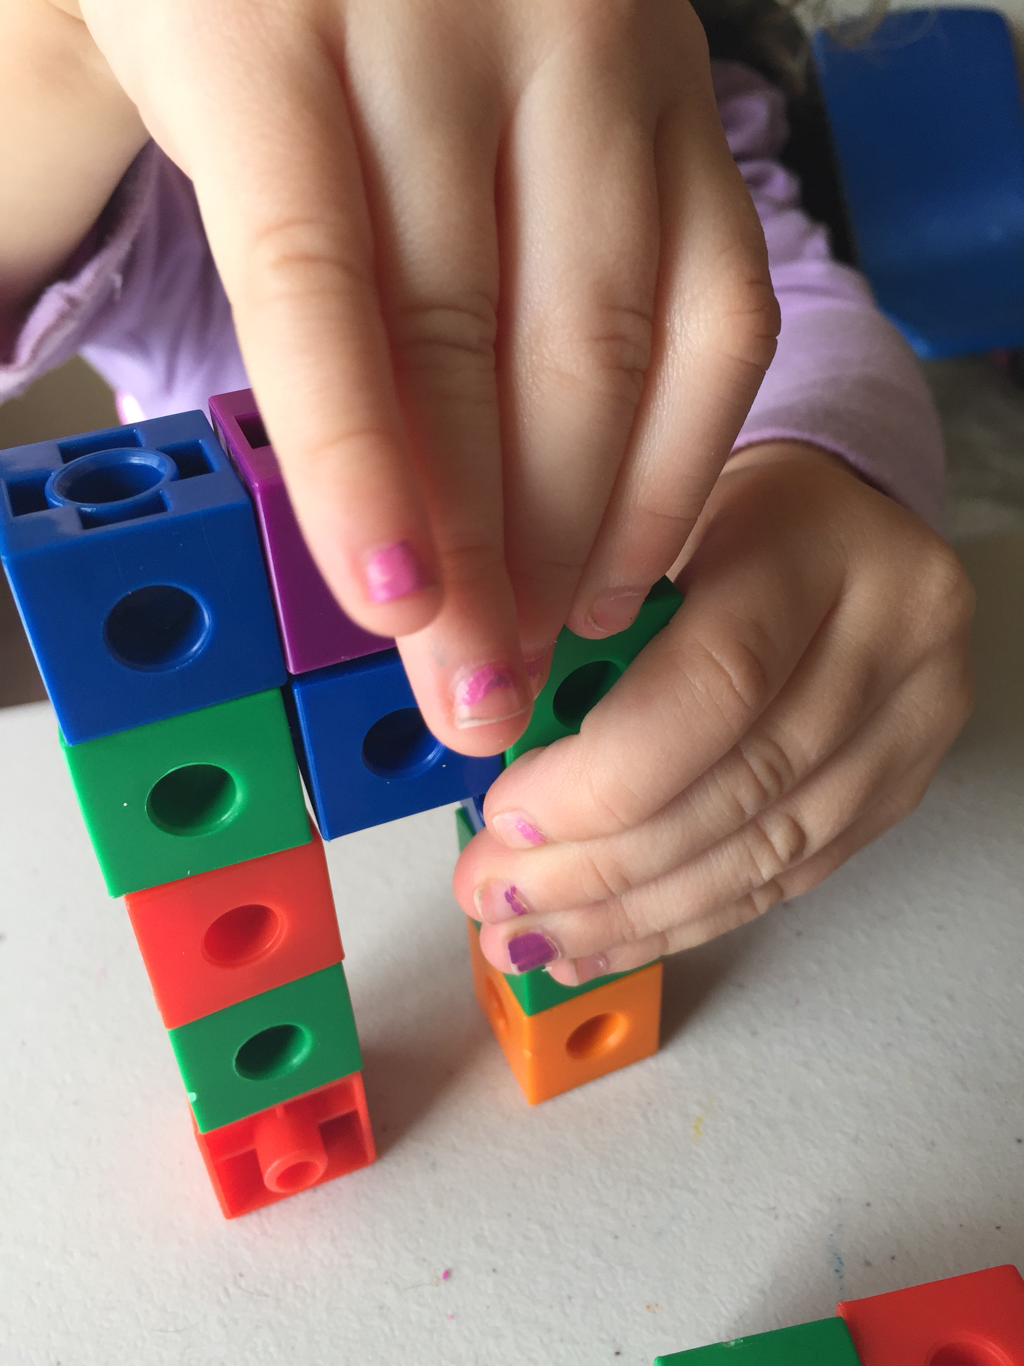
Here is a fun way that we incorporated manipulatives that I've collected from past months into our Science Activity last week! The two type of stacking toys you see here are both from past Mother Goose Time curriculum boxes. I added them to our molecule building activity, along with some play dough and pipe cleaners.... 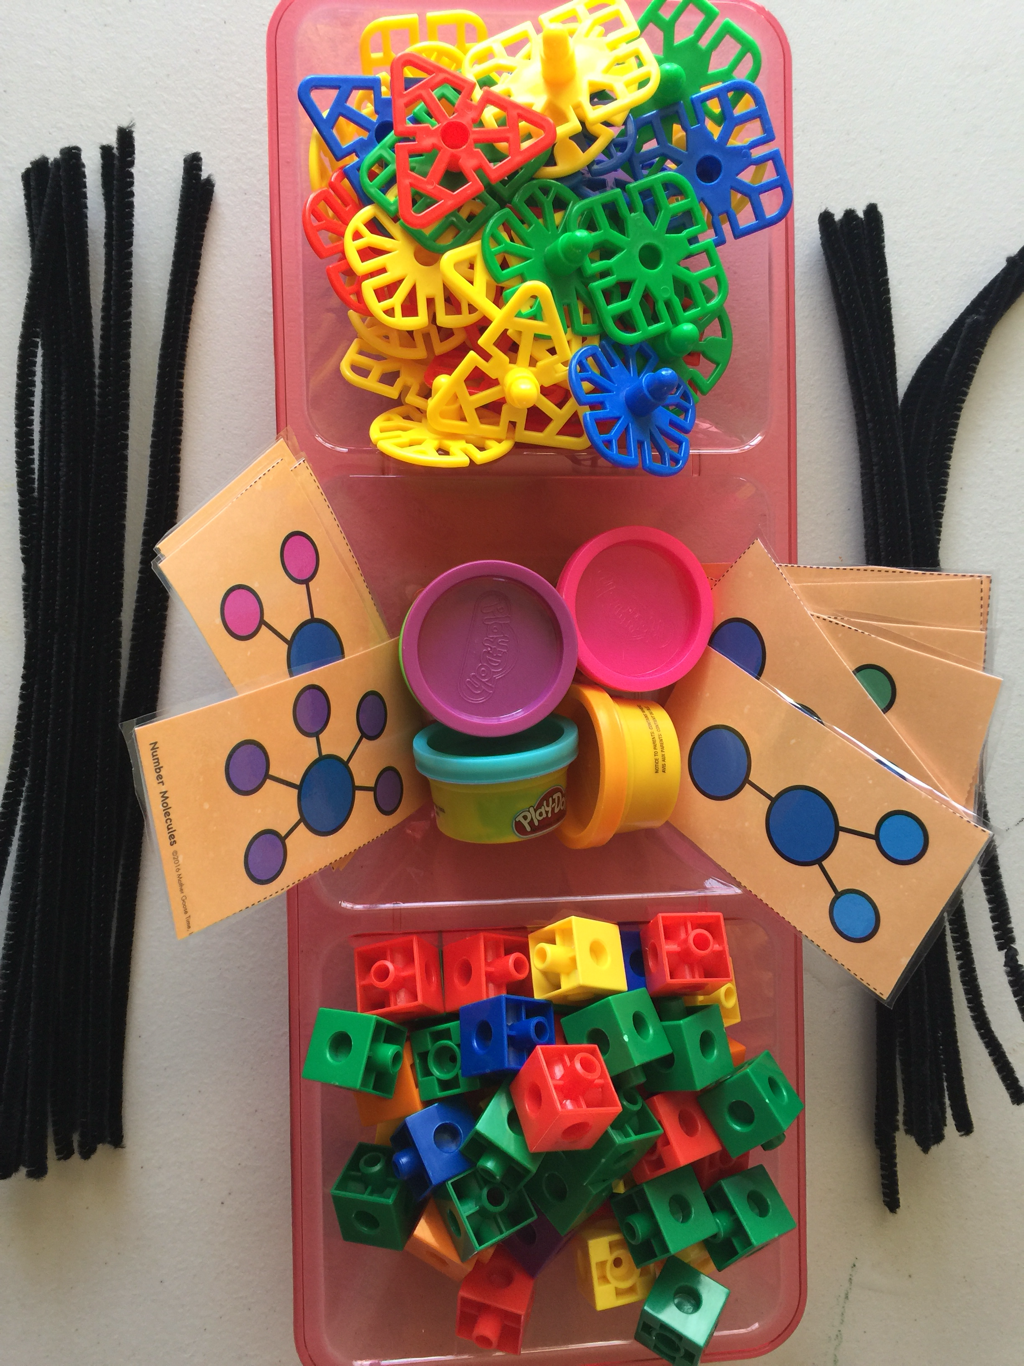
Here the kiddos selected the molecule cards as a template for building. Then they chose which tools they wanted to use. They had fun exploring the different items available and pretending they were creating new molecules! We talked about the colors, shapes and counted as we built.
Some kiddos tried combining the different materials to see if they would fit together. 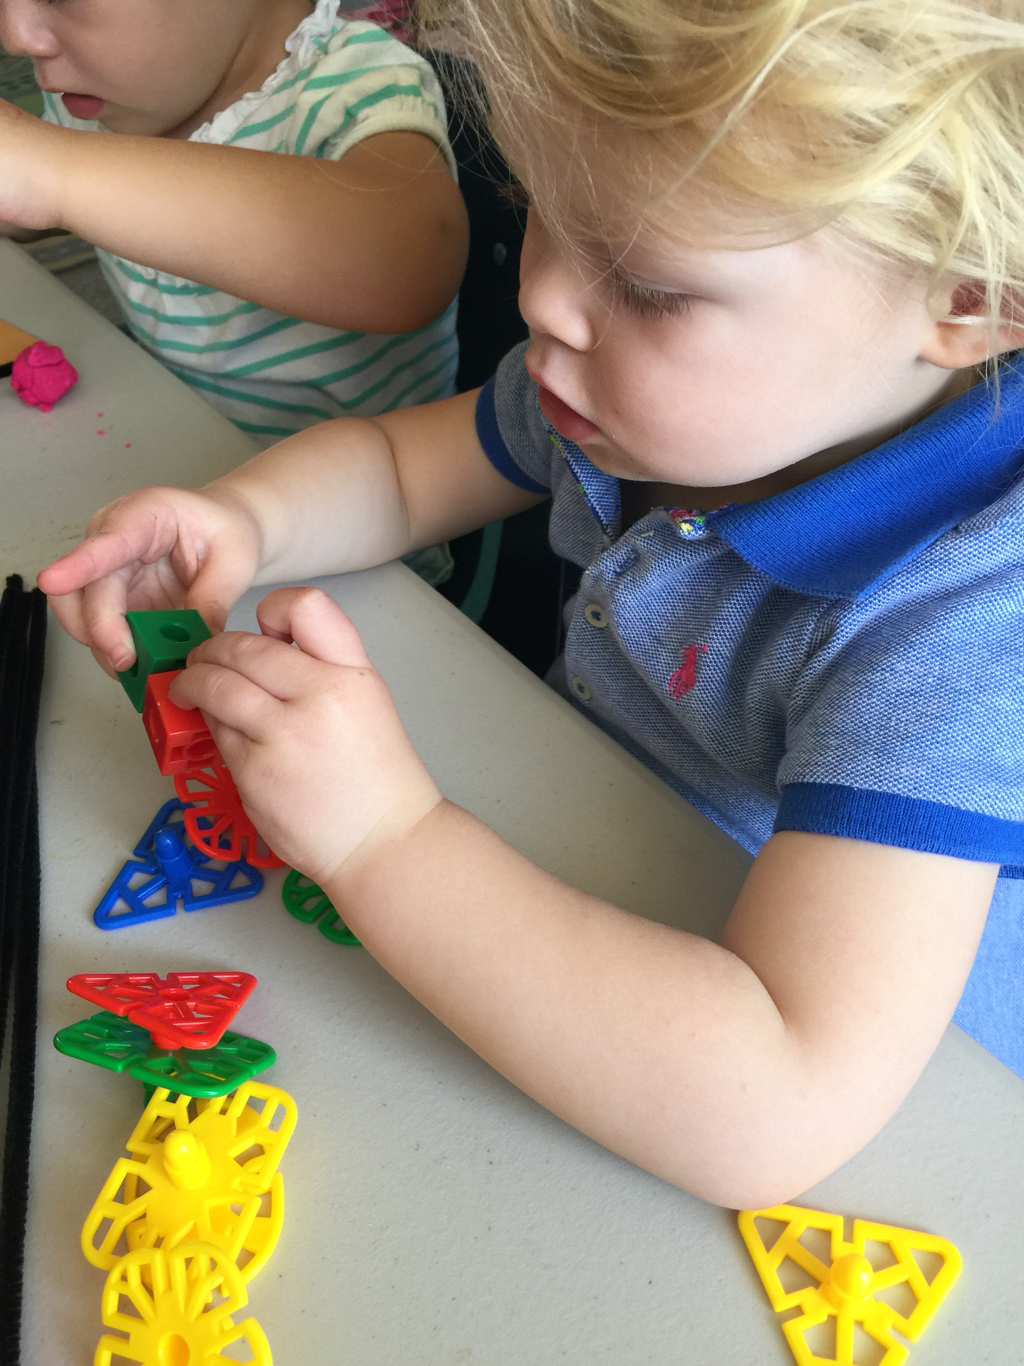
I love the bright colors of these stacking shapes. The size is perfect for little hands to manipulate, turn and push together! The shapes are great to use for sorting into categories as well.
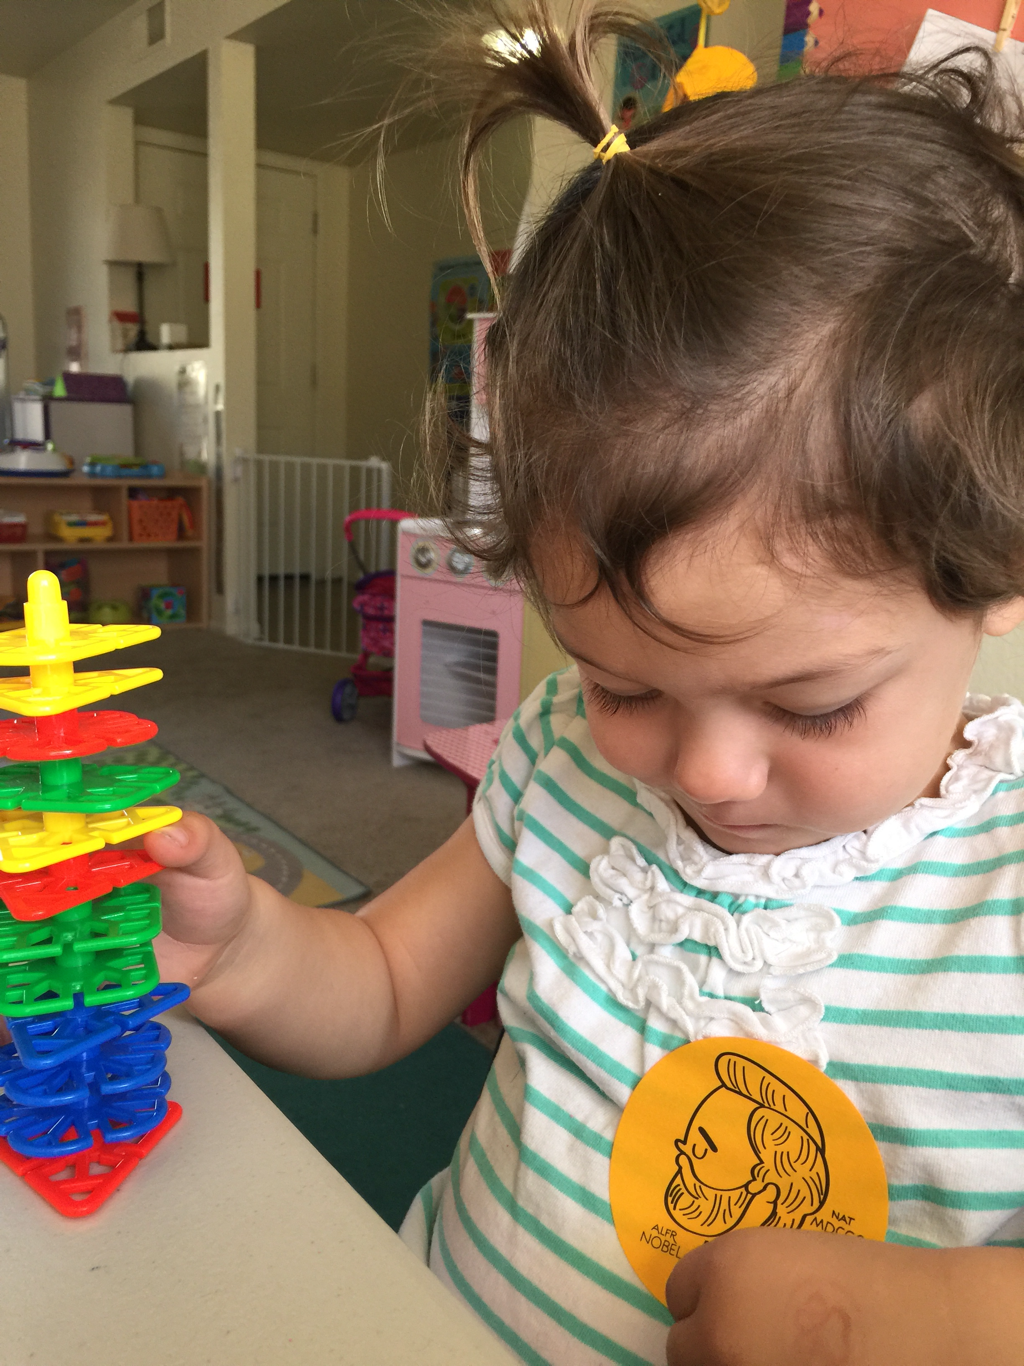
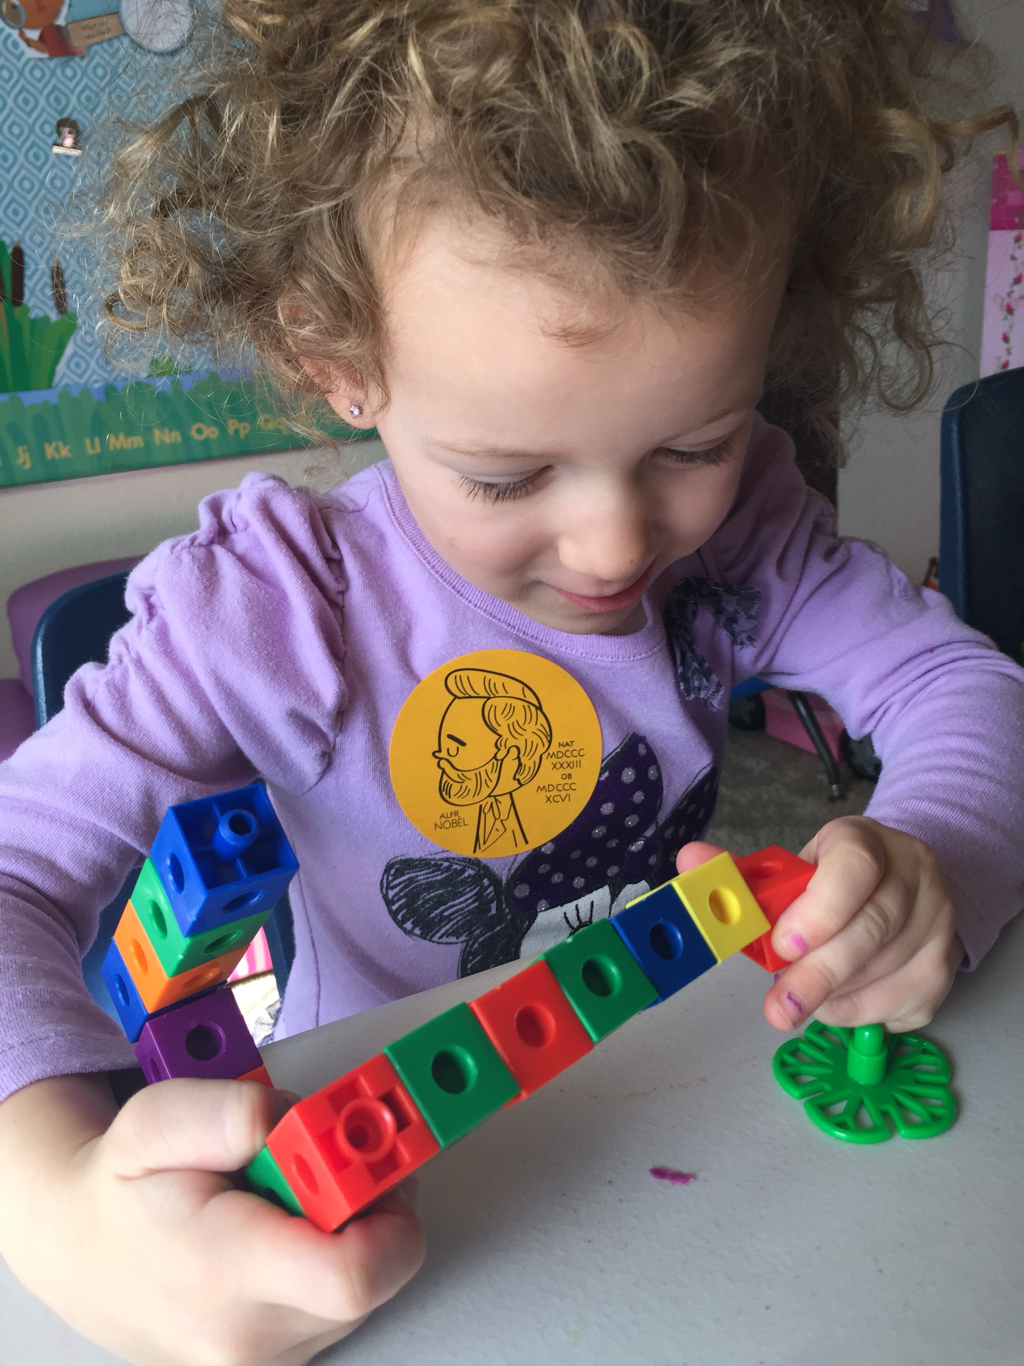
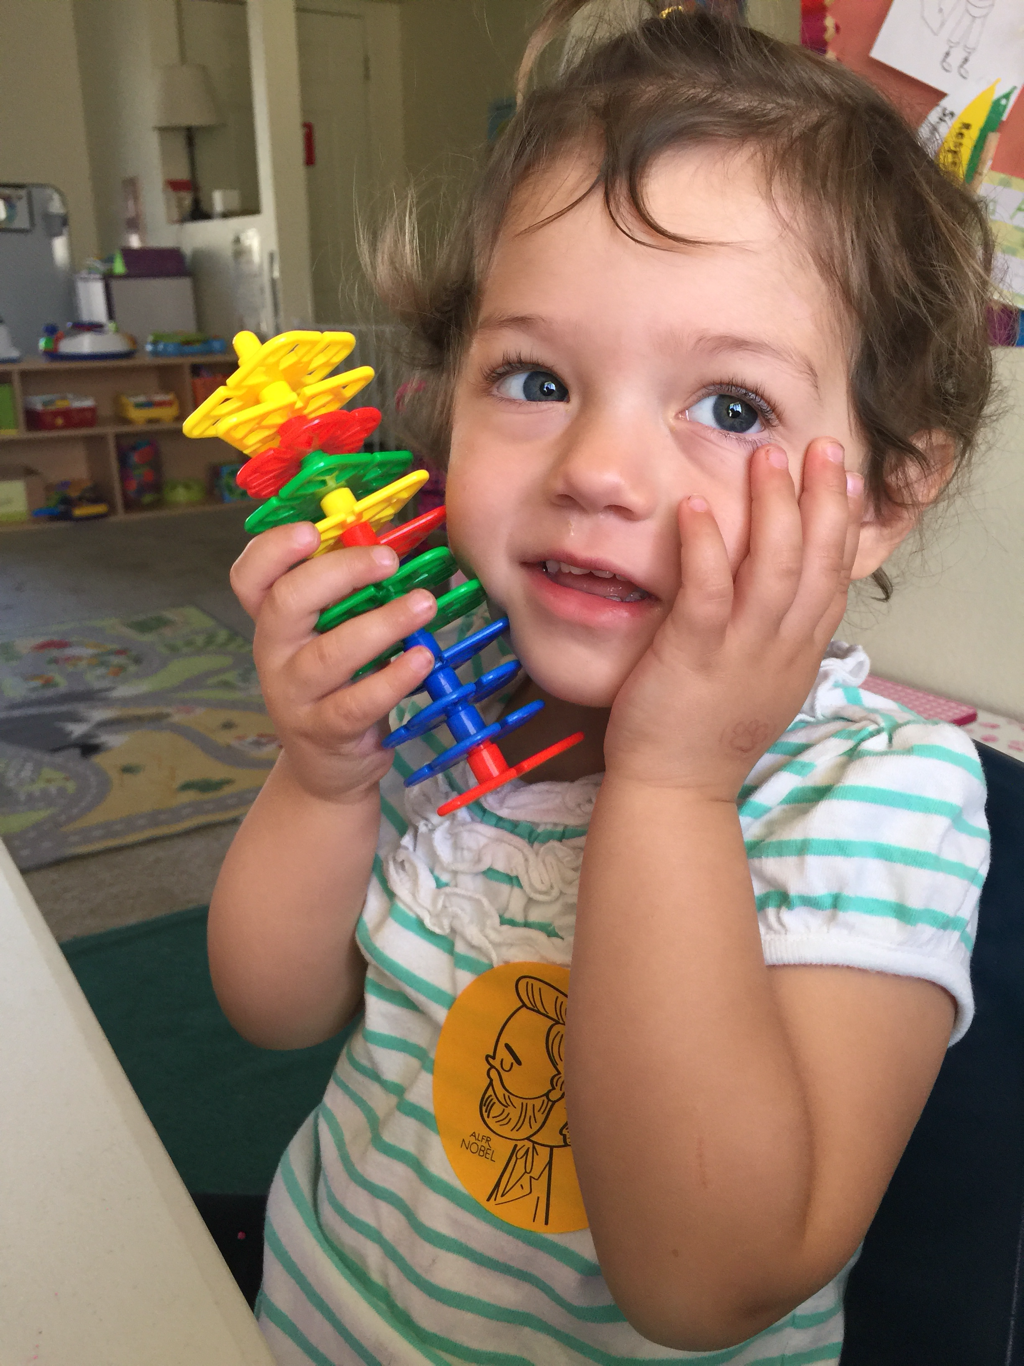
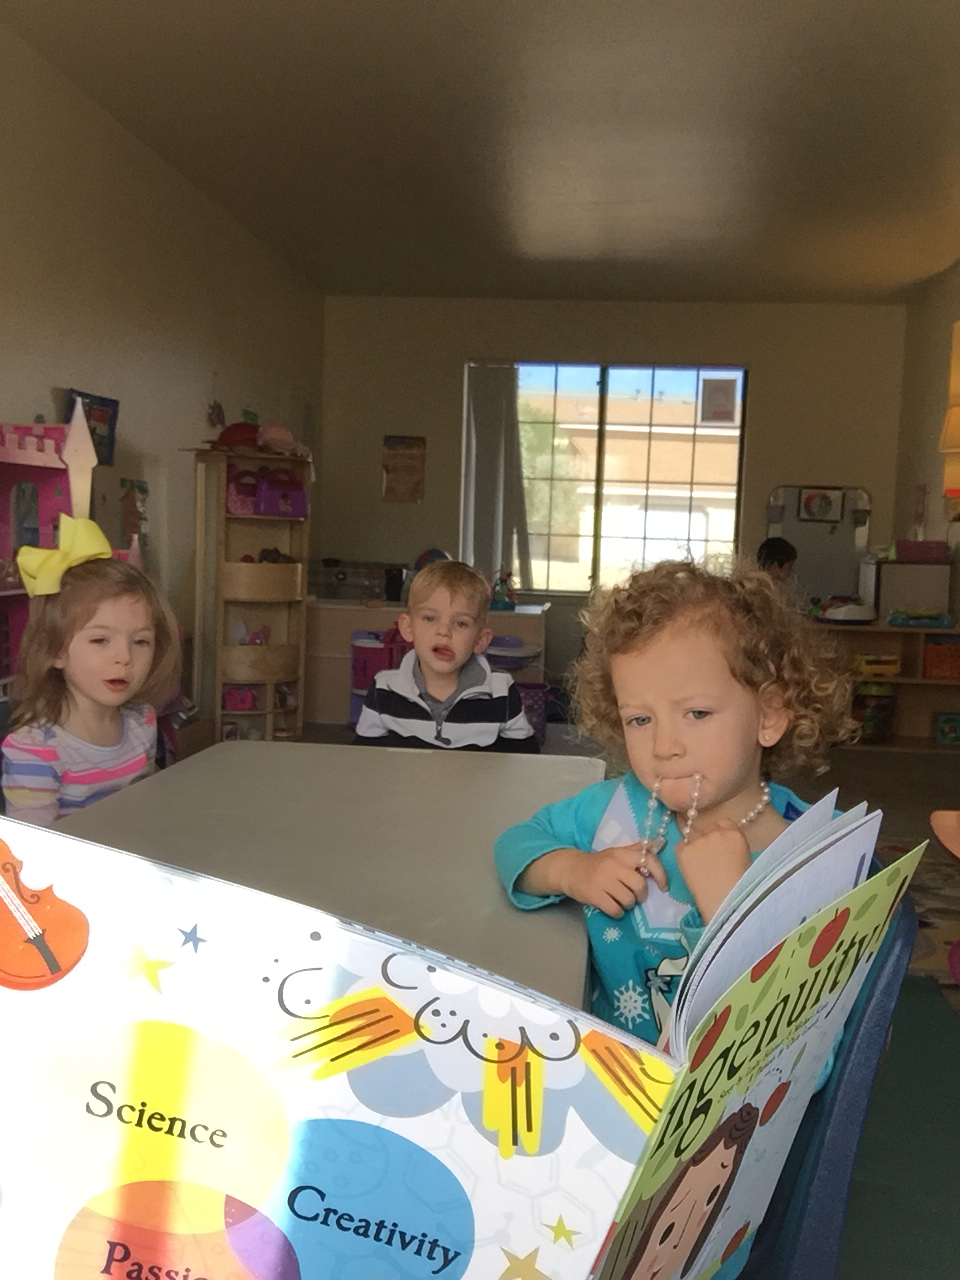
Since we read about Alfred Nobel in our story book last week the kids were excited to receive Nobel Prizes today for their incredible molecule structures! :) Check out MissC showing me her excited face for winning a prize! She's been prating that one!!
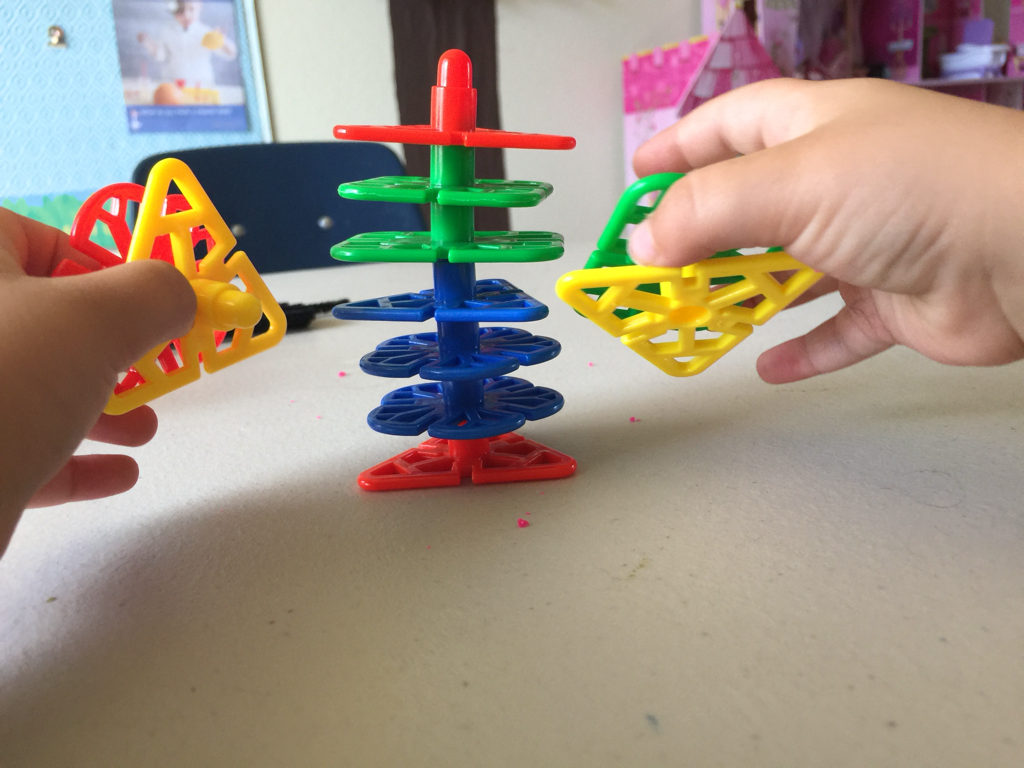
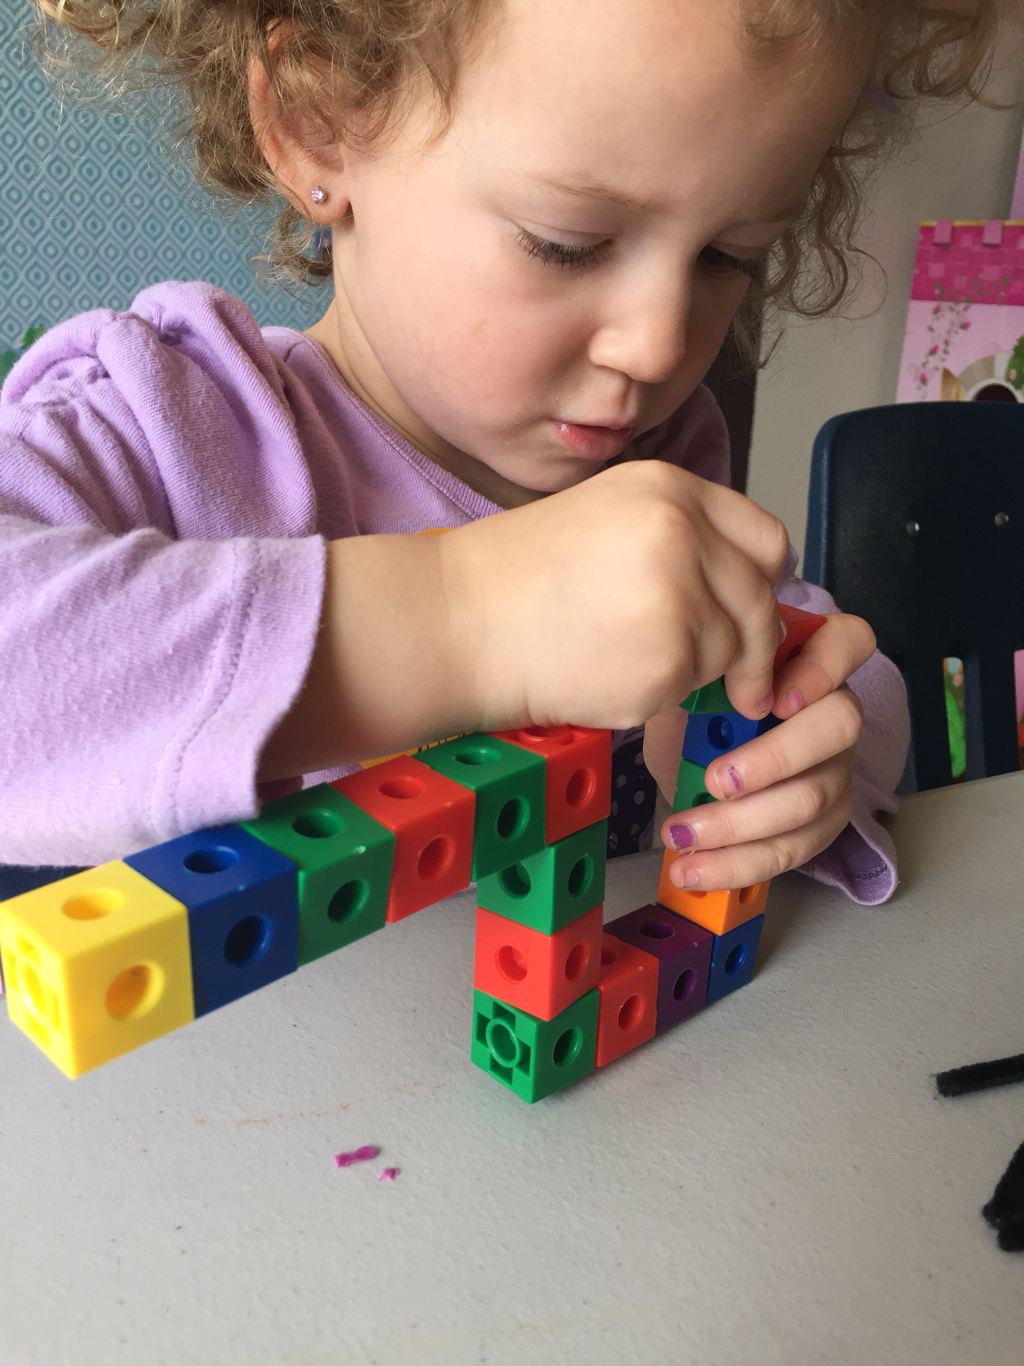
The stacking blocks also have wonderful bright colors! What I like most about these is that there are multiple holes which means many different options for building! Here L-Bug was experimenting with turning the peg so that she could shape her molecule like the one she saw in our daily topic poster!
The size is perfect for working on those fine motor skills!
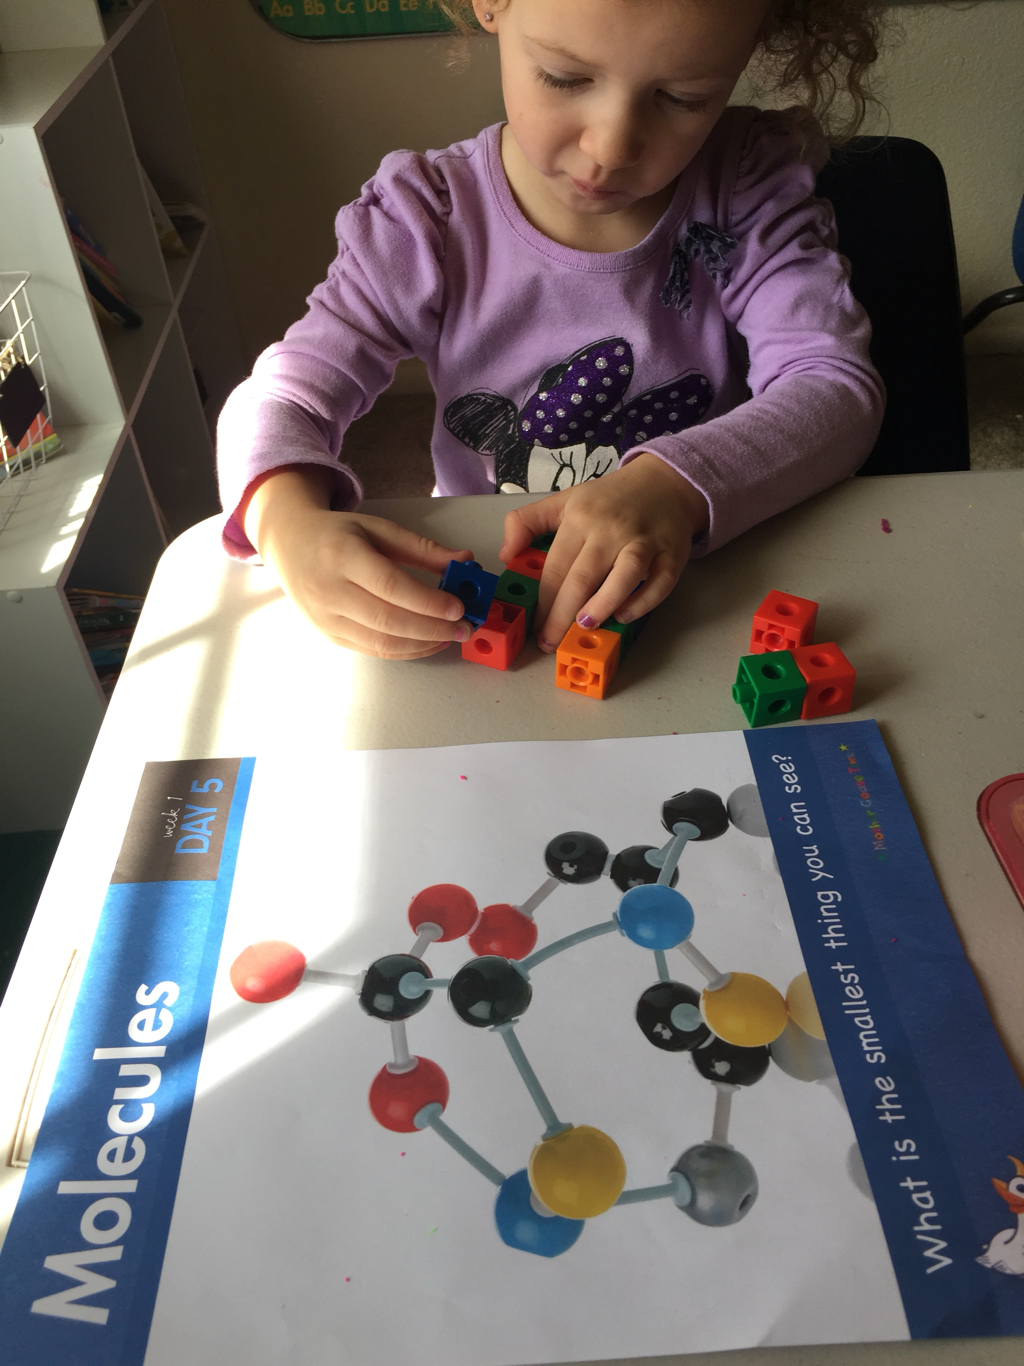
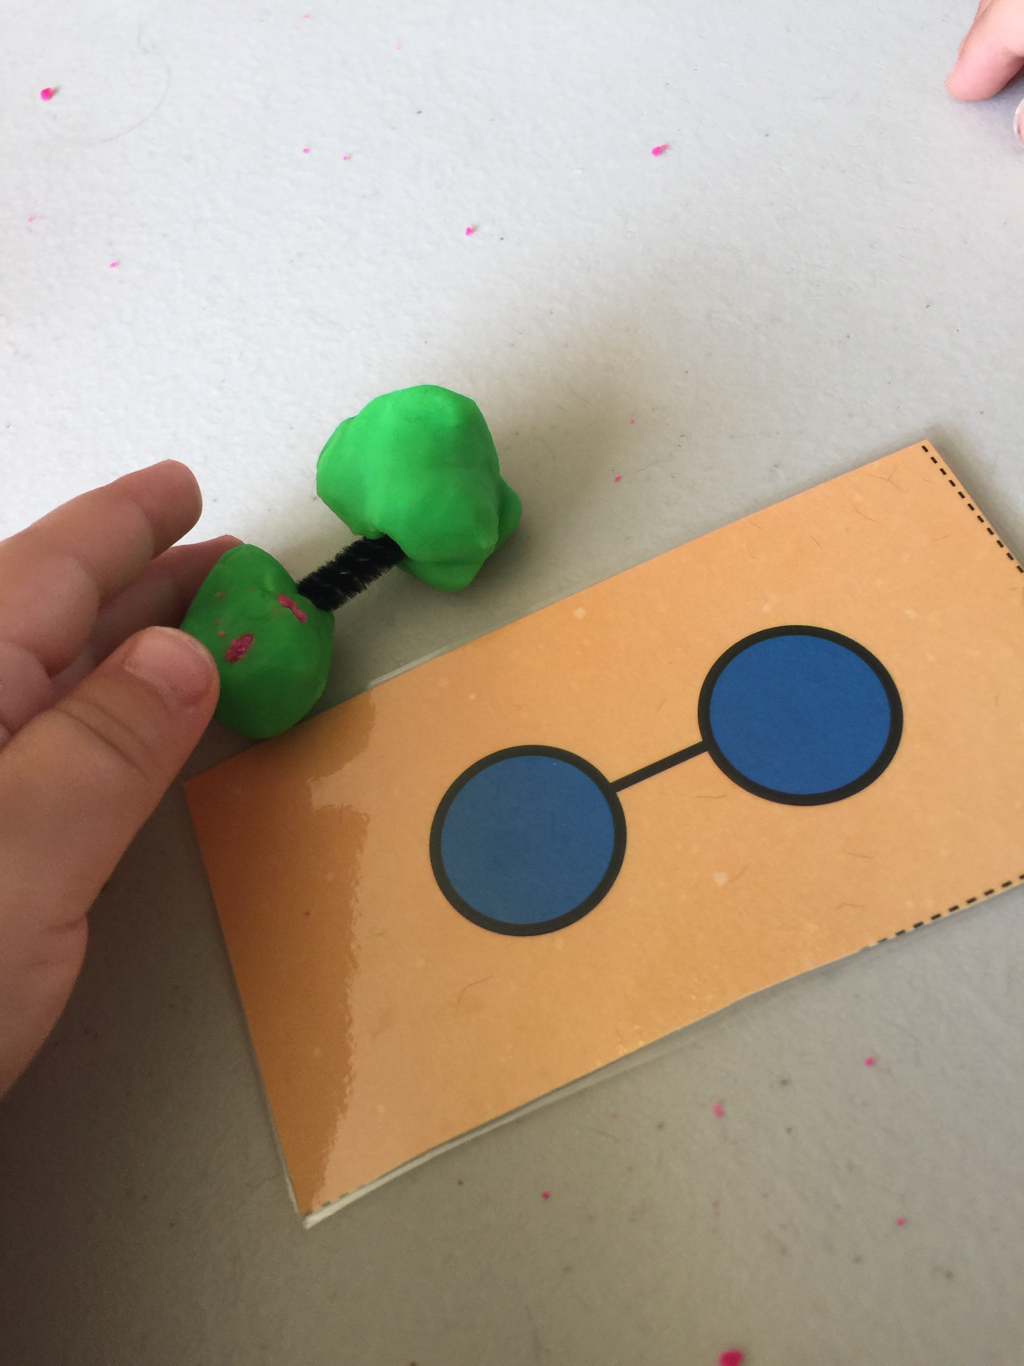
Of course the play dough was also a favorite! Who doesn't love rolling squishy play dough into balls! We cut some of the pipe cleaners into pieces so they could use them to build their molecules.
These molecule cards were actually a part of a Mother Goose Time matching game. I love it when I can get more use out of materials! The kids really liked following the cards to count the molecules and try to build one that matched!
This is just a tiny snippet of how easy it is to take manipulatives and use them as part of the learning process! Ever since I started using Mother Goose Time curriculum two years ago our collection has grown so much. The kids love it when we pull out the manipulatives bins :)
How cool is it that Mother Goose Time is sponsoring this giveaway so each blogger can have one winner randomly selected! Please note for entries into the giveaway hosted on my blog are only available to those who are in the United States. Thank you!
6 Comments
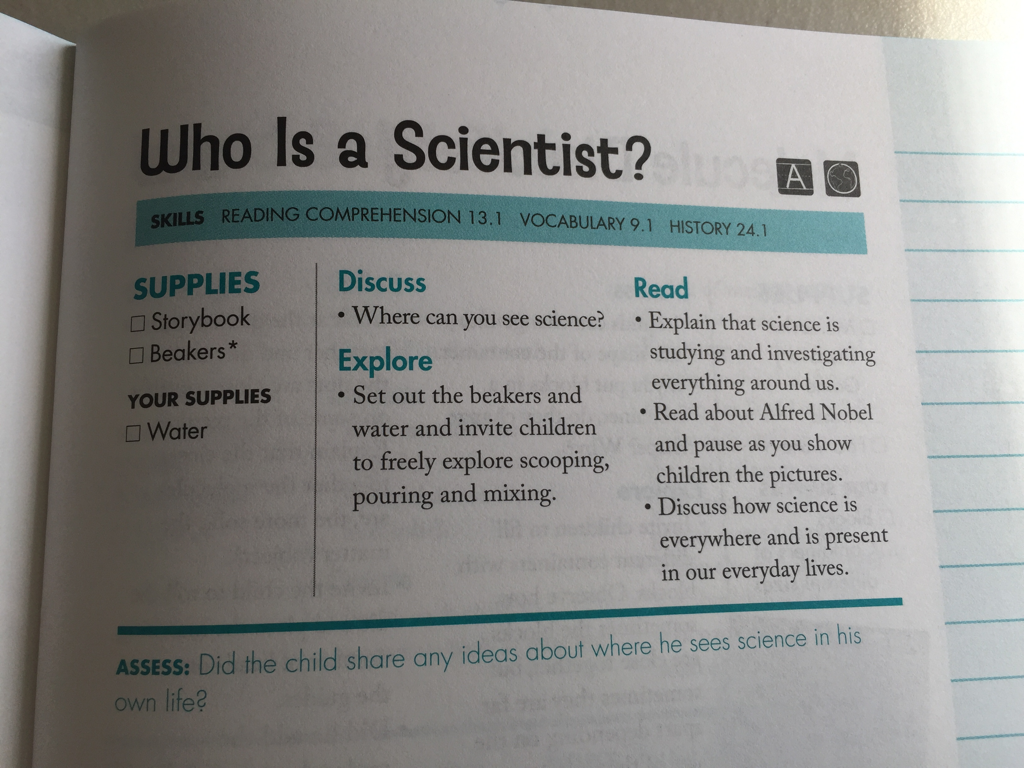
Today has been one of my FAVORITE days so far. The kids really enjoyed our lesson today and got into the activities. They were excited to learn they have 6 amazing scientist tools! But, before we jump straight in let me share one thing that I've been finding works really well for us... taking multiple Mother Goose Time activities and combining them! Because my school day is only four hours and we have to fit in circle time, snack, potty breaks/diaper changes and some free play we don't always have time for four or more activities. BUT we do have time to rotate trough stations and combine a few activities into one! So if you are trying to figure out how in the world to "do it all" in a shorter time frame, this post just might give you a few ideas! First we started with Circle Time, of course! After we finished some songs we took a peek at our Daily Topic poster. The kids had all sorts of ideas about what the little girl was doing: baking/cooking, playing pretend kitchen, etc. They were surprised to learn that she was a scientist! We talked about what a scientist is/does. We discussed different tools that scientist's may use. We read our story about Alfred Nobel and talked about all ways WE could be scientist too! Here I combined the "Who is a Scientist?" and the "Simon Says Senses" actives to talk about how WE can be scientist using our super special scientist tools!
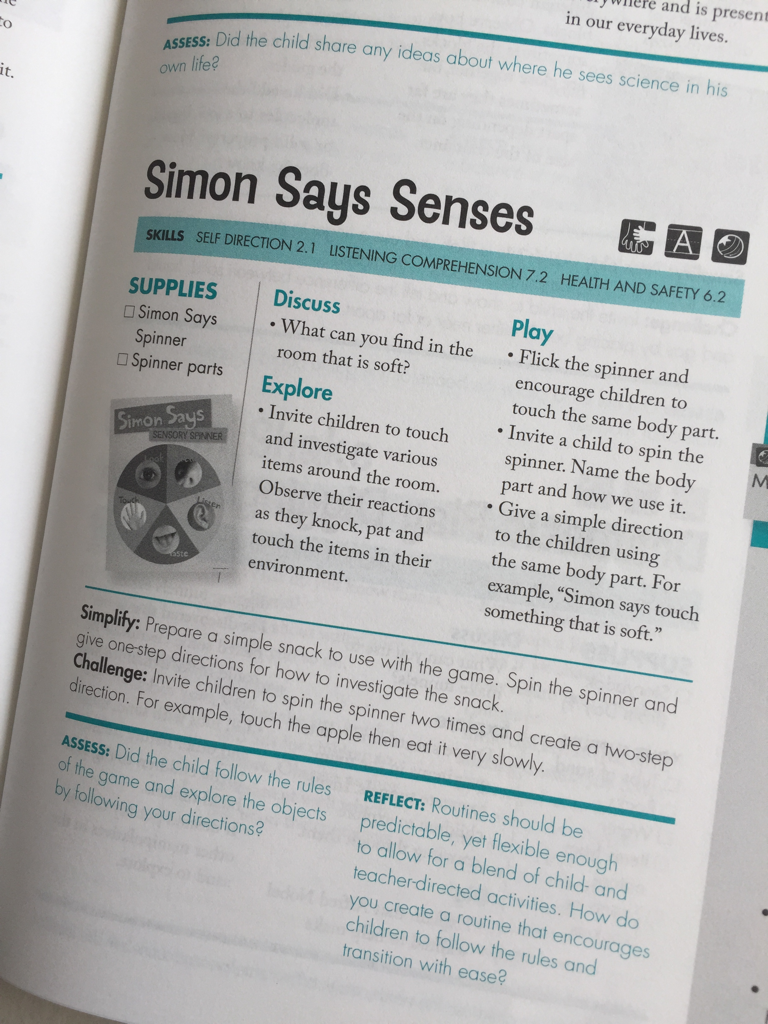
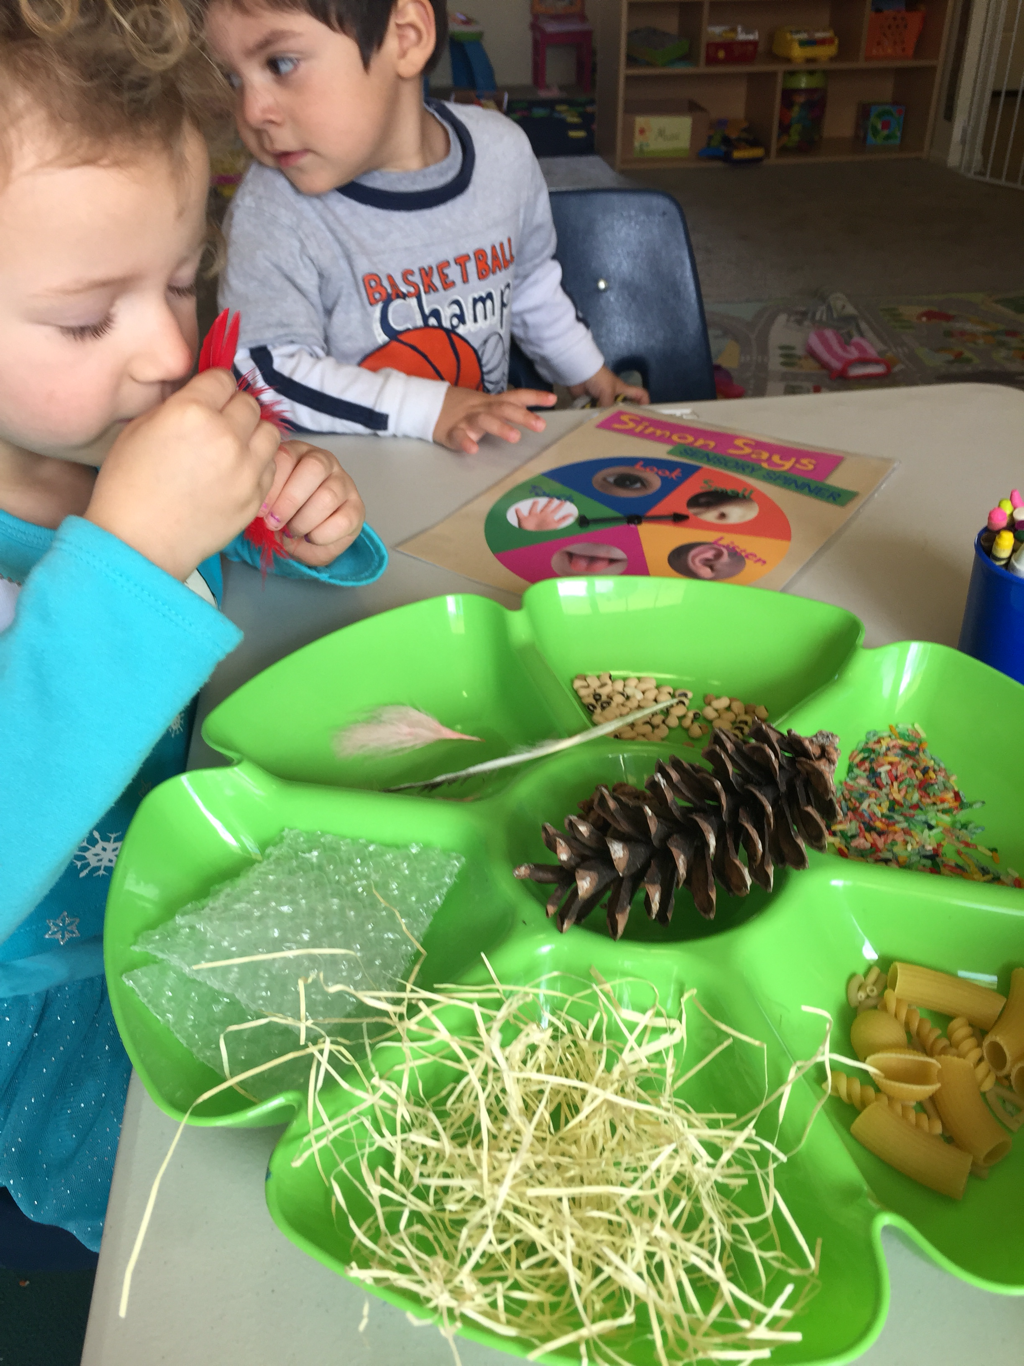
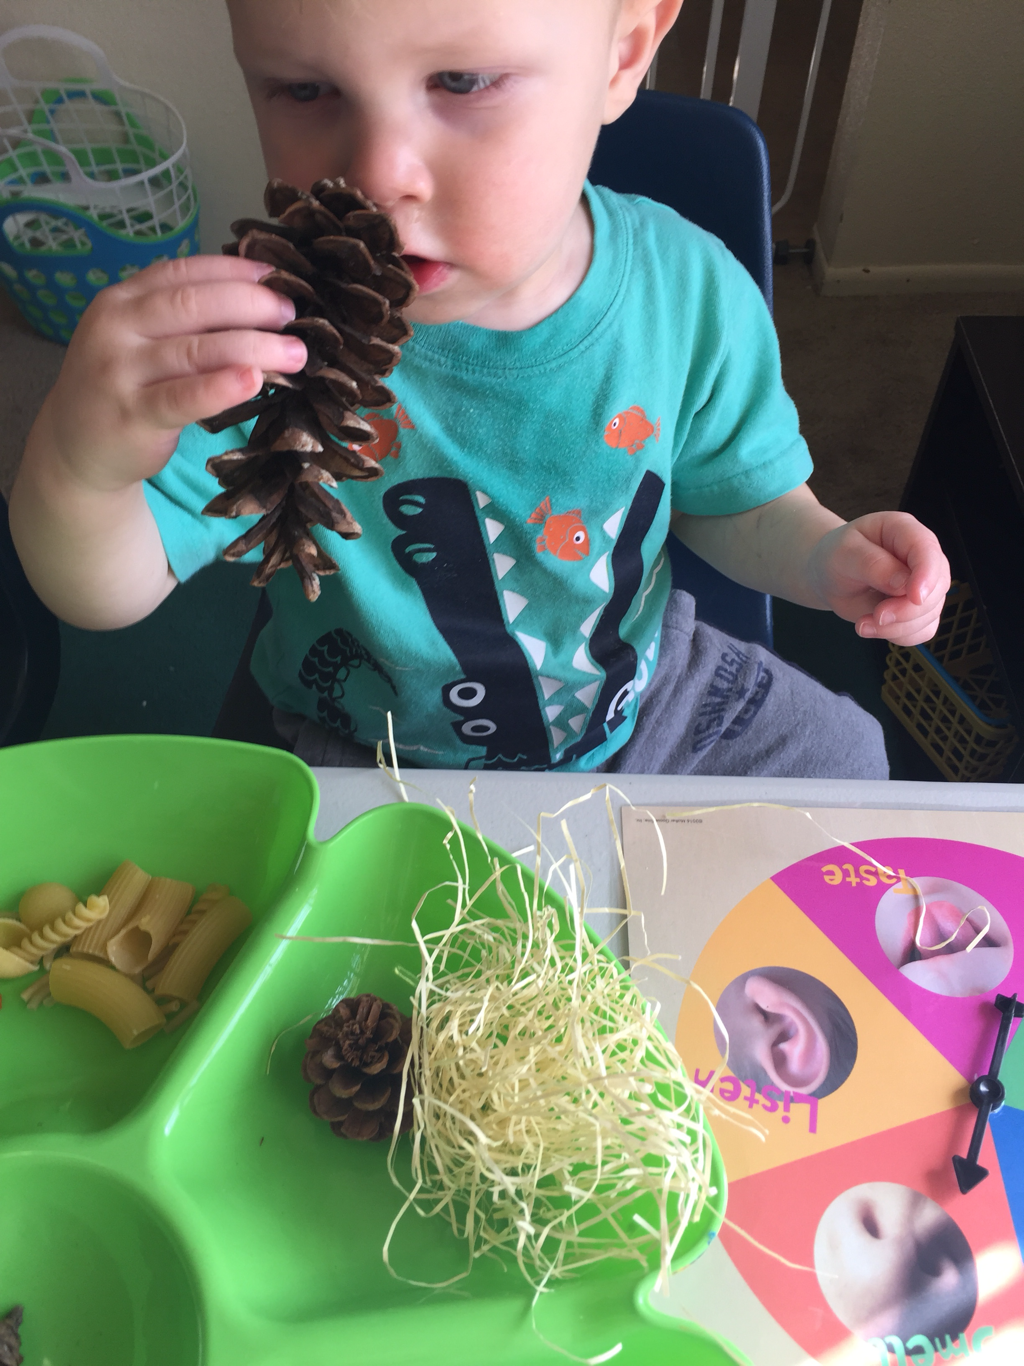
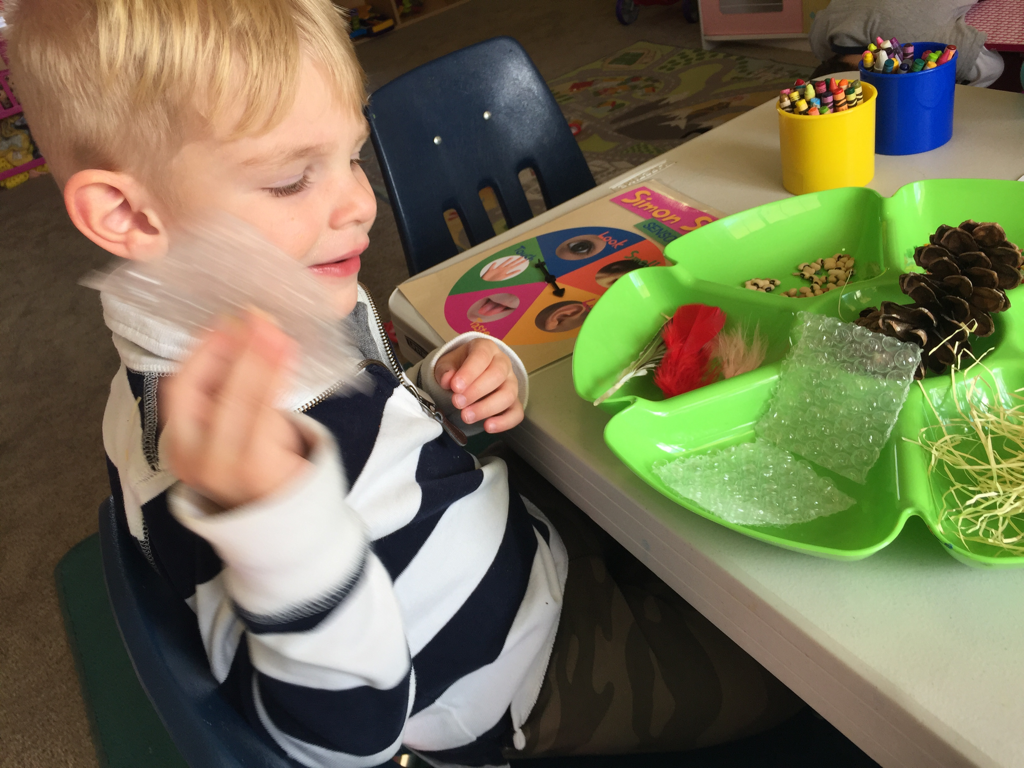
 I explained that EVERYONE has five super scientist senses that they could use to study and investigate. After all... that's what a Scientist does! Before I showed the children the sensory senses spinner I had them help me name our scientist tools and explain how we could use them! With a little encouragement they were able to find all five AND helped me find a sixth :) EYES: to look and observe NOSE: to smell MOUTH: to taste and explain HANDS: to feel and touch  I helped the children find all of our senses by giving them hints of where they could find their tools, for example: "we have two tools on our face.." - eyes! Well I when I was referring to ears I told the children "we have a tool on our heads..." - BRAIN! I could not argue with them, because our brains really are great scientist tools. But I did remind them that our brains are IN our heads and not ON our heads. Then I helped them find our ears as our sixth tool :) BRAIN: to think and learn EARS: to listen After snack time we did a "rotation station" activity! I had three stations set up at the table with a fourth station set up in the library with some nature/science books out. At the table the stations were 1) Simon Says Senses, 2) Hard and Soft Sorting, and 3)Science Journal. 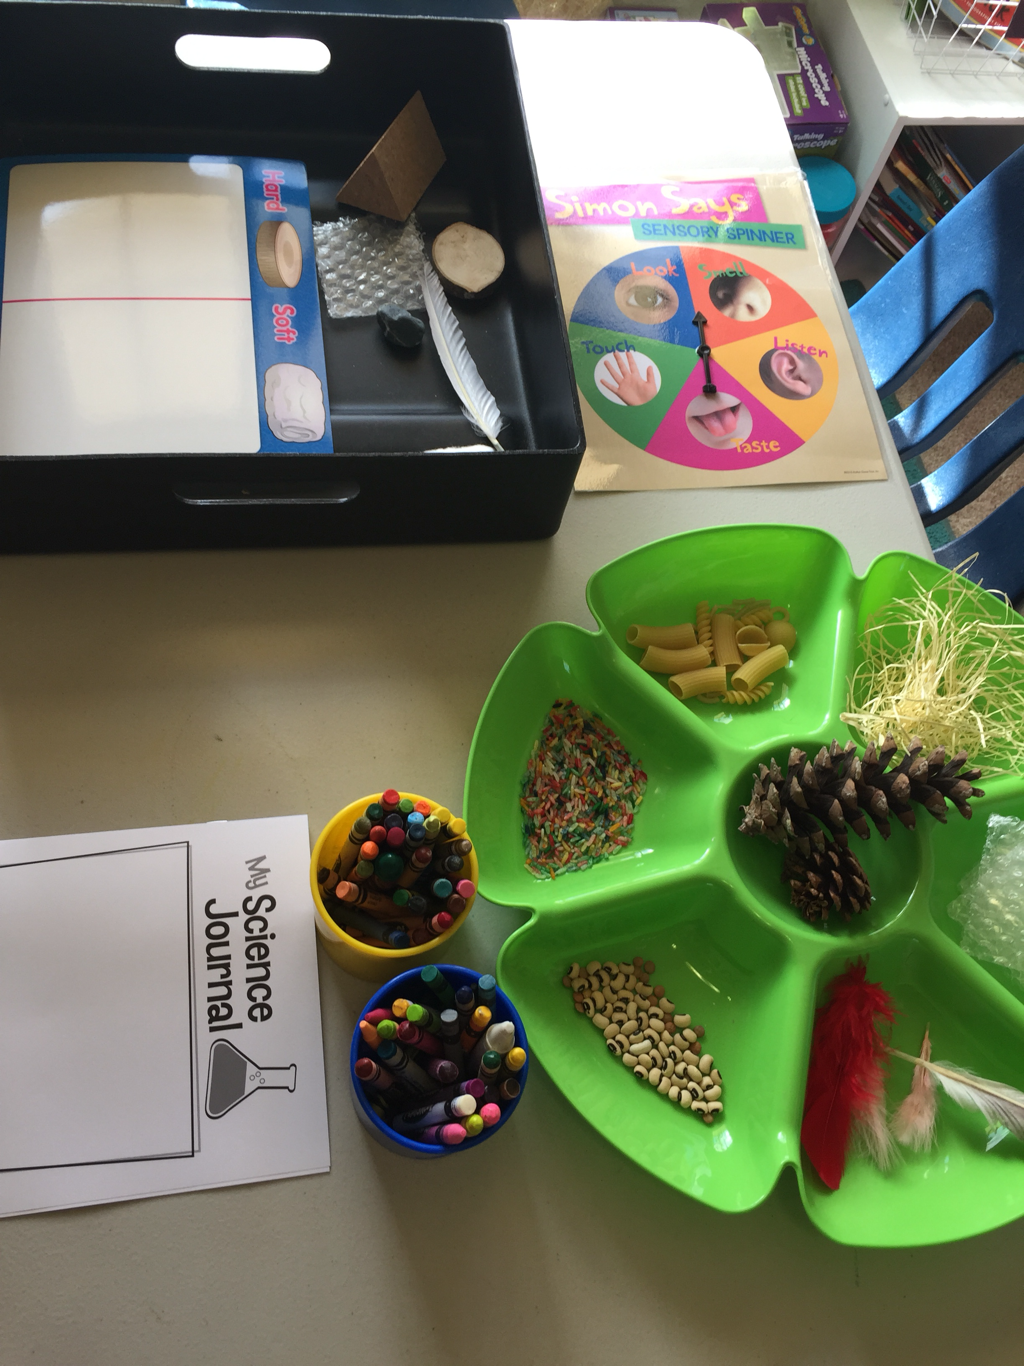 The Simon Says Sensory station was another combination activity! I used ideas from the Simon Says Sensory Spinner activity and the Sense Test activity. In my FCC home I'm not allowed to feed the kids foods unless they are on my USDA menu for the day. Instead of using fruit for our activity I decided to use nature items instead! I used many of the "investigate" prompts, but just using different items. 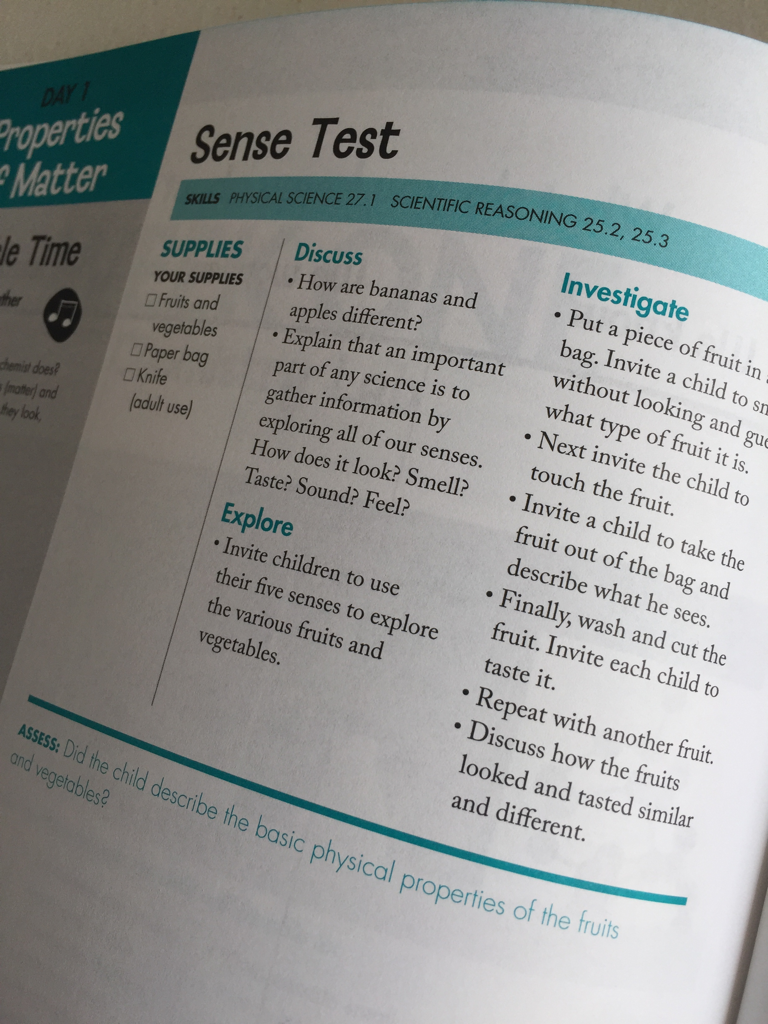 The Simon Says Sensory station was set up with 7 different items to manipulate and the sensory spinner. The child spun the spinner and then used that sense on all seven of the items! Then they kept spinning until they had gotten to do it all. I was sitting where the spinner was so I could help with both activity one and two. I wanted to be near so when the children got to the taste sensory I could help them do it in an appropriate way. Below are L-Bug and Baby O using their NOSE tool to smell the different items in the tray! I encouraged them to use their words to explain what it smelt like, and I gave them different descriptive words to use too.
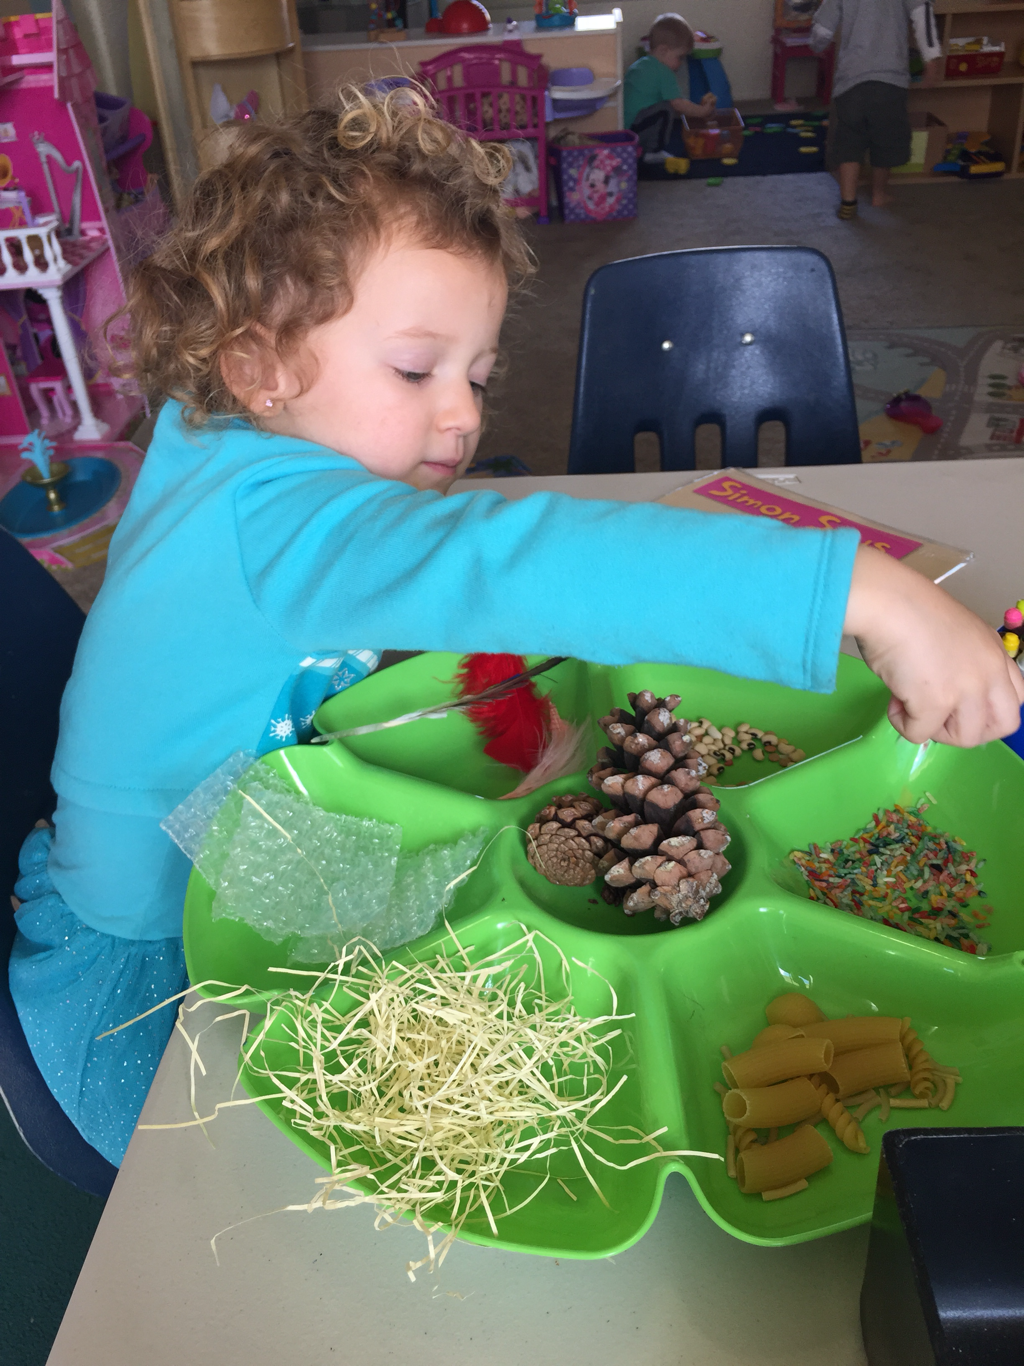
These are both examples of ways the kids were able to use their EAR tools to listen to the materials. Big Boy B was crinkling the packing paper and L-Bug was dropping the rice into the tray to hear the falling sound.
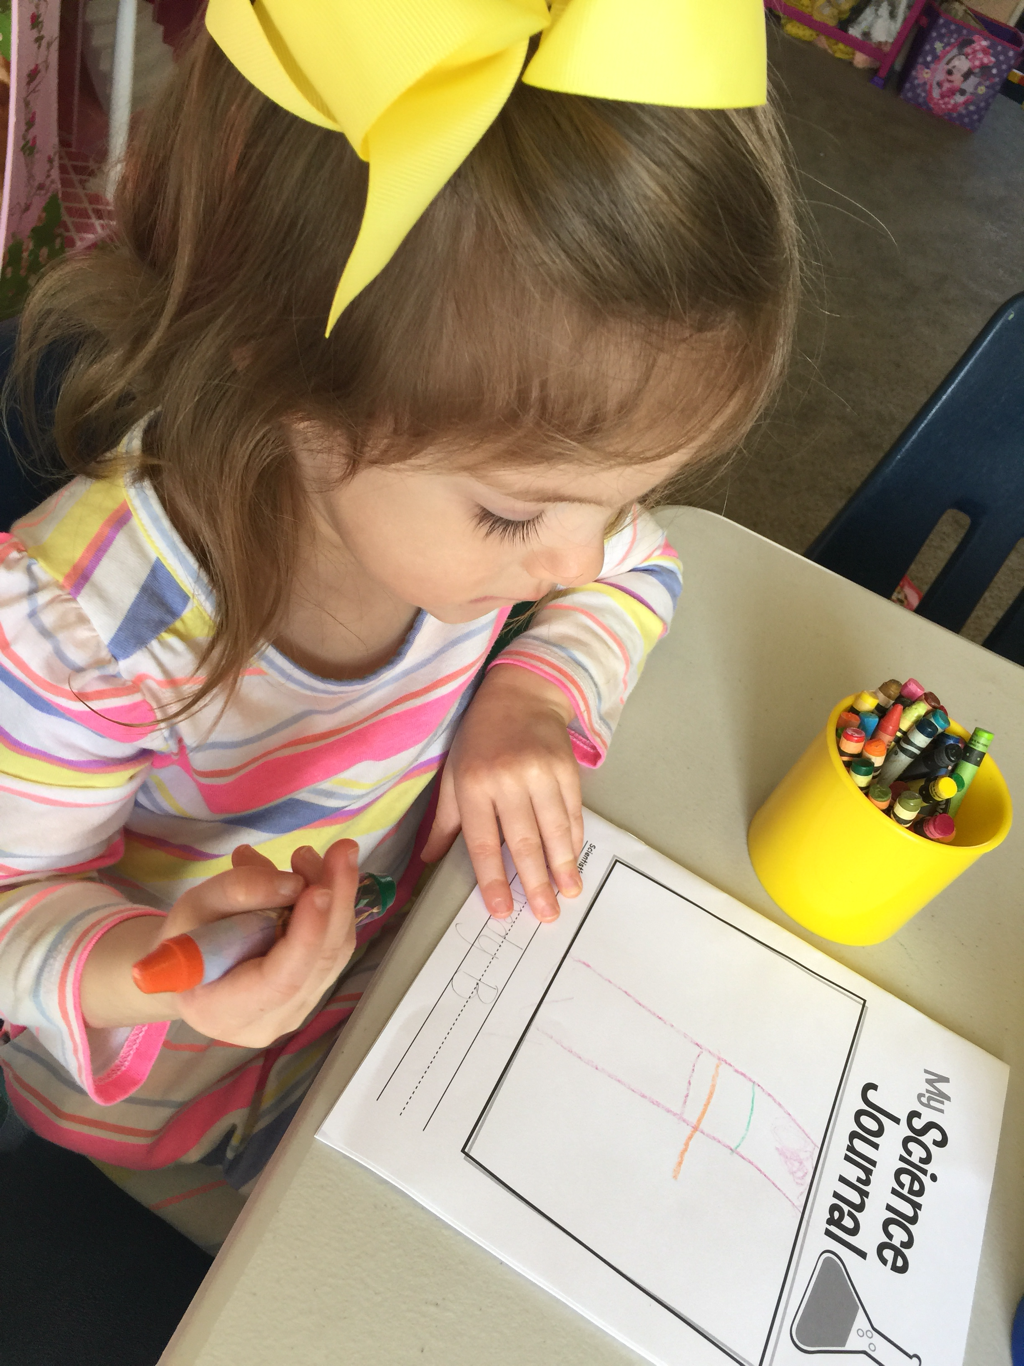
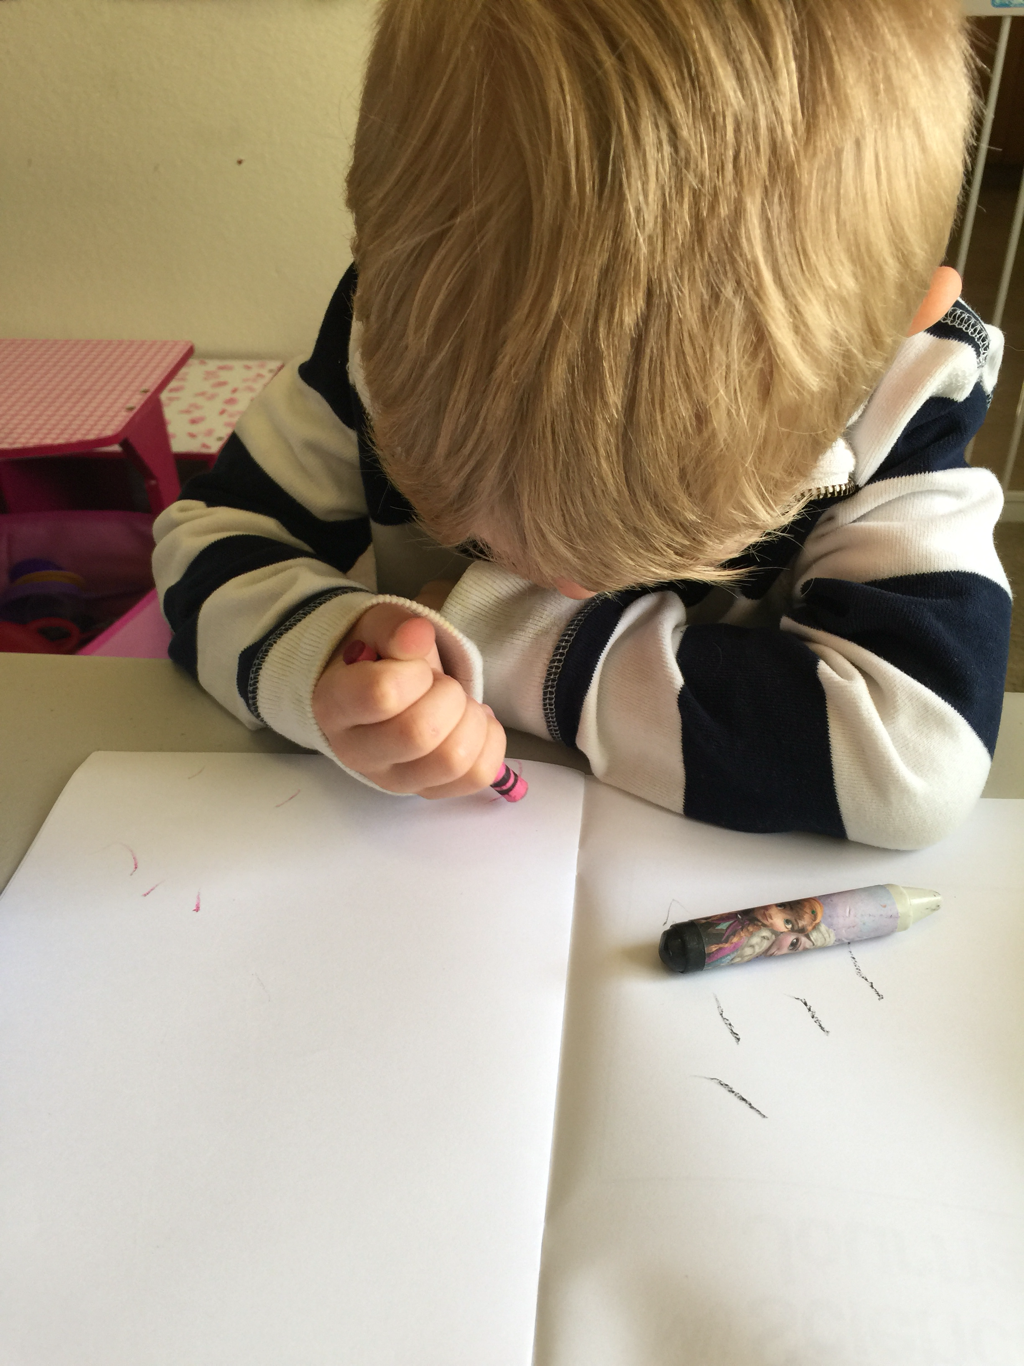
KK made a great observation while using her HAND tool to touch! She noticed that the noodles were all different sizes and they felt different too. The little ones were smooth, the spiral ones were "bumpy" and the biggest ones had lines on them. 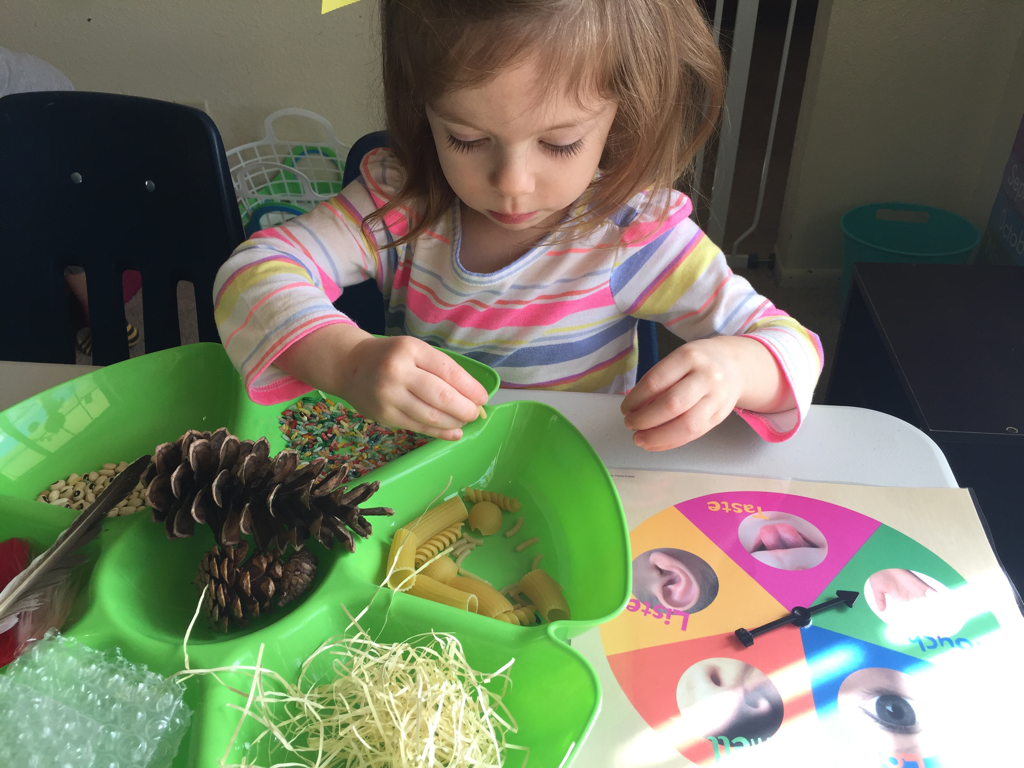 The Hard and Soft Sorting station was great! I encouraged the kids to hold one item in each hand and see which one was heavier, to bump the items on the table to see which one made the most noise, and to feel each one to see which one felt nicer on their skin. Then we talked about the hard and softness of each. Their different responses to the items and why they thought they were hard or soft was very interesting. Big Boy B loves to make noise! I think his favorite part was bumping the items on the table to see what kind of sound they made. I told the kids that we could use our EYE, EAR and HAND tools to find out which ones were soft and which were hard. Soft items won't make as big of a bump sound will they Big Boy B? :) 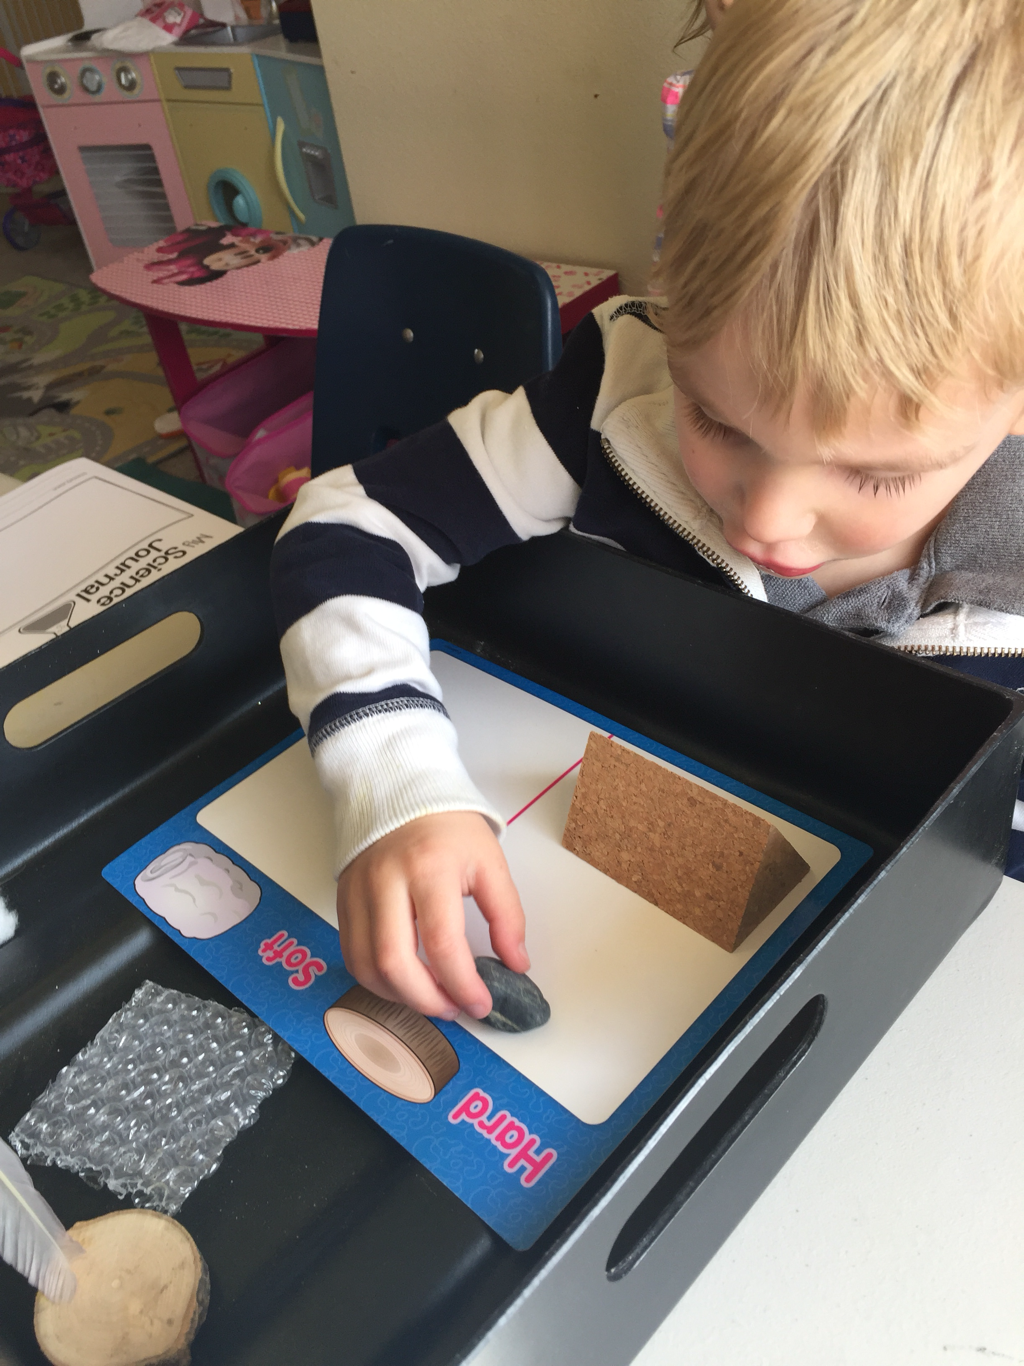 L-Bug knew she could use her HAND tool to feel the different materials. If they were gentle on her hand the she rubbed it she said they were soft. If they were not gentle she knew they were hard. BUT the rock.... that was smooth on her! She knew it wasn't like the other soft items! 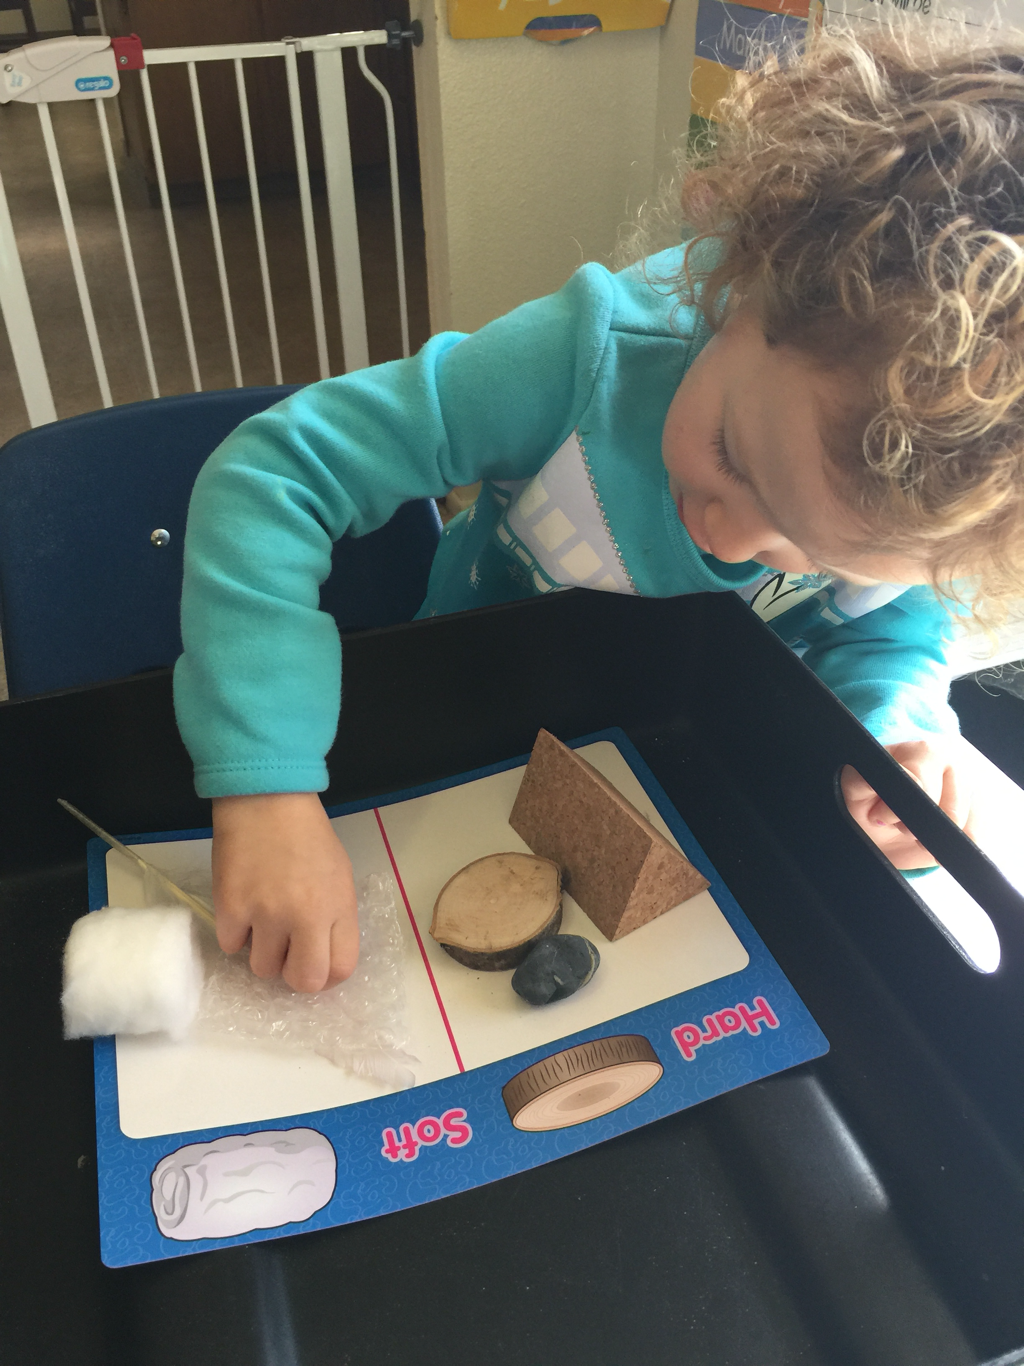 We talked about another way that she could determine if it was hard or soft was by holding up one soft item in one hand the rock in the other. Was the rock heavier or lighter? It was heavier! Then she used her EAR tool to see what kind of bumping sound it made compared to a soft item. She finally agreed that it was a hard item like the wood piece :) KK really liked this activity too. She was very proud that she knew which ones were hard and soft! She used her HAND tool to squeeze the items. The ones that she could squeeze easily were soft and the ones that she couldn't squeeze easily were hard! What a smartie!! 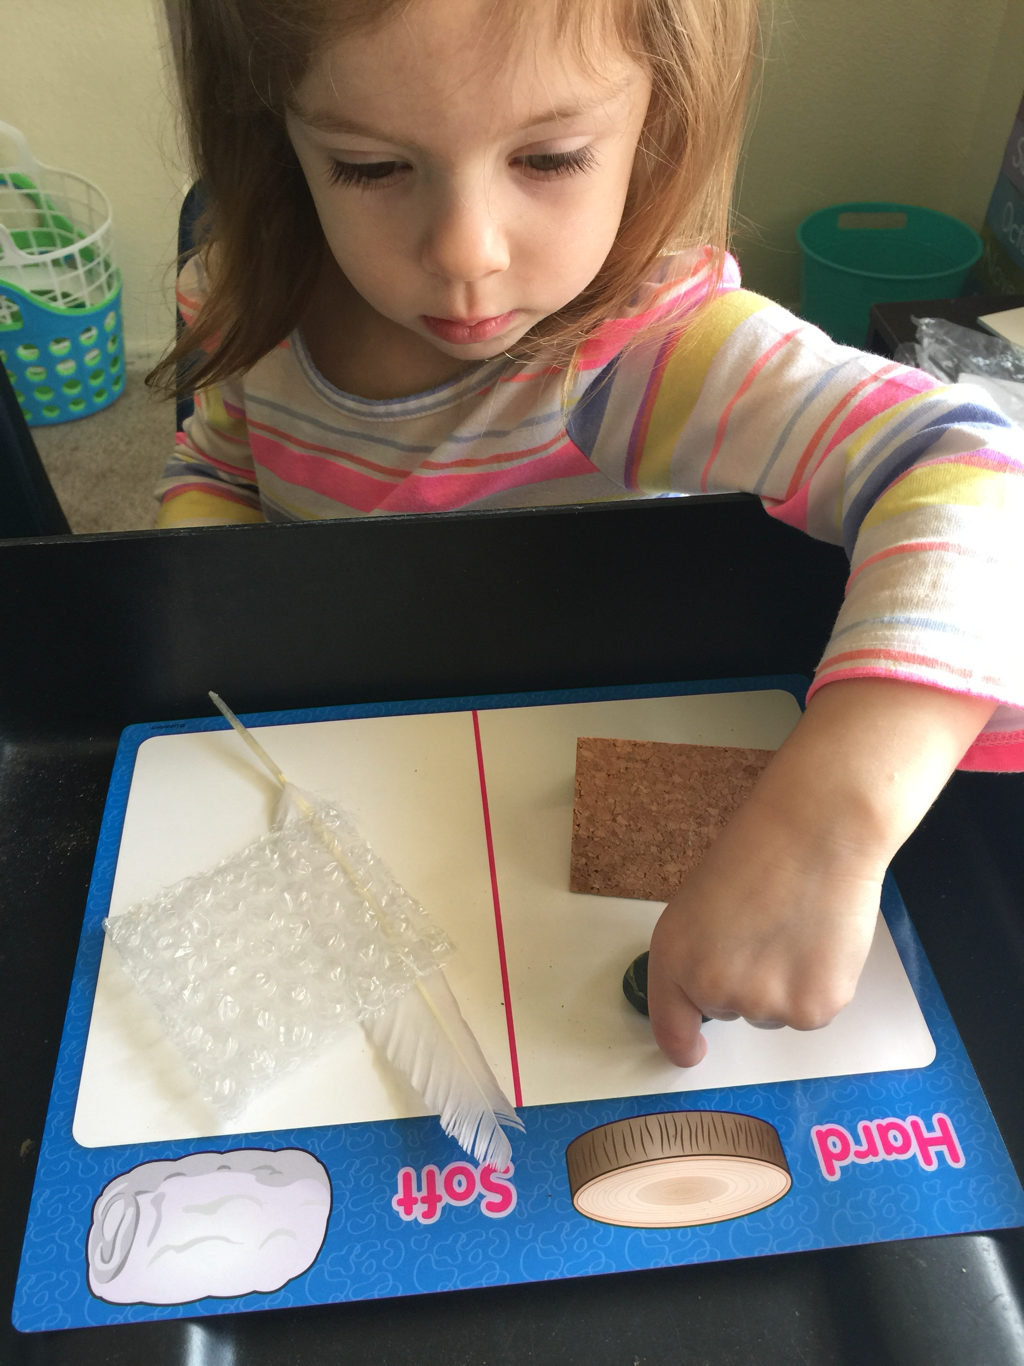 Baby O really liked looking at all the items and telling me what they were. We working on vocabulary building with the wood piece, feather and cotton ball. I asked him if was hard or soft and then we would talk about the piece and I helped him figure it out. He did great remembering which side of the hard was for hard items and which side was for soft items! 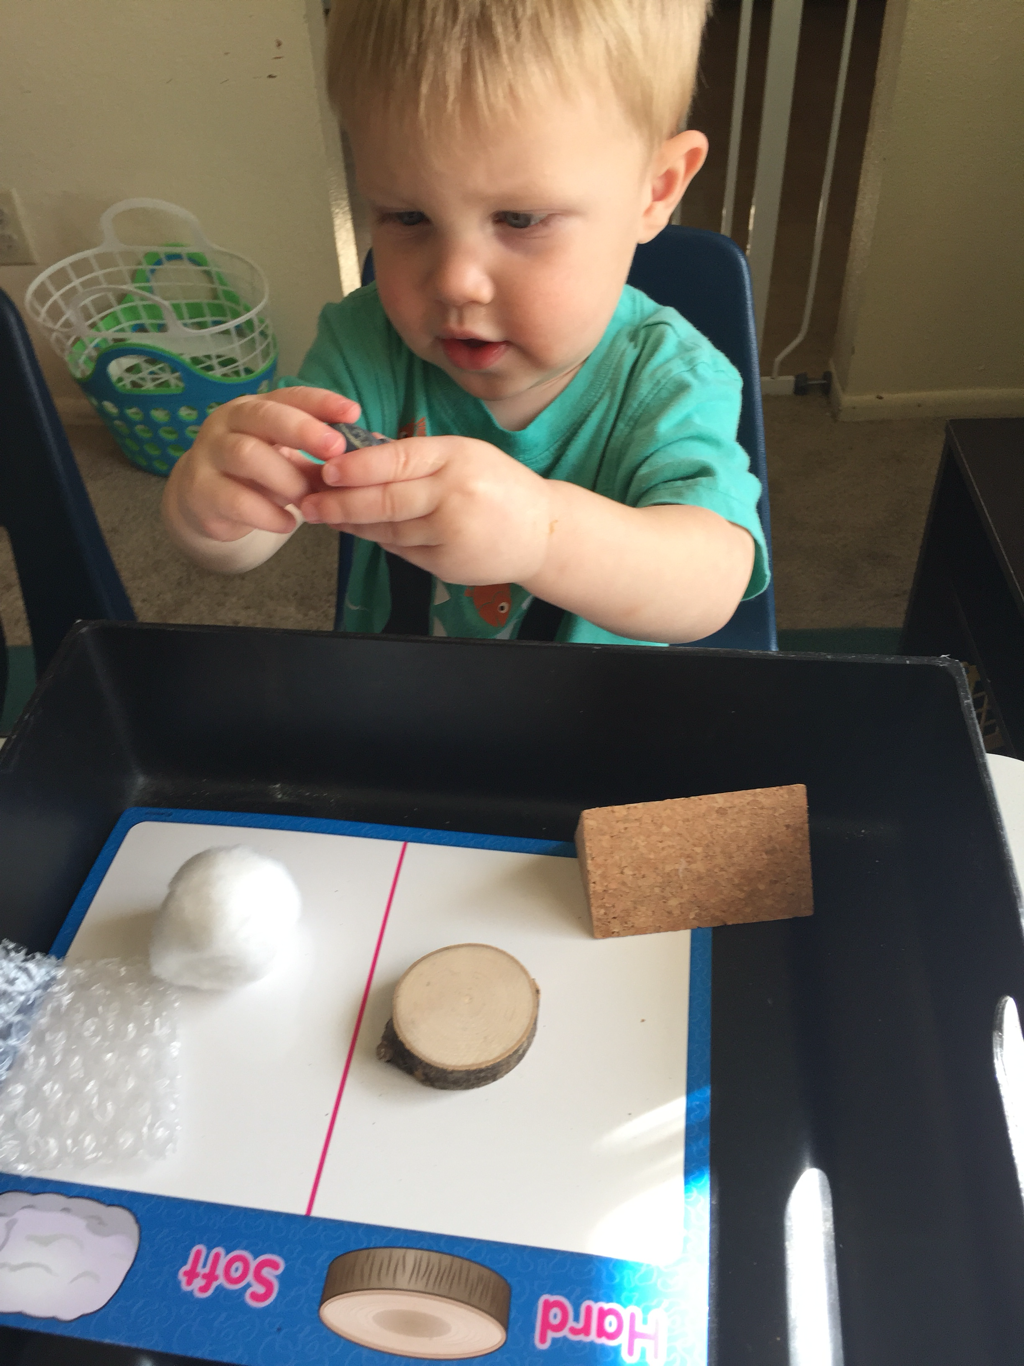 For the Science Journal station I had the kiddos draw themselves as scientists on the front cover. I asked if they were going to be wearing a lab coat, goggles or what tools they were going to use! Once they finished their cover I invited them to open to the first page and draw a picture of their favorite super scientist senses tool and their favorite sensory item from the day :) KK drew an orange coat and glasses and Big Boy B was drawing the rice because he liked the way it sounded when he dropped it. I love our crayon caddy because we can pull the cups out and everyone has their own set of crayons to work with! No crayons rolling onto the ground, quick and easy clean up!
L-Bug drew herself as a scientist! She said "I'm smiling because science is fun, I like using my tools!" She also used the opportunity to work on writing her name! This time she got four letters in before she needed me to remind her what came next. I love the way she does her "i" :) 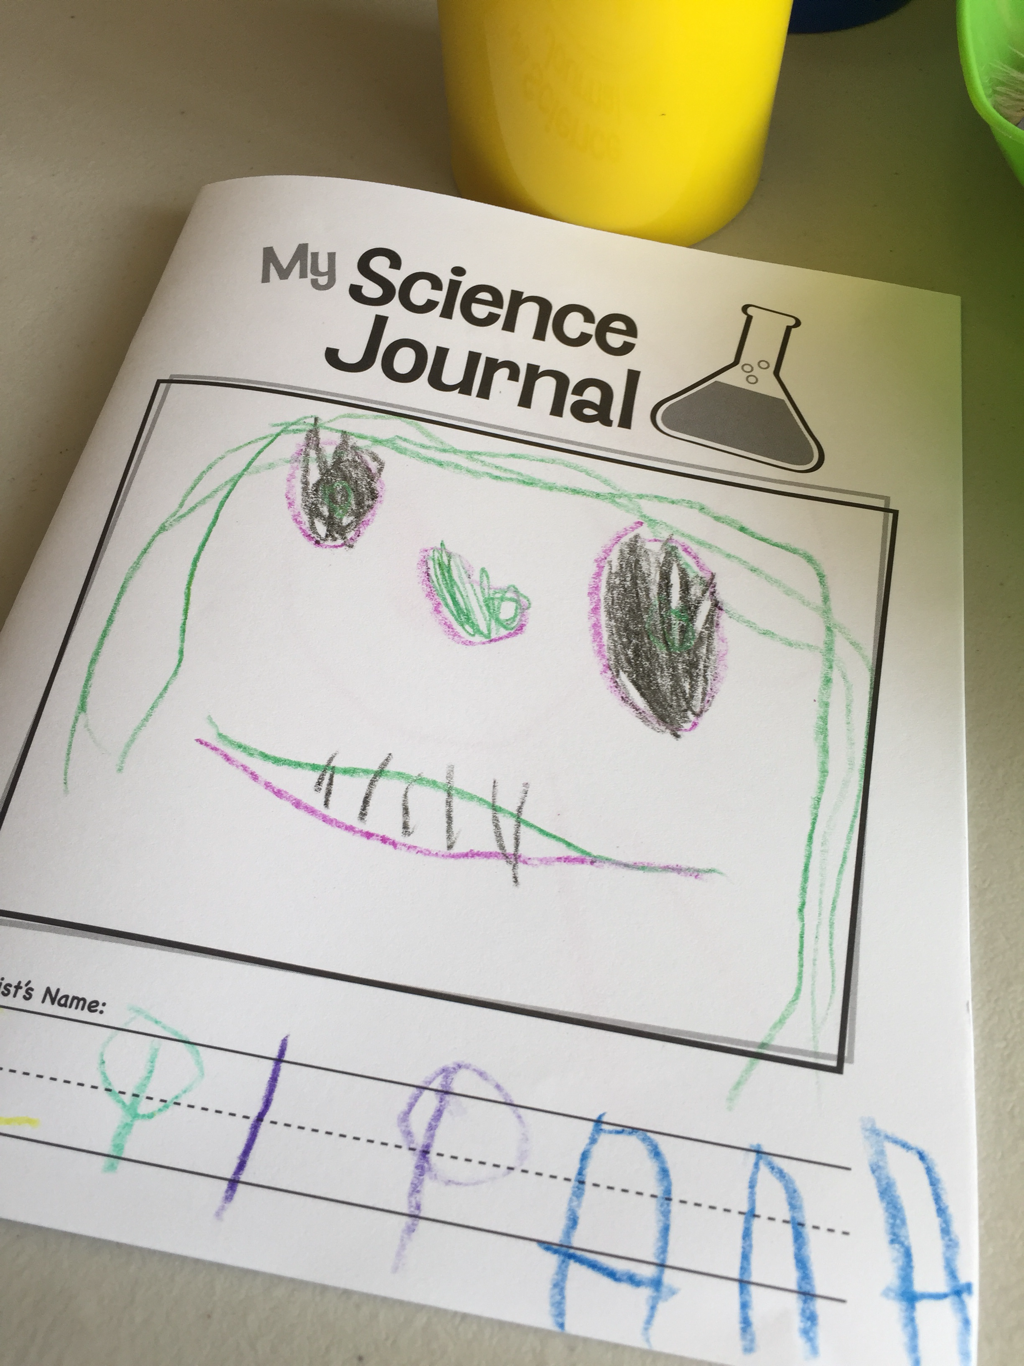 Inside she drew her favorite Scientist tool MOUTH: taste because she liked "licking all the stuff" and seeing if they were "going to be yummy or gross". She told me the picture was of her "tasting the rice. It was crunch and didn't taste very good. But then I accidentally swallowed the rice so now it is in my tummy!". 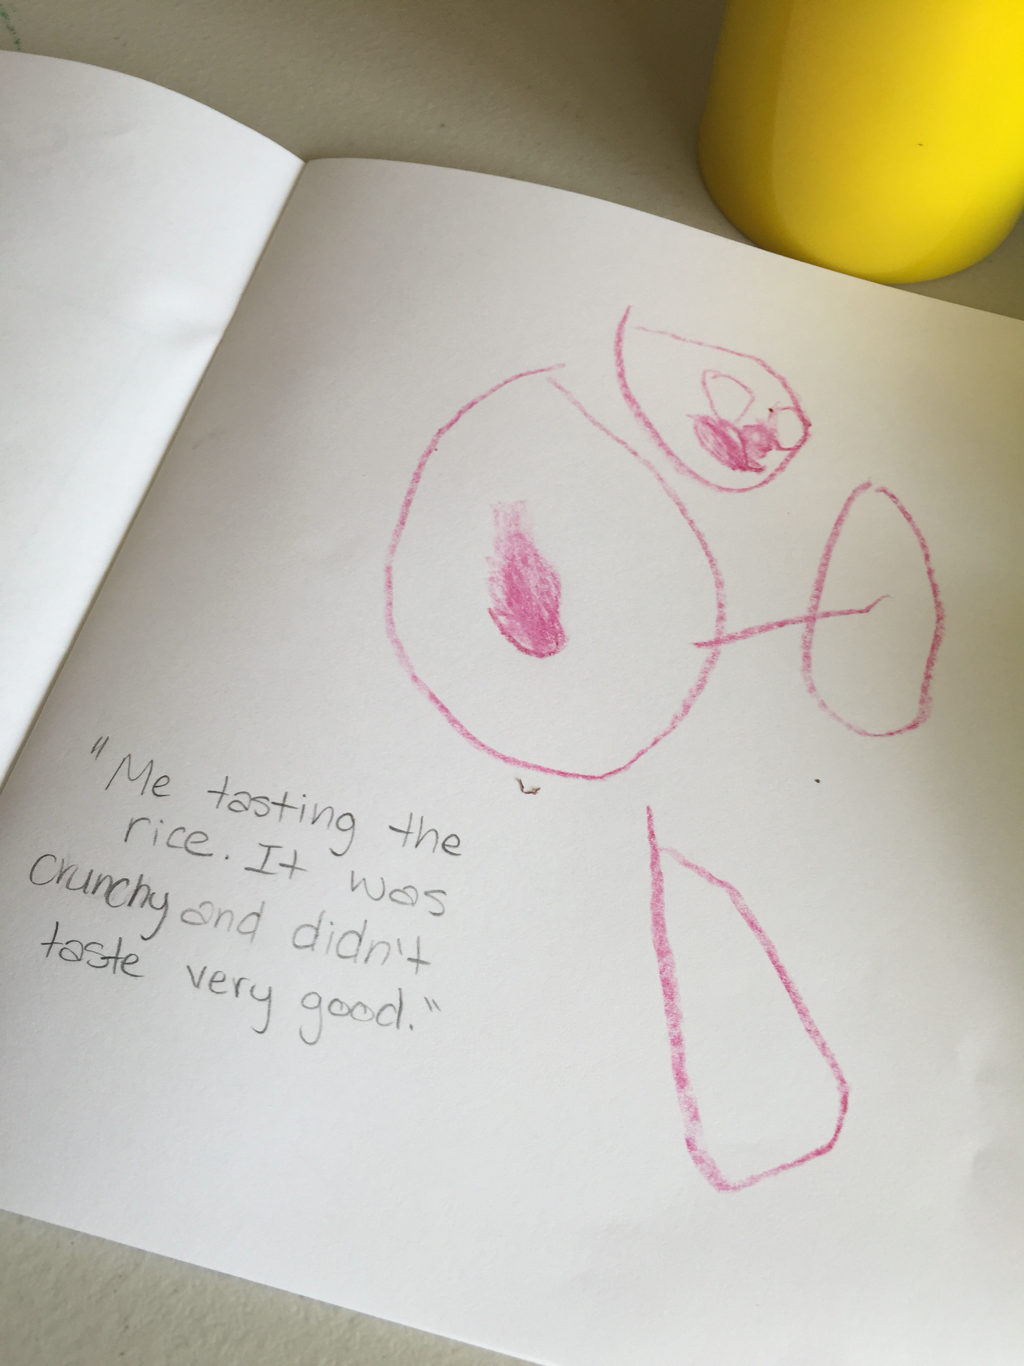 I love how involved in the activities the kid were! I really enjoyed hearing their ideas and thought on the different senses and seeing them explore. I can't wait to see what else this month brings :)
I'm excited to finally pull this Mother Goose Time box out and get into some science with the kiddos! I was hanging onto it until summer because I wanted to be able to do it with my daughter too, but she is now home during my tot-school so she participates in our activities. Here is what's in the Science Lab box we will be using for February! This is the Teacher's Tool bag, which includes: Theme Poster, Teacher's Guide and Planning Journal, CD, Skills List and Gathering List, and my personal favorite: MANIPULATIVES (beakers, nut and bolt set and beads). 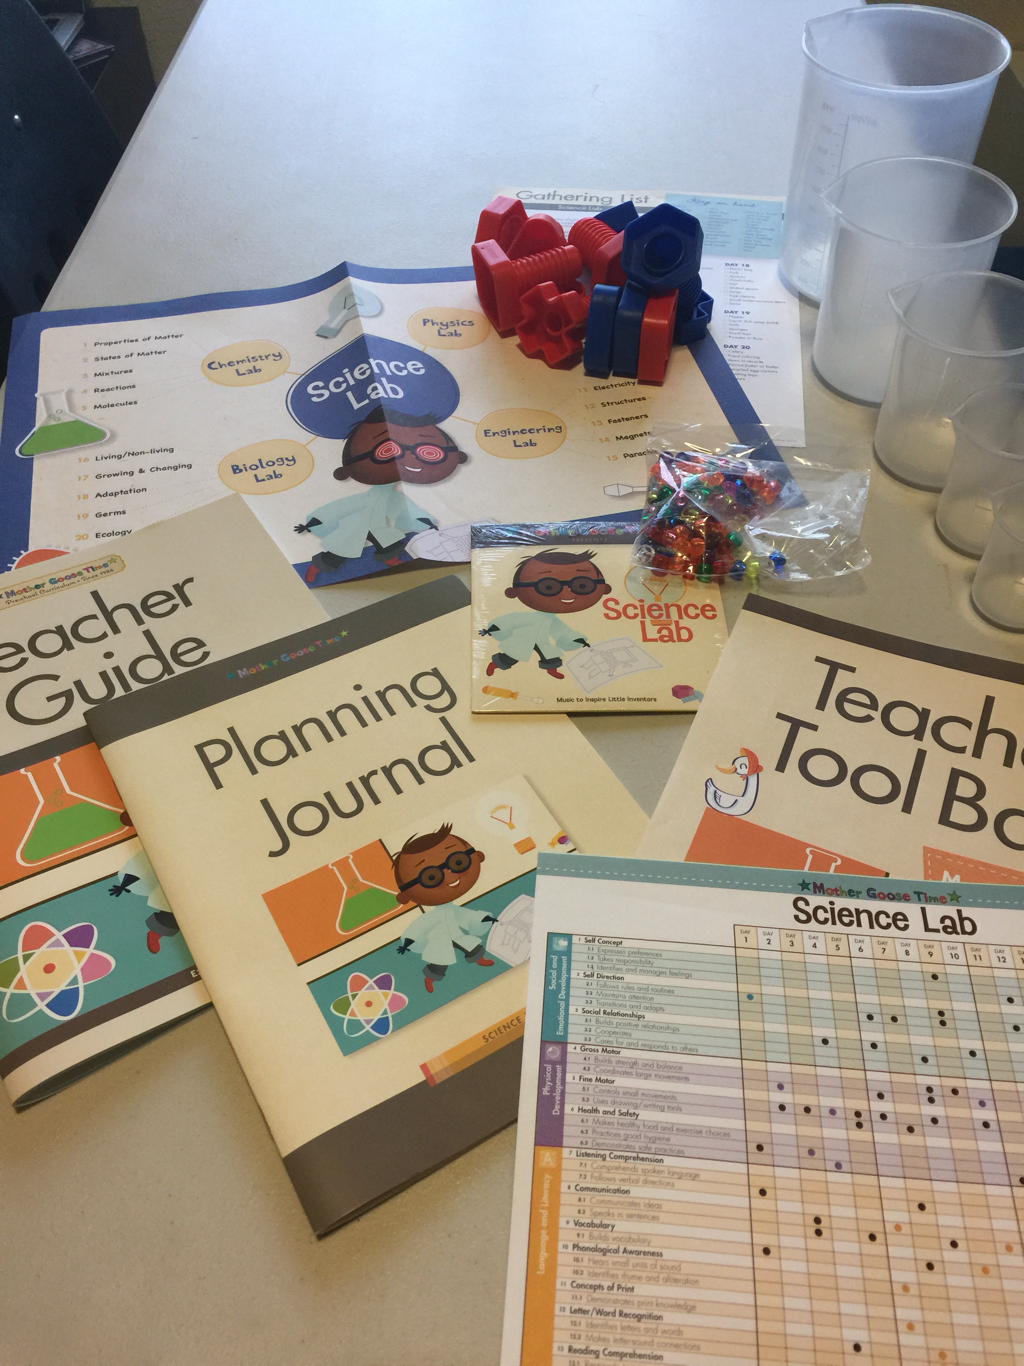 Circle Time tools include: Circle Time Songs, Calendar and Number Cards. I still haven't decided how to utilize the calendar since we use my large wall pocket calendar.... Any ideas?! Please leave a comment! 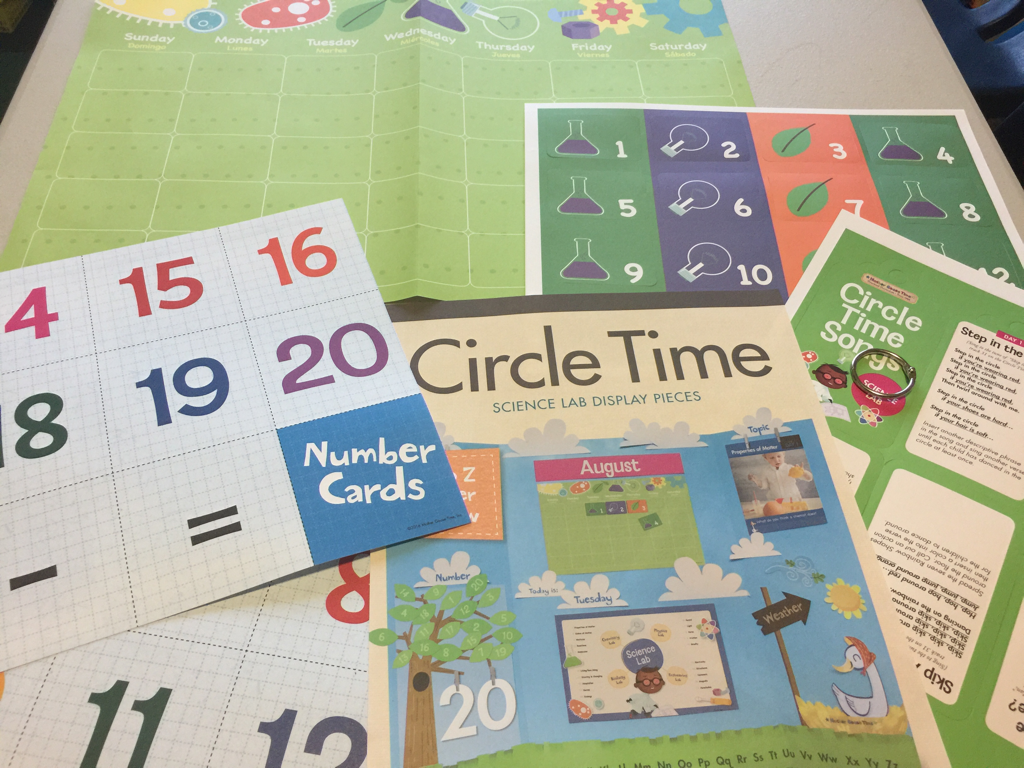 If you have seen the Mother Goose Time curriculum before you know each of the 20 days are separated into handy "day bags" this makes it very easy to know what materials go with which day. Here is Day 1: Properties of Matter 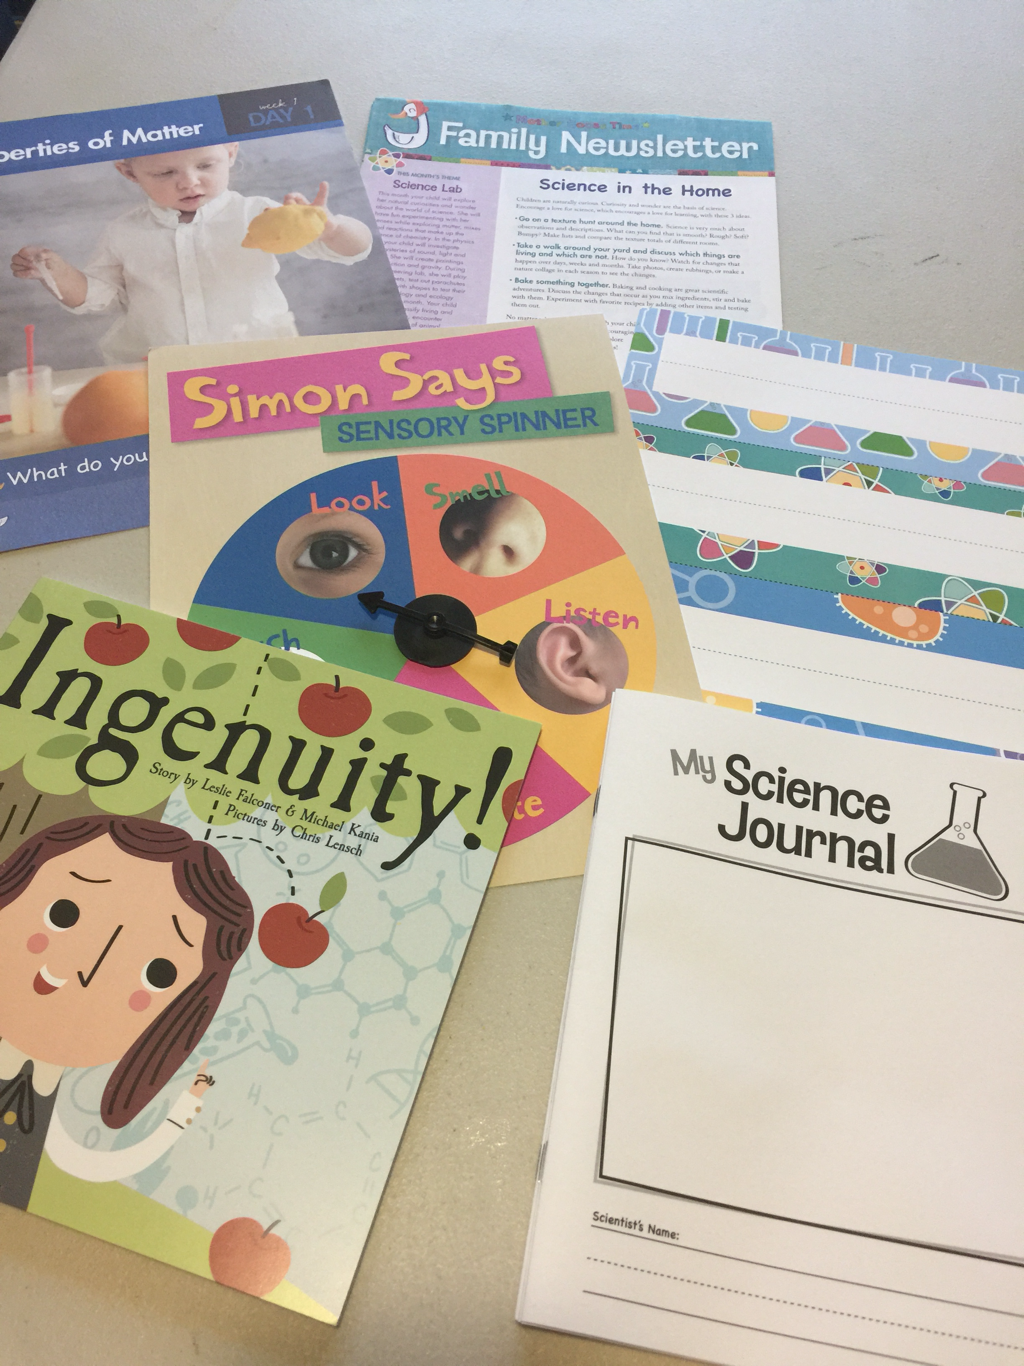 Day 2: States of Matter 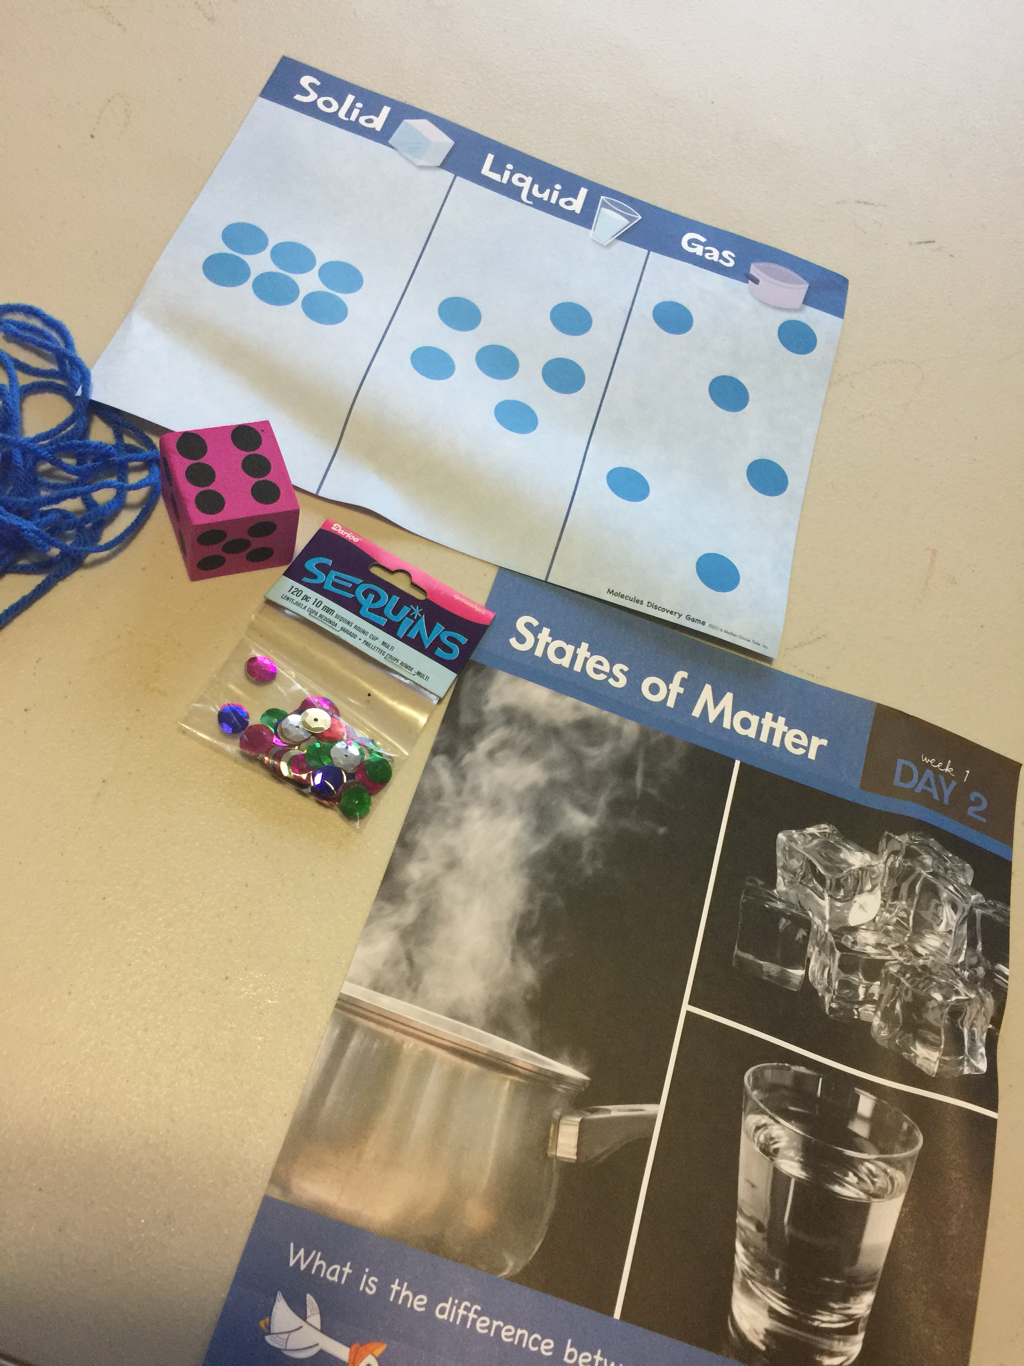 Day 3: Mixtures 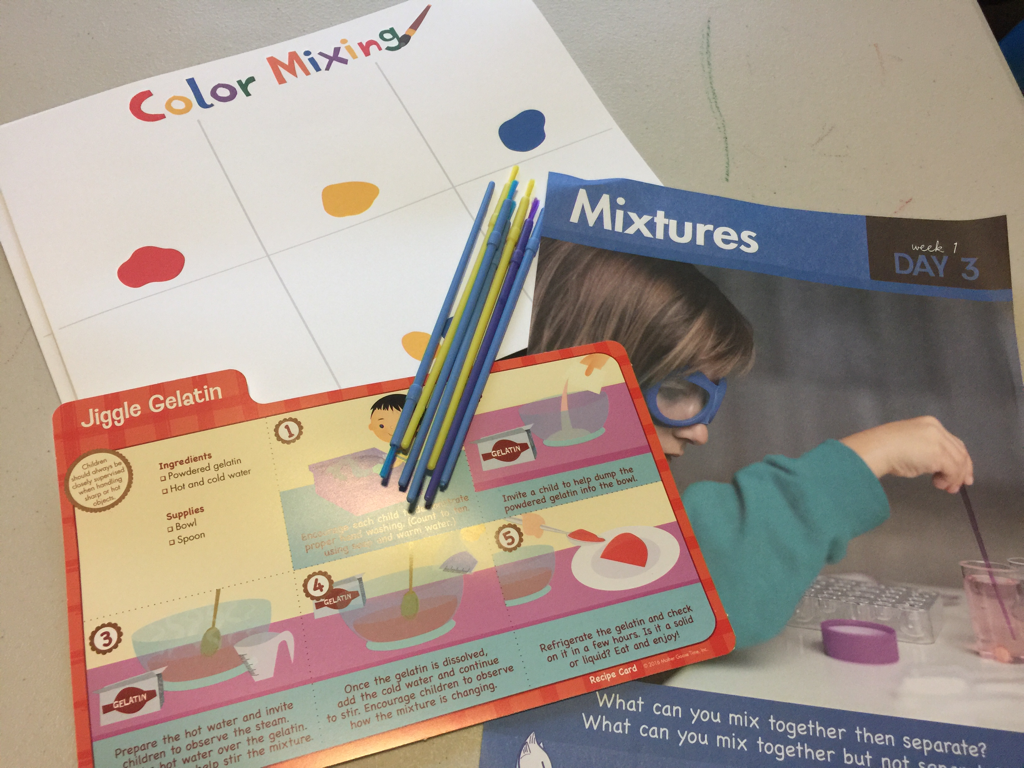 Day 4: Reactions 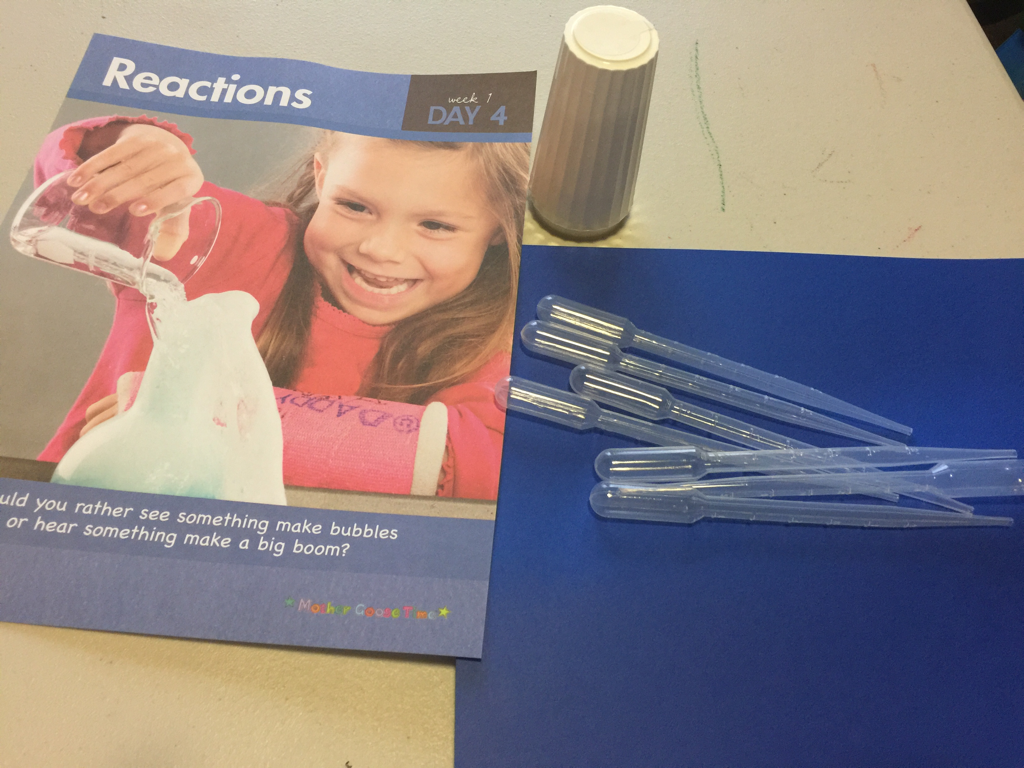 Day 5: Molecules 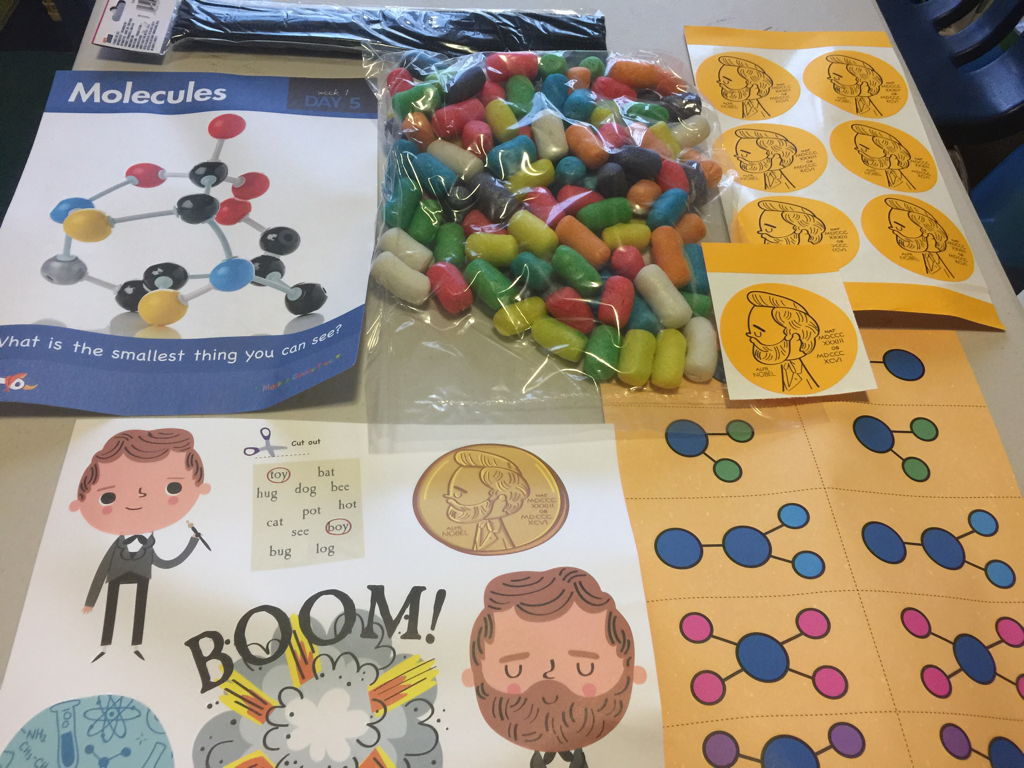 I hope by now you've caught on that each day bag has it's own topic! Just about all the materials are included in each day bag (aside from a few materials that are in your gathering list. For instance: glue, paint, crayons, tape, etc). In the Teacher's Journal there will be a note if your supposed to set aside any of the materials for an activity at a later date. 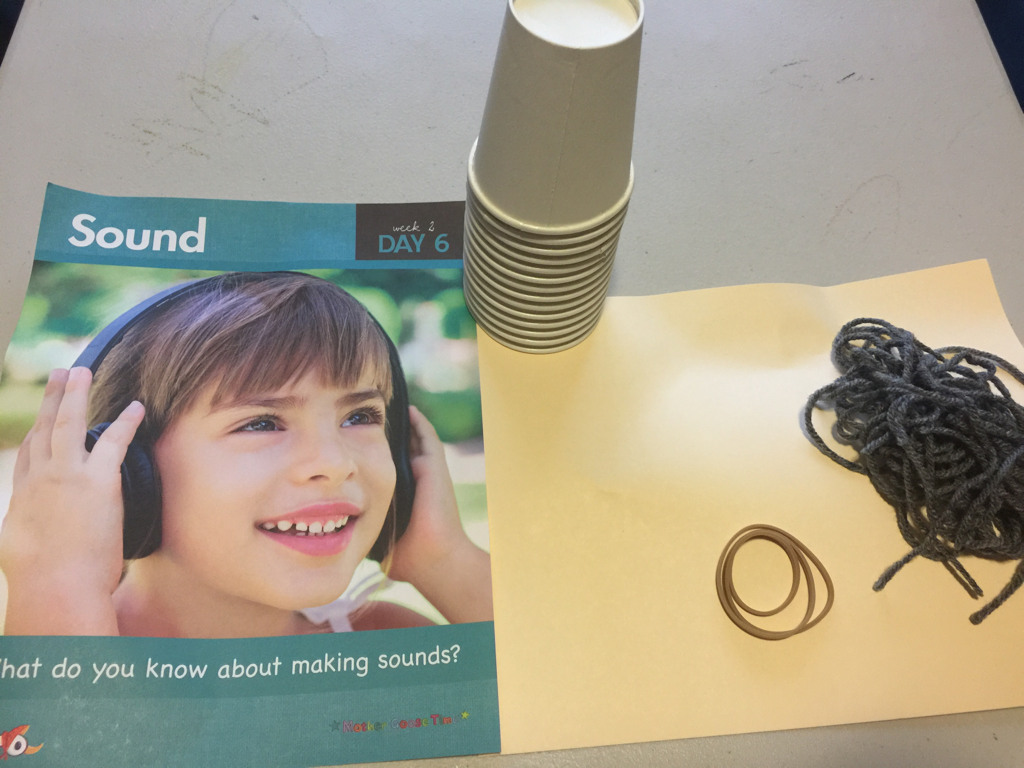 I personally love materials like these from Day 7: Light. Shapes, Letter and Number cards are items that I laminate and once we have finished using them for the activity I either have them up somewhere in the room for the children to use again and again OR I tuck them away in my filing system to use later! 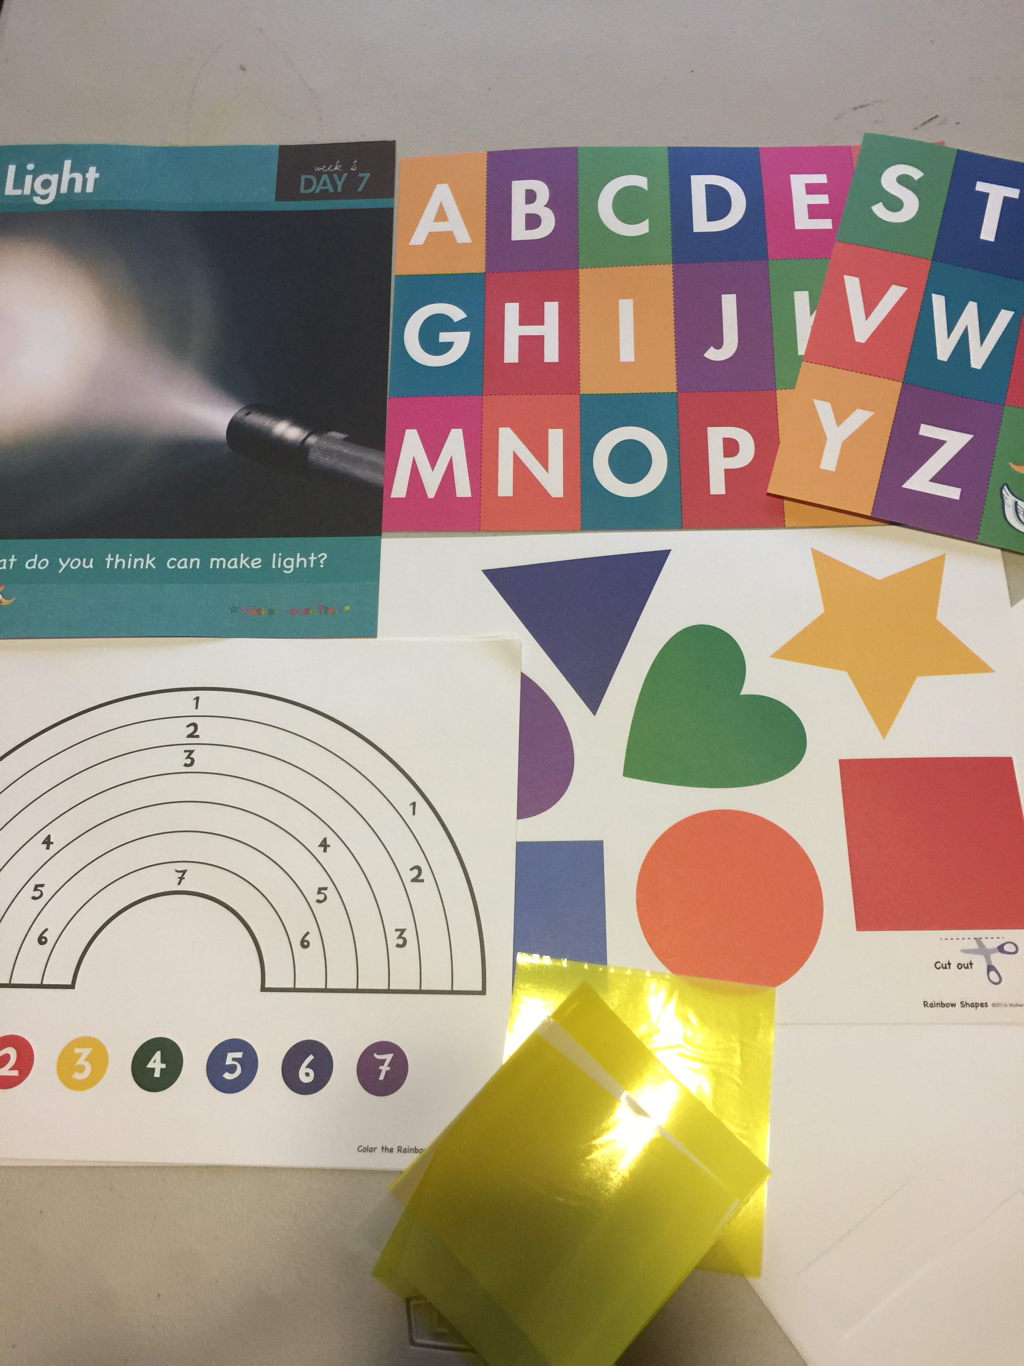 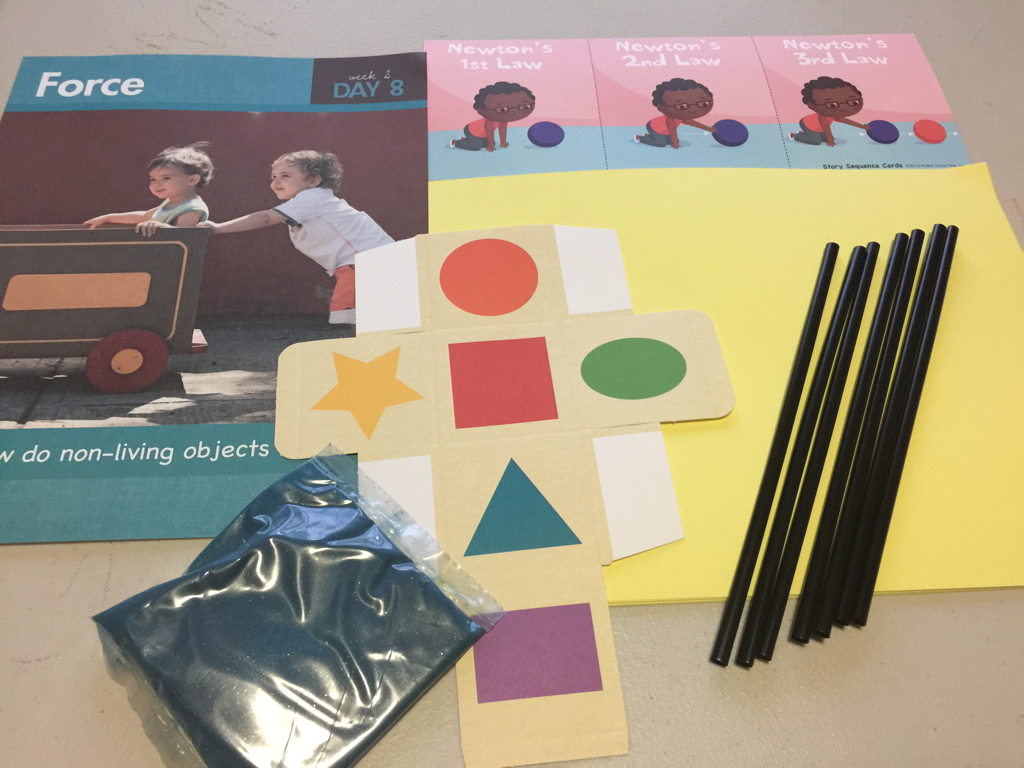 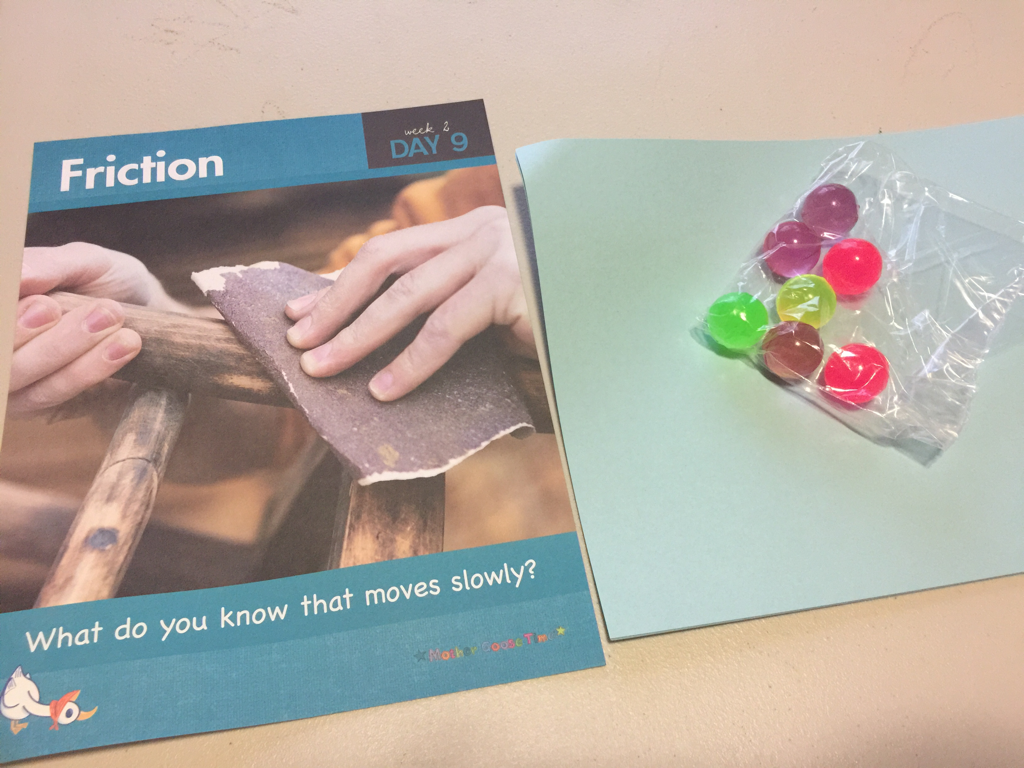 You'll notice there is minimal prep work for the month since everything is already pre bagged into days and the activities already have instructions in the Teacher's Guide. Really all I have to do to prep is review the Teacher's Guide and choose which actives we will be doing. I also go through each day bag to find materials that need to be cut out ahead of time or laminated. That way I can get everything done in one sitting and have the entire month ready to go! 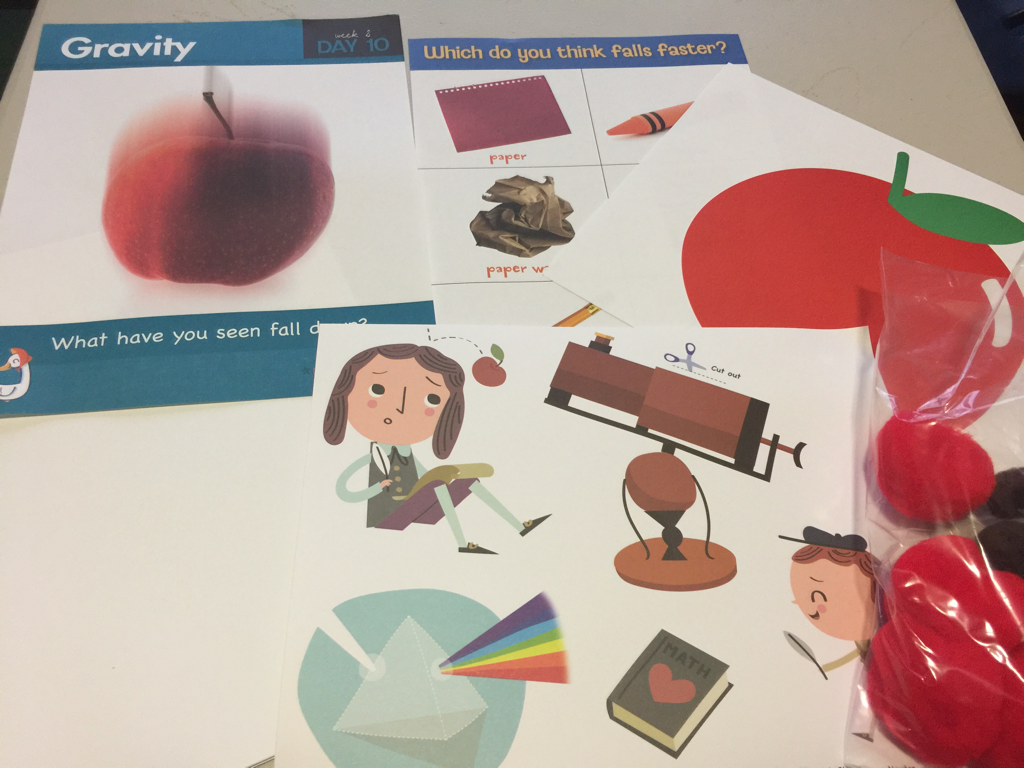 Work sheets like this connect-the-dot one from Day 11 and the rainbow color-by-number sheet from day 7 I like to make a copy of and keep it in my filing system. That way when we are going on a long trip, a doctors appointment or just need a quick activity for my daughter I can pull it out, make a copy and bring it along as needed. 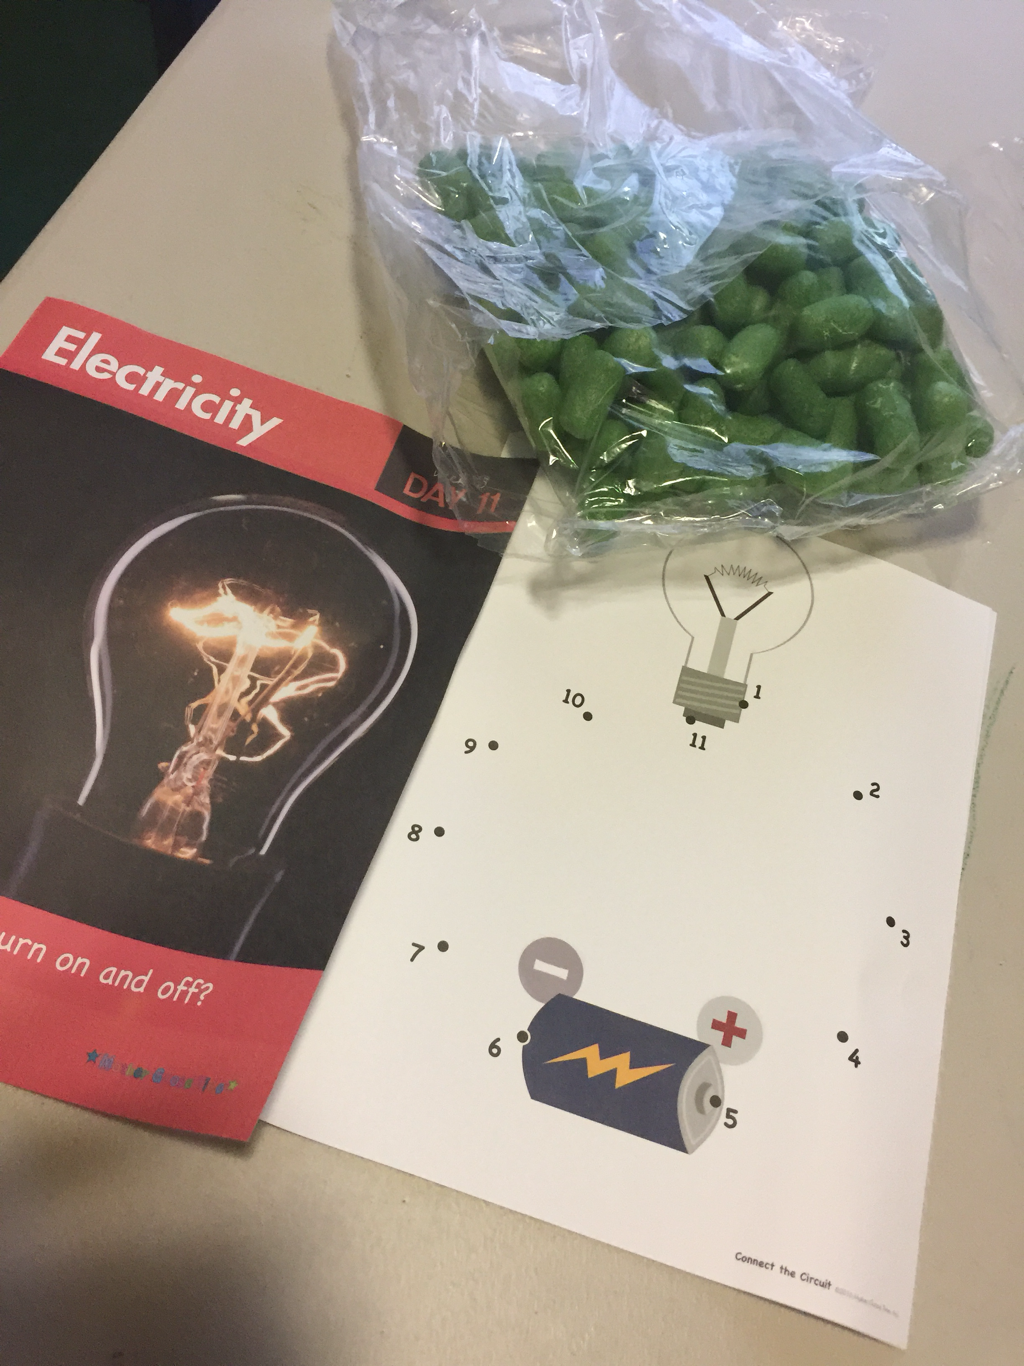 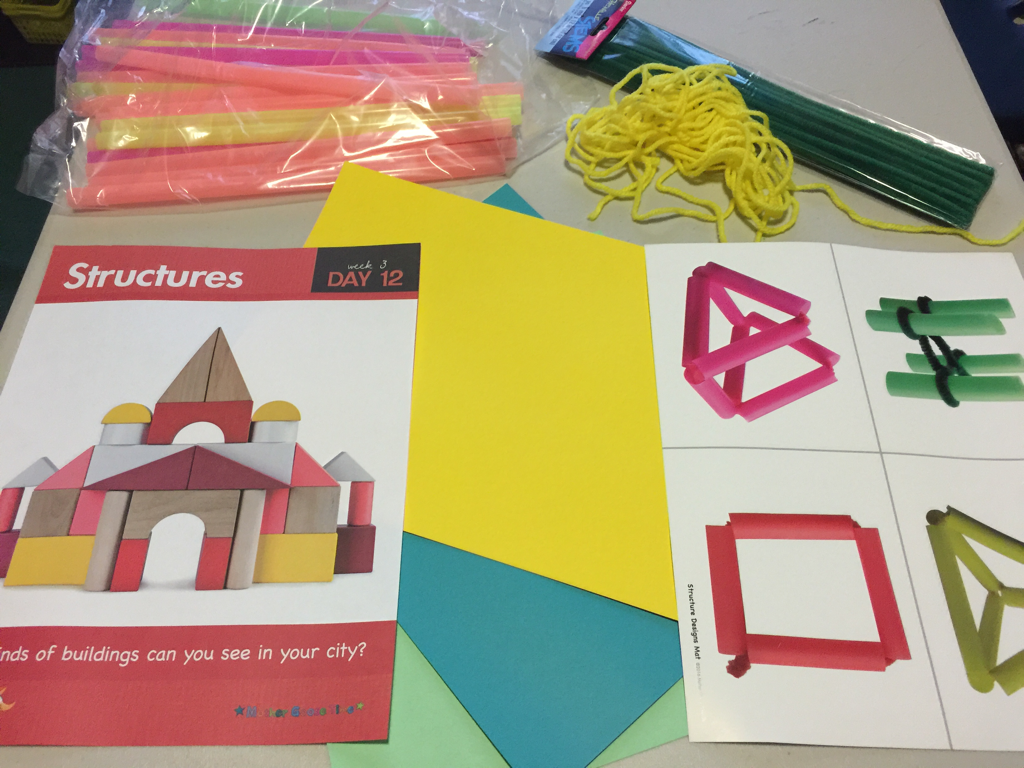 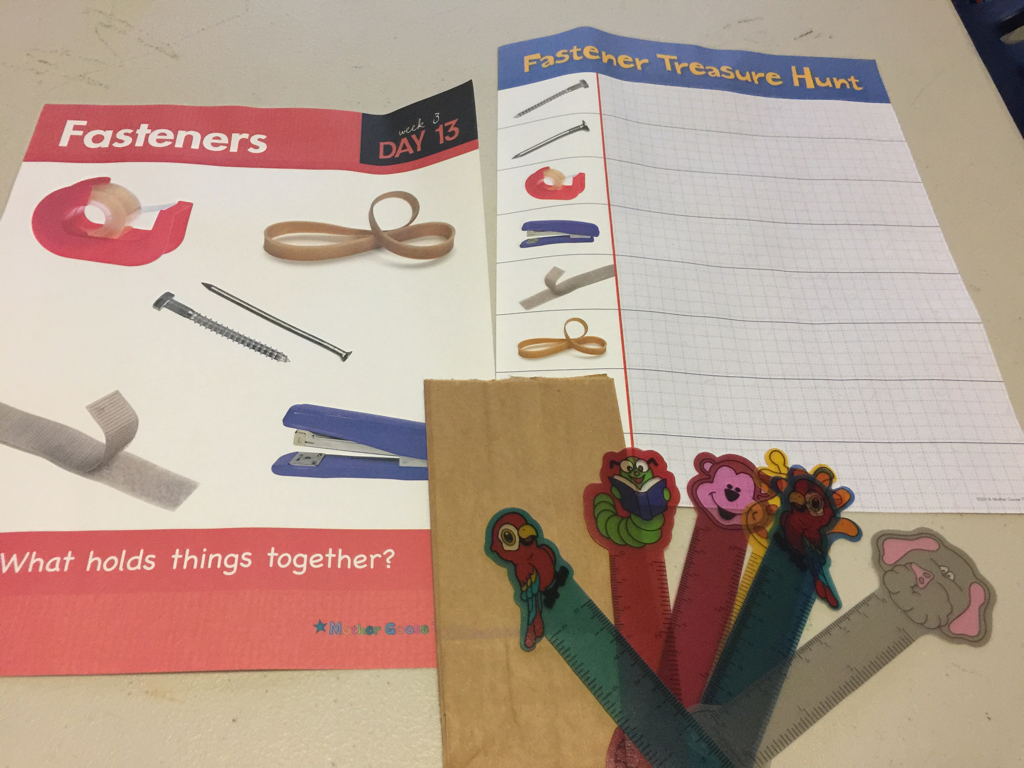 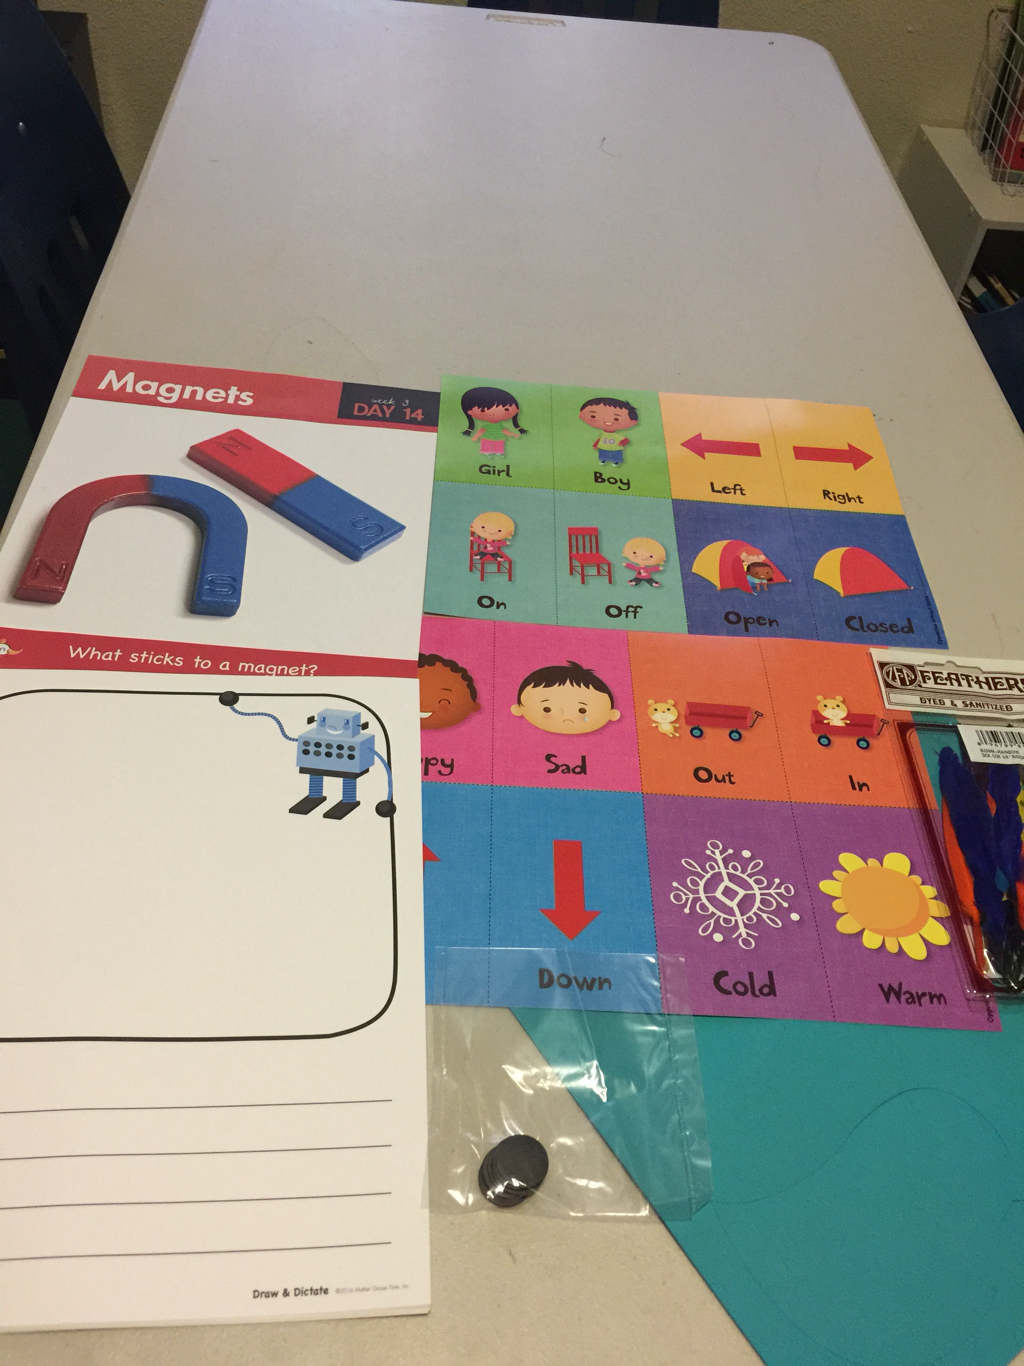 Whenever I can I like to find ways incorporate our lessons into the kiddos lives. Finding things that they can connect with outside of the school room really help to enforce what they are learning. For example my kids are all from military families. Many of them have daddies that are paratroopers. Times like this I will send a special note to the parents asking if anyone's parent was/is a paratrooper if they could send me a picture I would love to add it to our discussion for that day. 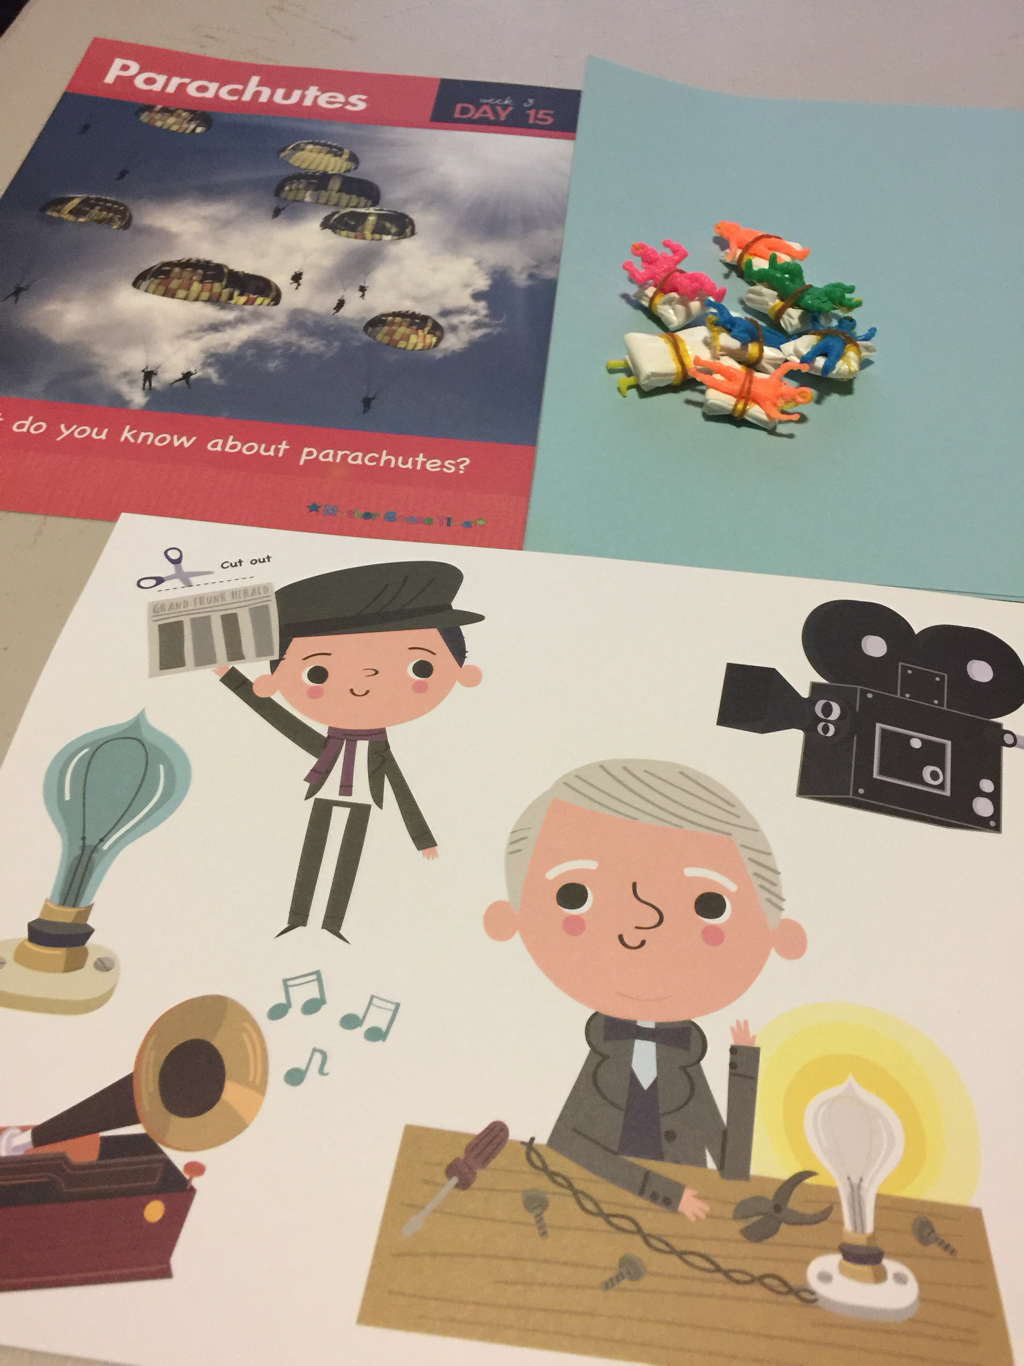      So there it is! An entire month of Mother Goose Time materials to help me guide and teach my tot-school class! I am very excited to see how the kids like these activities and too hear all their different answers to the "What We Know" and "What We Wonder" prompts each week!
Let's talk about "Self Concept" I love materials that can be used again and again! Our emotions poster from Mother Goose Time is a great example of this. I have it right next to my front door and I like to ask the kids to show me how they are feeling today. Or if I have kiddos that are in a disagreement sometimes I bring them to the poster so we can discuss how they are making each other feel and how they can change their actions and choices to make each other happier. 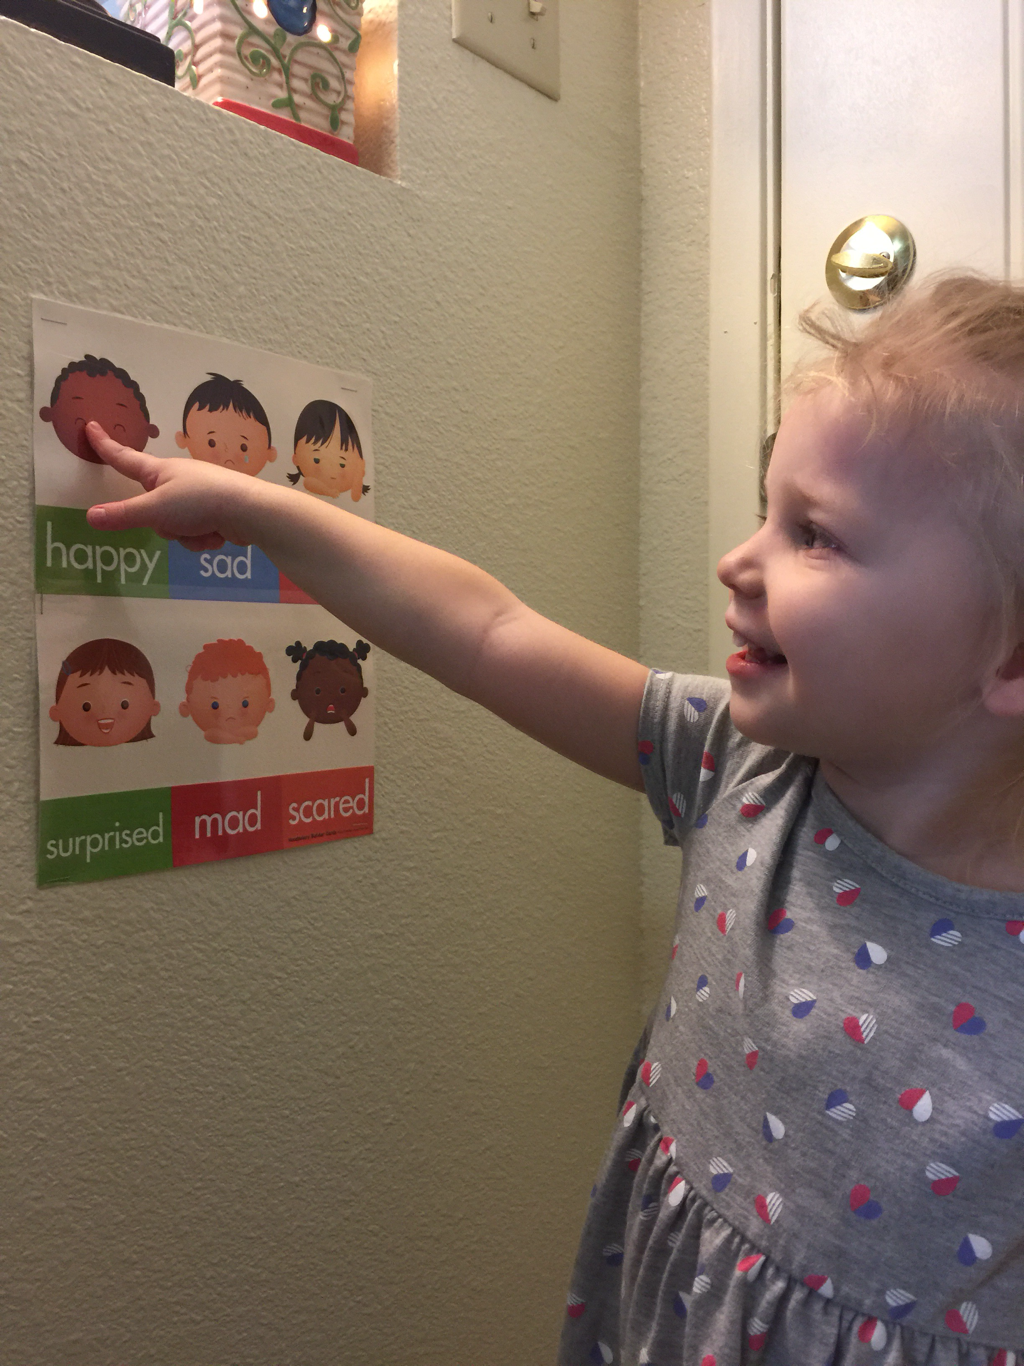 I have other posters that are similar to this, but the one I have from my CSEFEL training has more detailed images. I posted this near a mirror so the kids could practice their emotions and expressions in the mirror! This builds on self concept. They are able to hear and see different emotions and they can see themselves and see how they look when they are emoting. 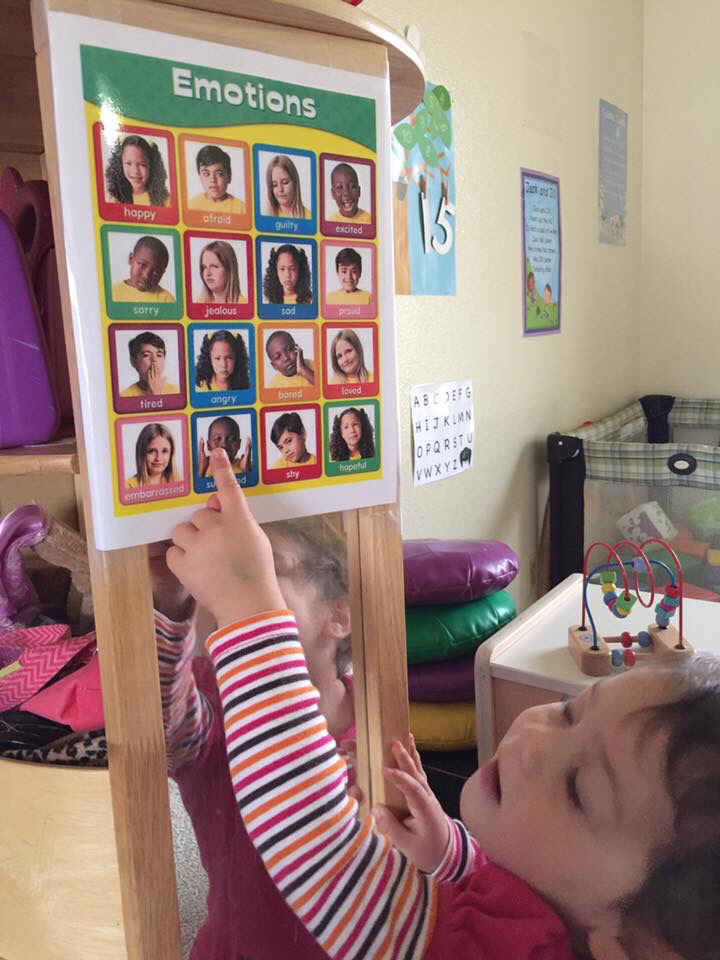 Let's talk about "Social Relationships" Durning many Mother Goose Time activities I am able to observe the children playing cooperatively, taking turns and even helping each other out! A great example comes from a few weeks ago while we were doing puzzle time. Because the curriculum comes with a new puzzle each month that correlates with the story of the month we have "puzzle time". One 8X11 puzzle is not quite big enough for ALL of the friends to share at once. So to avoid any arguing, hurt feelings or even boredom while waiting for a turn I pull out several puzzles for the kids to rotate through. They each get a turn with the new puzzle while their friends work on the other puzzles. It makes taking turns easier and allows me to help each child work through the new puzzle, because the first time is always the hardest! Here you can see LittleNat helping Baby O work through this alphabet puzzle. He was having a hard time with some of the pieces and she volunteered to help him. Baby O would try a piece and if he couldn't get it he would hand it to her to find! When Baby O would get the piece in the right place LittleNat would clap and give him praises. It really makes my heart sing to see the kids being such great friends and helping each other. 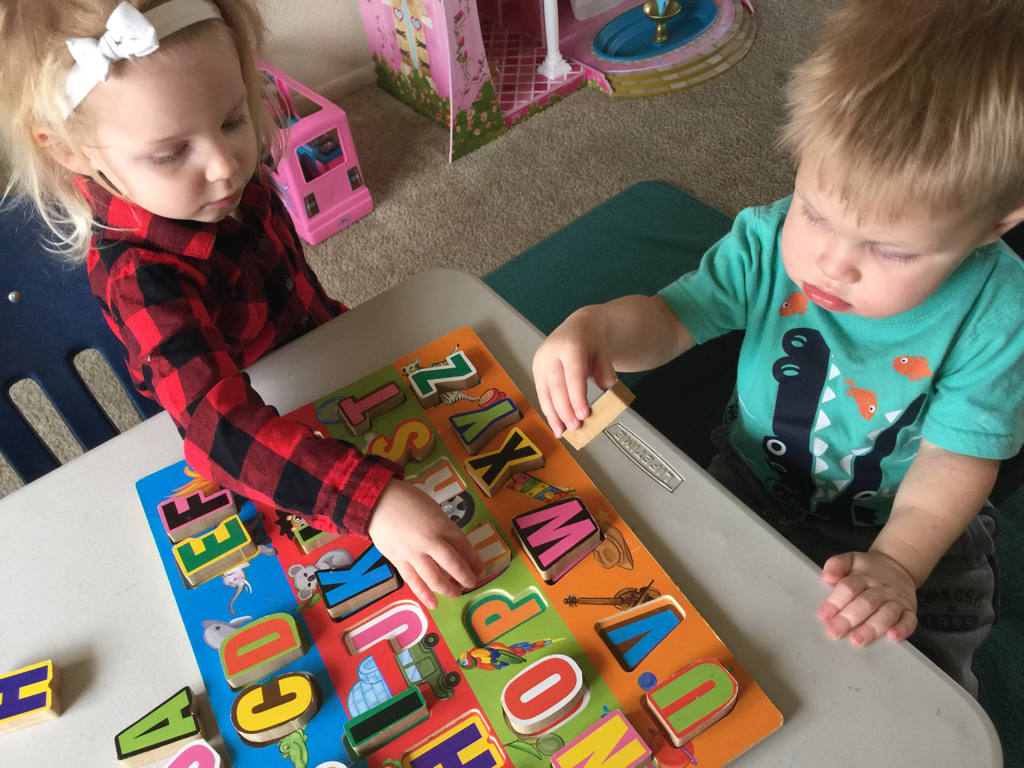 Let's talk about "Self-Direction and Self-Regulation" What is a typical thing that distracts your child/ren? What do you do about that? Because I have such a young age group distractions come really easily! One thing I have found is during an activity where we are having a discussion or the kids take turns, having them sit at the table or in a circle near the activity helps keep their attention better than if they were standing in line waiting for their turn. This example is from our monthly theme poster! I have the kiddos sit at the table and then I pick one child at a time to find the image on our magnifying glass or help me answer the question on the back. This way when it's one persons turn to get up and do the activity all eyes are on them! It's their special time to show their friends what they can do! Their friends are watching to see how they respond and if they get it right, some are giving encouragement of where to find the image on the magnifying glass or helping count along, etc. Each child is anxiously awaiting their turn and they have started catching on (with hints and encouragement from me) that the person who gets a turn next is typically one who has been being patient and/or helpful. 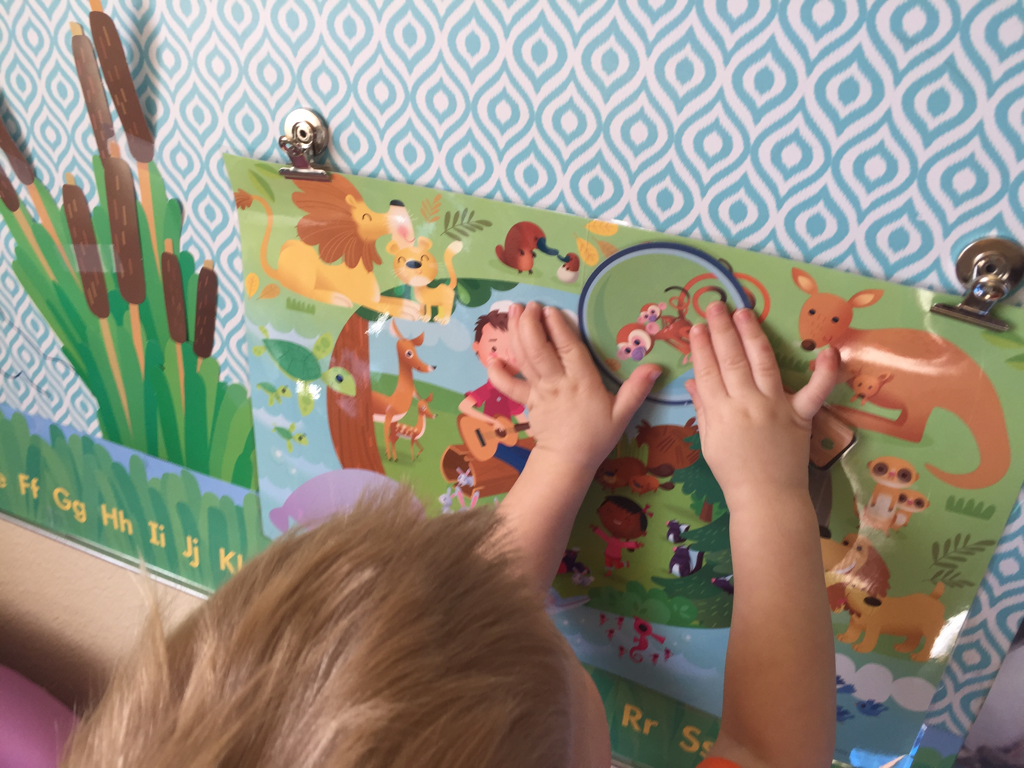 |
Check Out My Teachers Pay Teachers Store for my Digital Products!Categories
All
Disclaimer: I am an affiliate blogger. In some cases I will make a commission from external links leading to purchases. Thank you for your support to my blog! Your purchases help this mama stay at home with the kiddos and continue doing what we love.
Proud supporter of Mother Goose Time curriculum!All the posts in this blog are from real life experiences. We've taken the activities and materials provided in the Mother Goose Time curriculum and modified it in different ways to fit our lifestyle. Enjoy the read!
Archives
December 2023
|
Everyday 365 Life